Customer Walkthrough
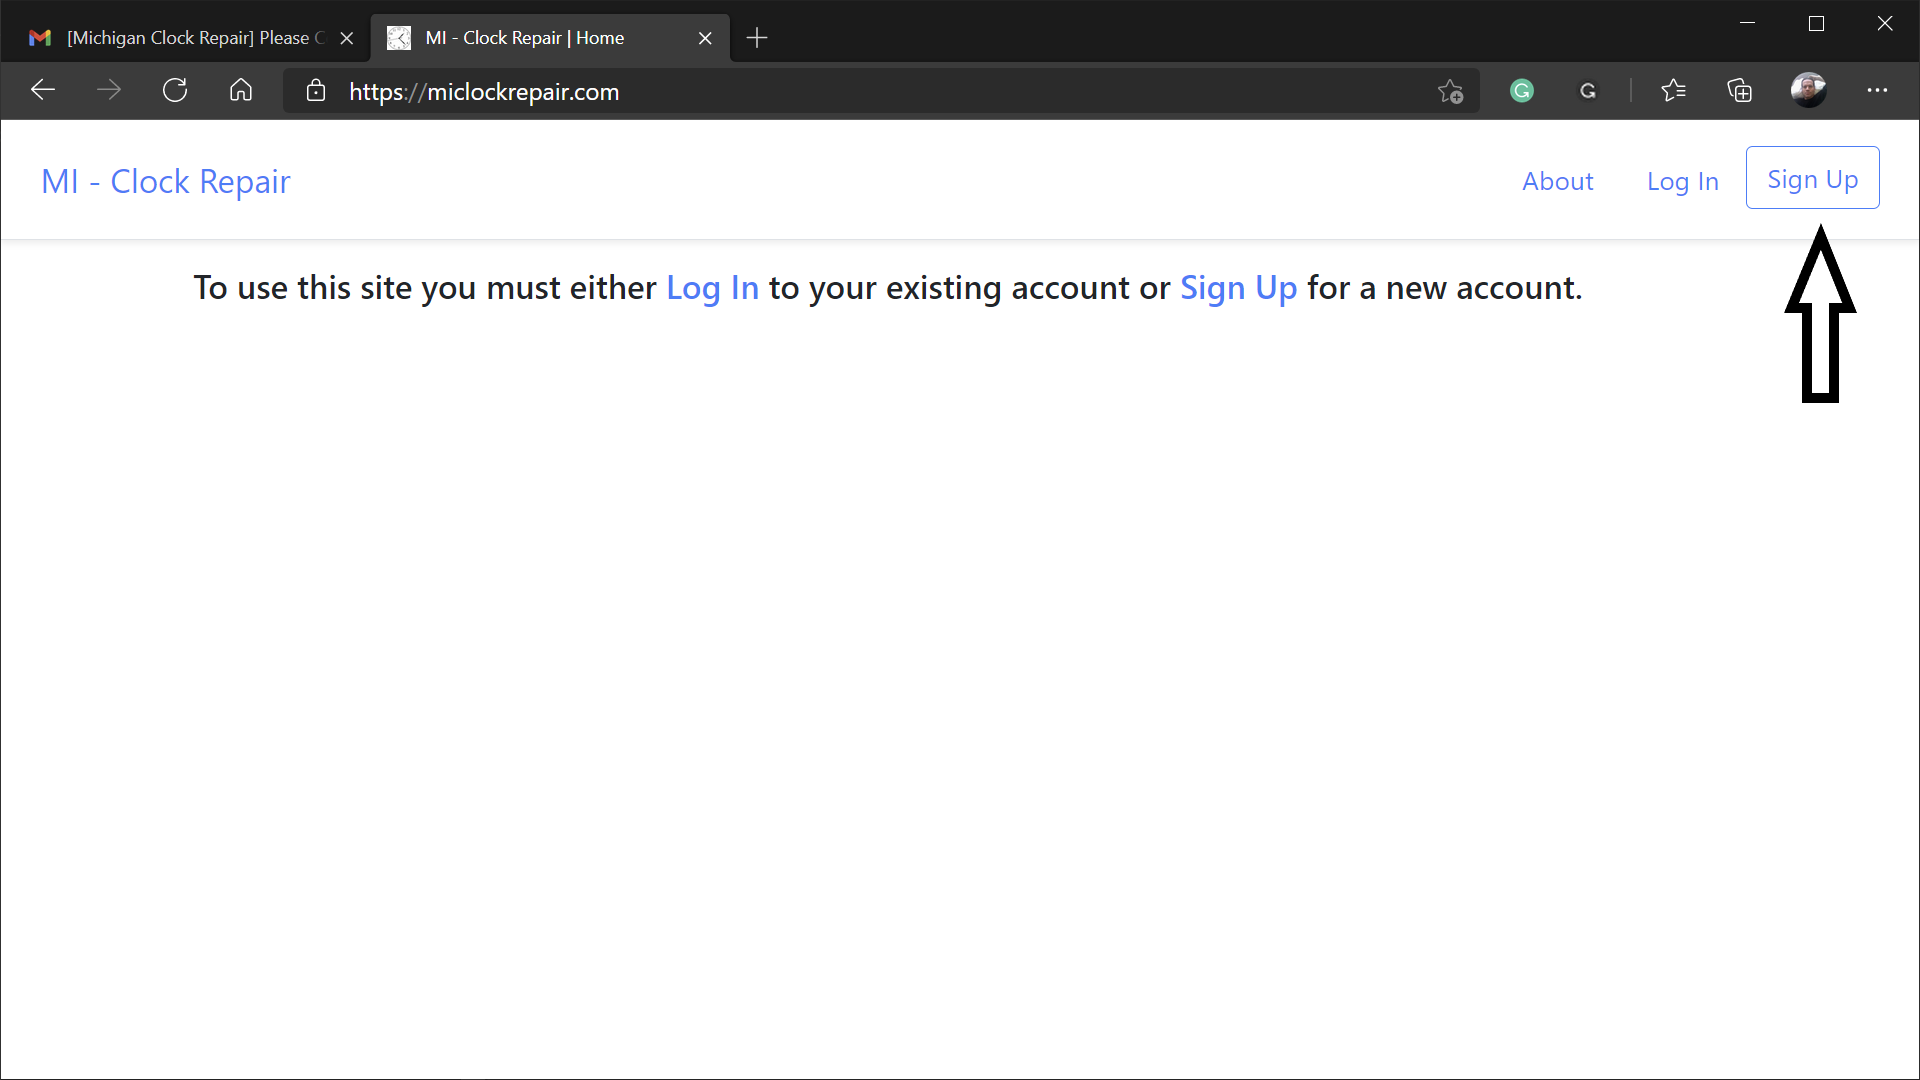
- From the home page
- Click the Sign Up button or link
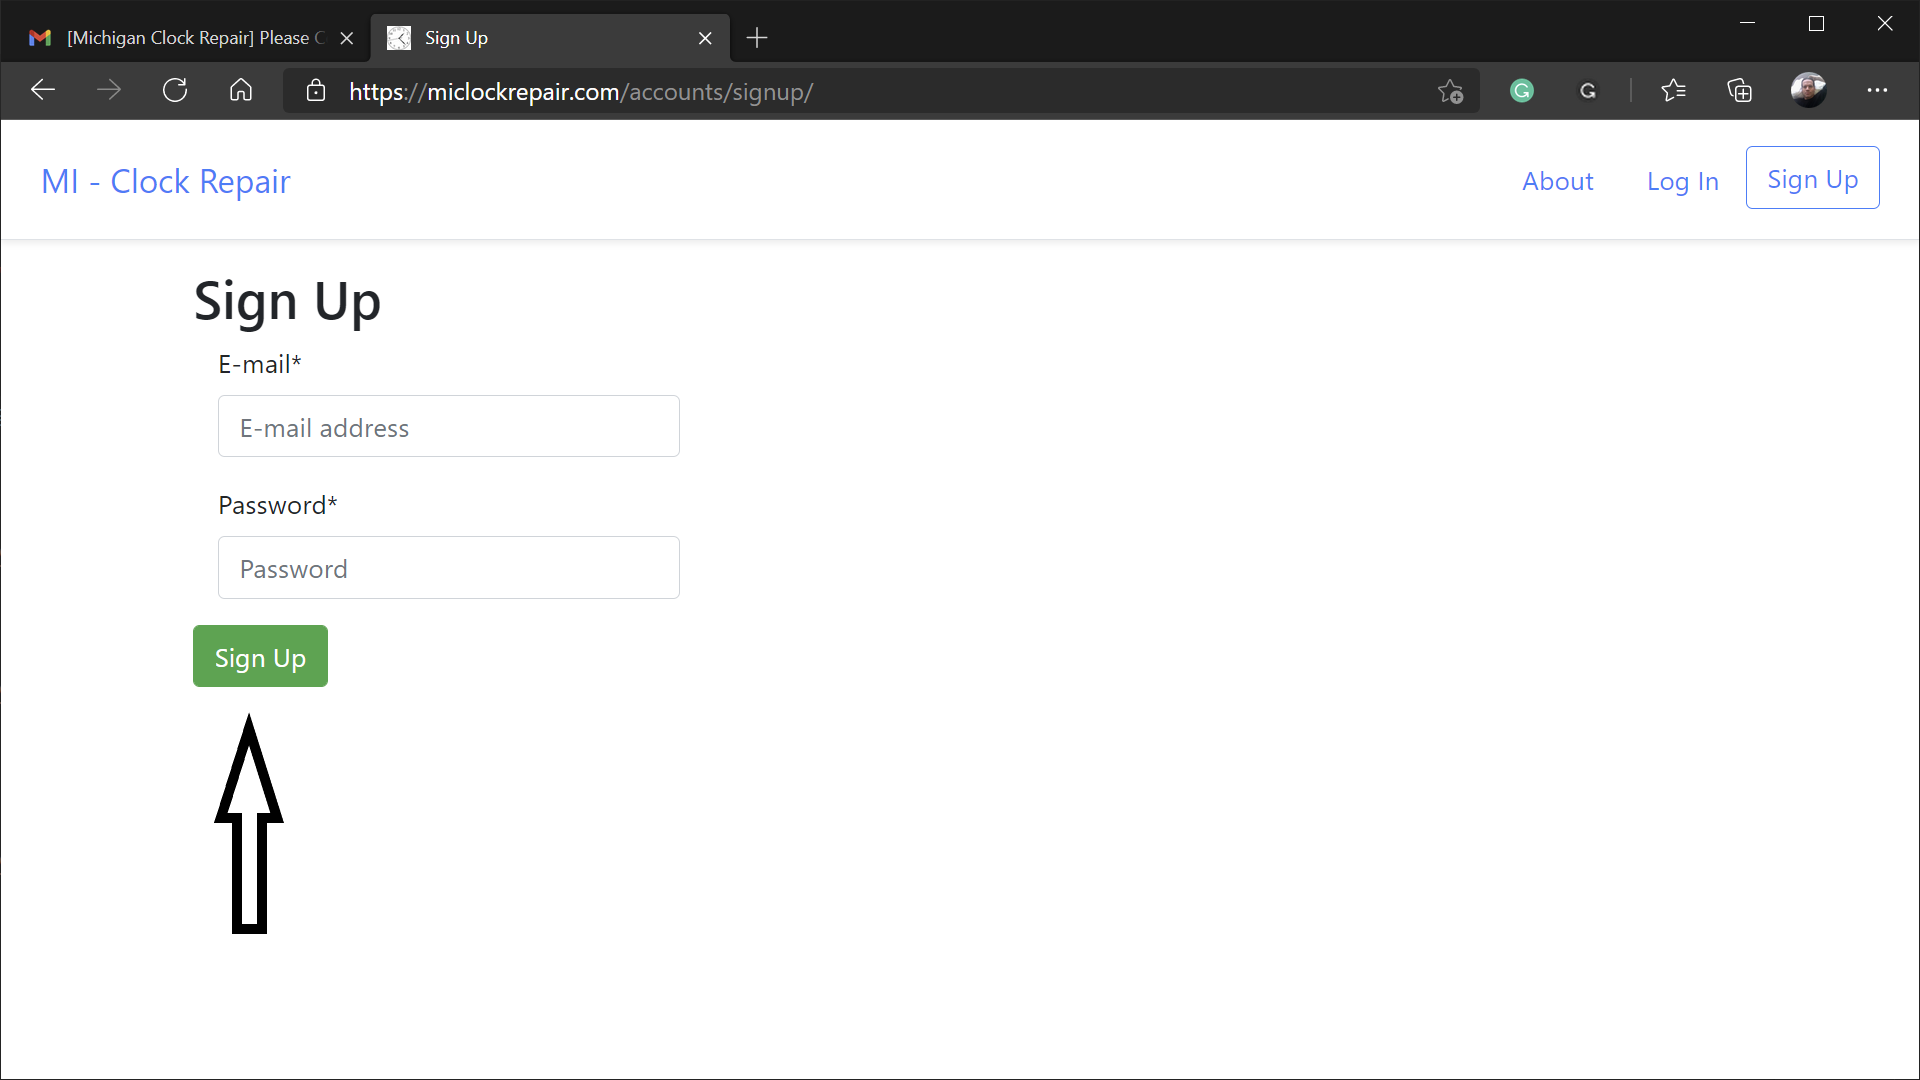
- Enter an email address and password
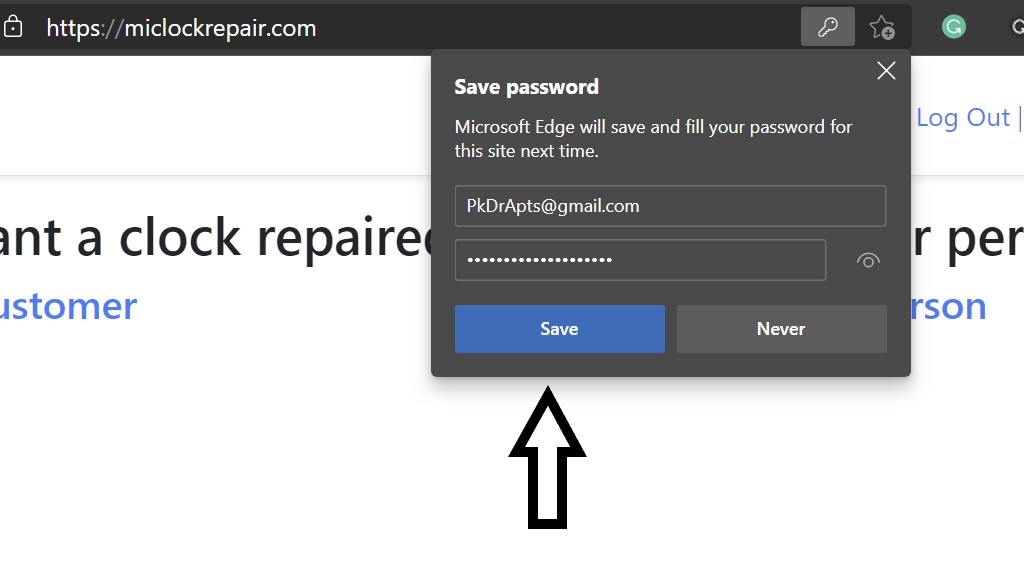
- Click Yes when your browser asks if you want to save your password.
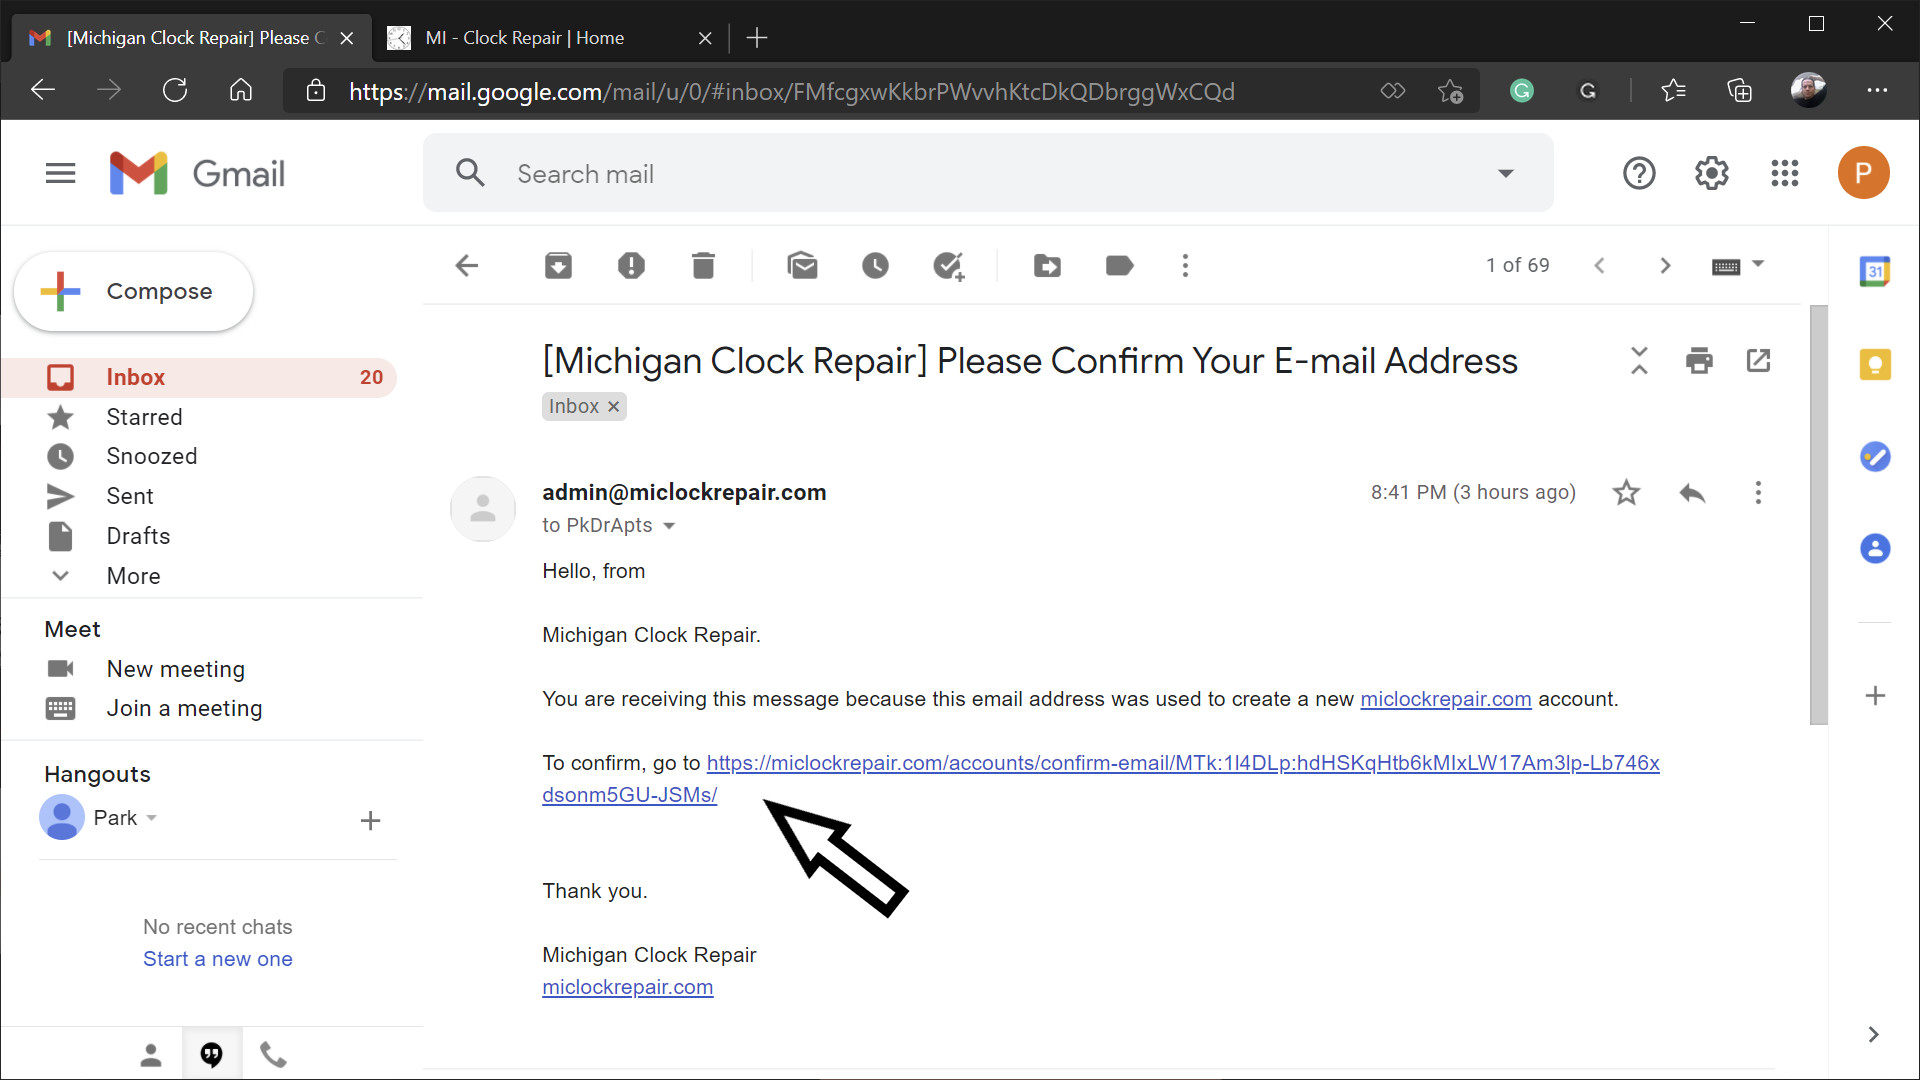
- Open your email and look for the Welcome message
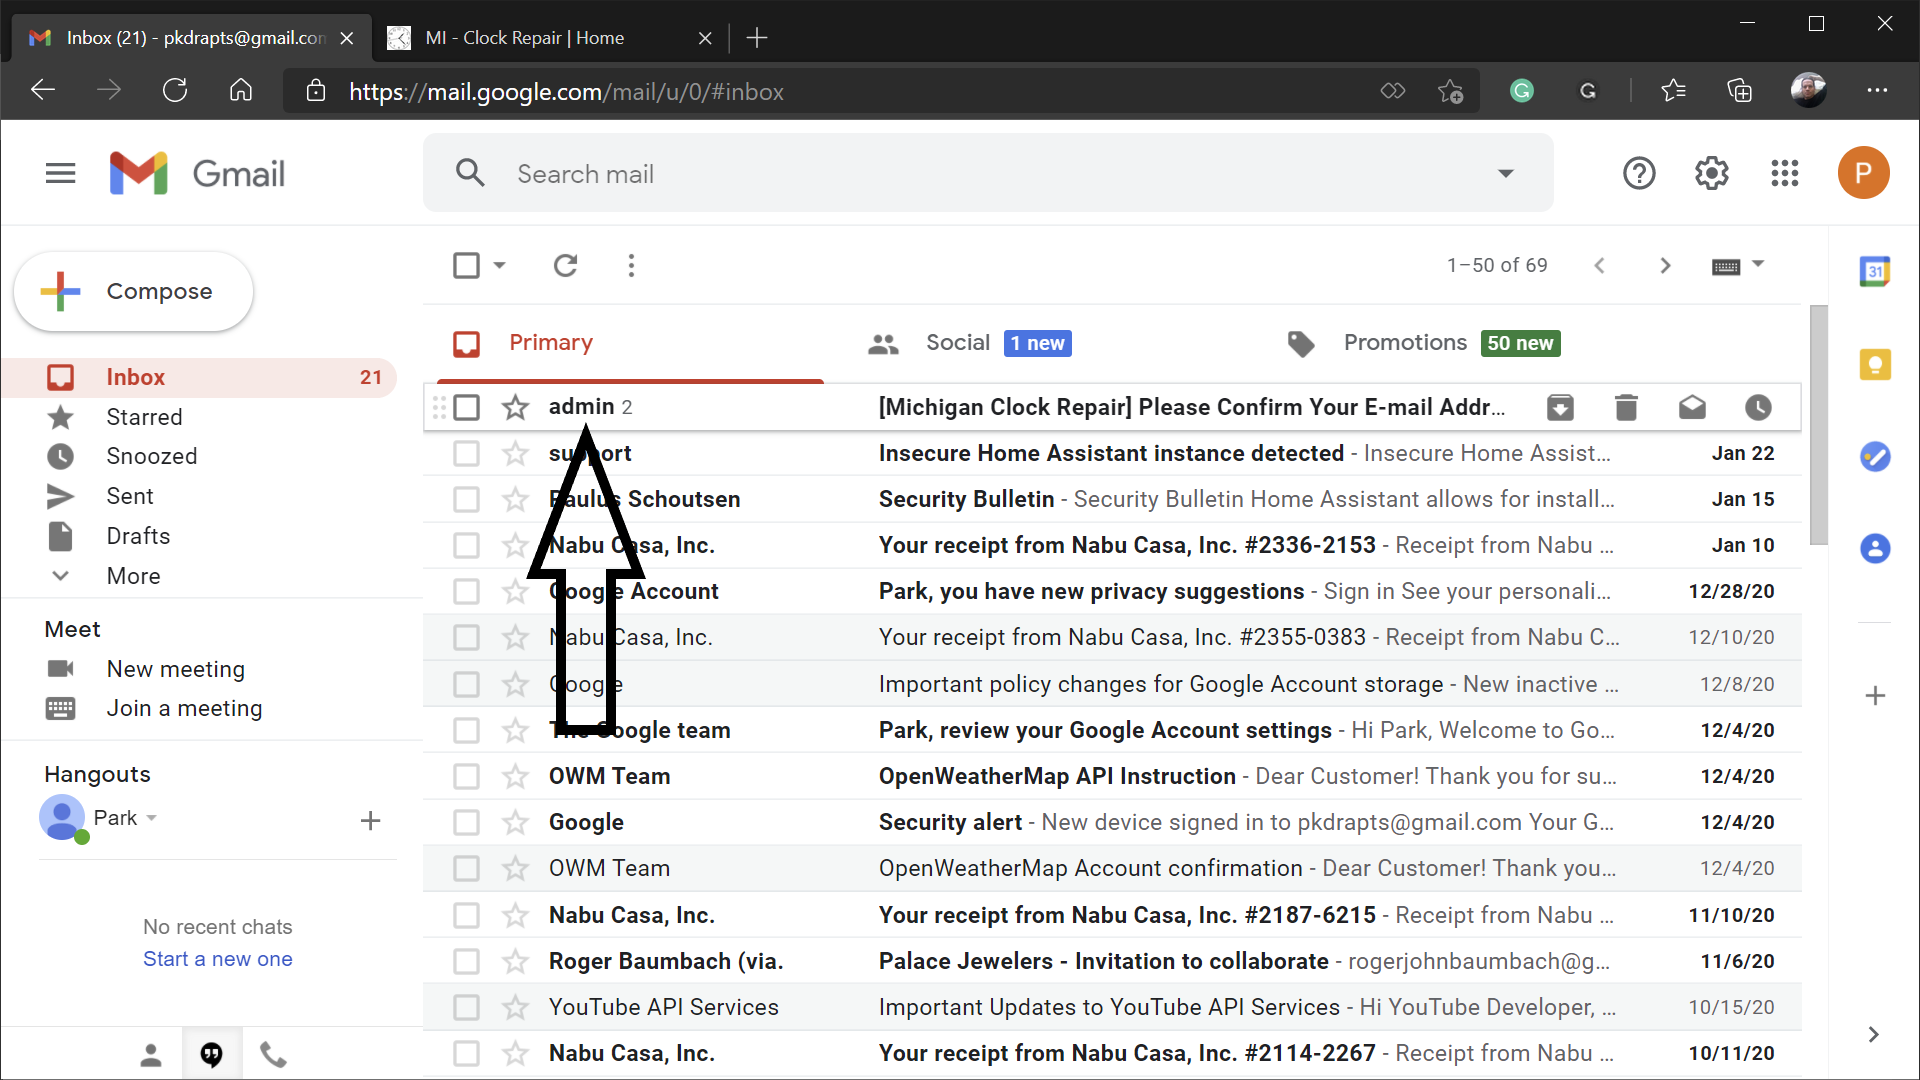
- In the email text, click the link following "To confirm, go to ..."
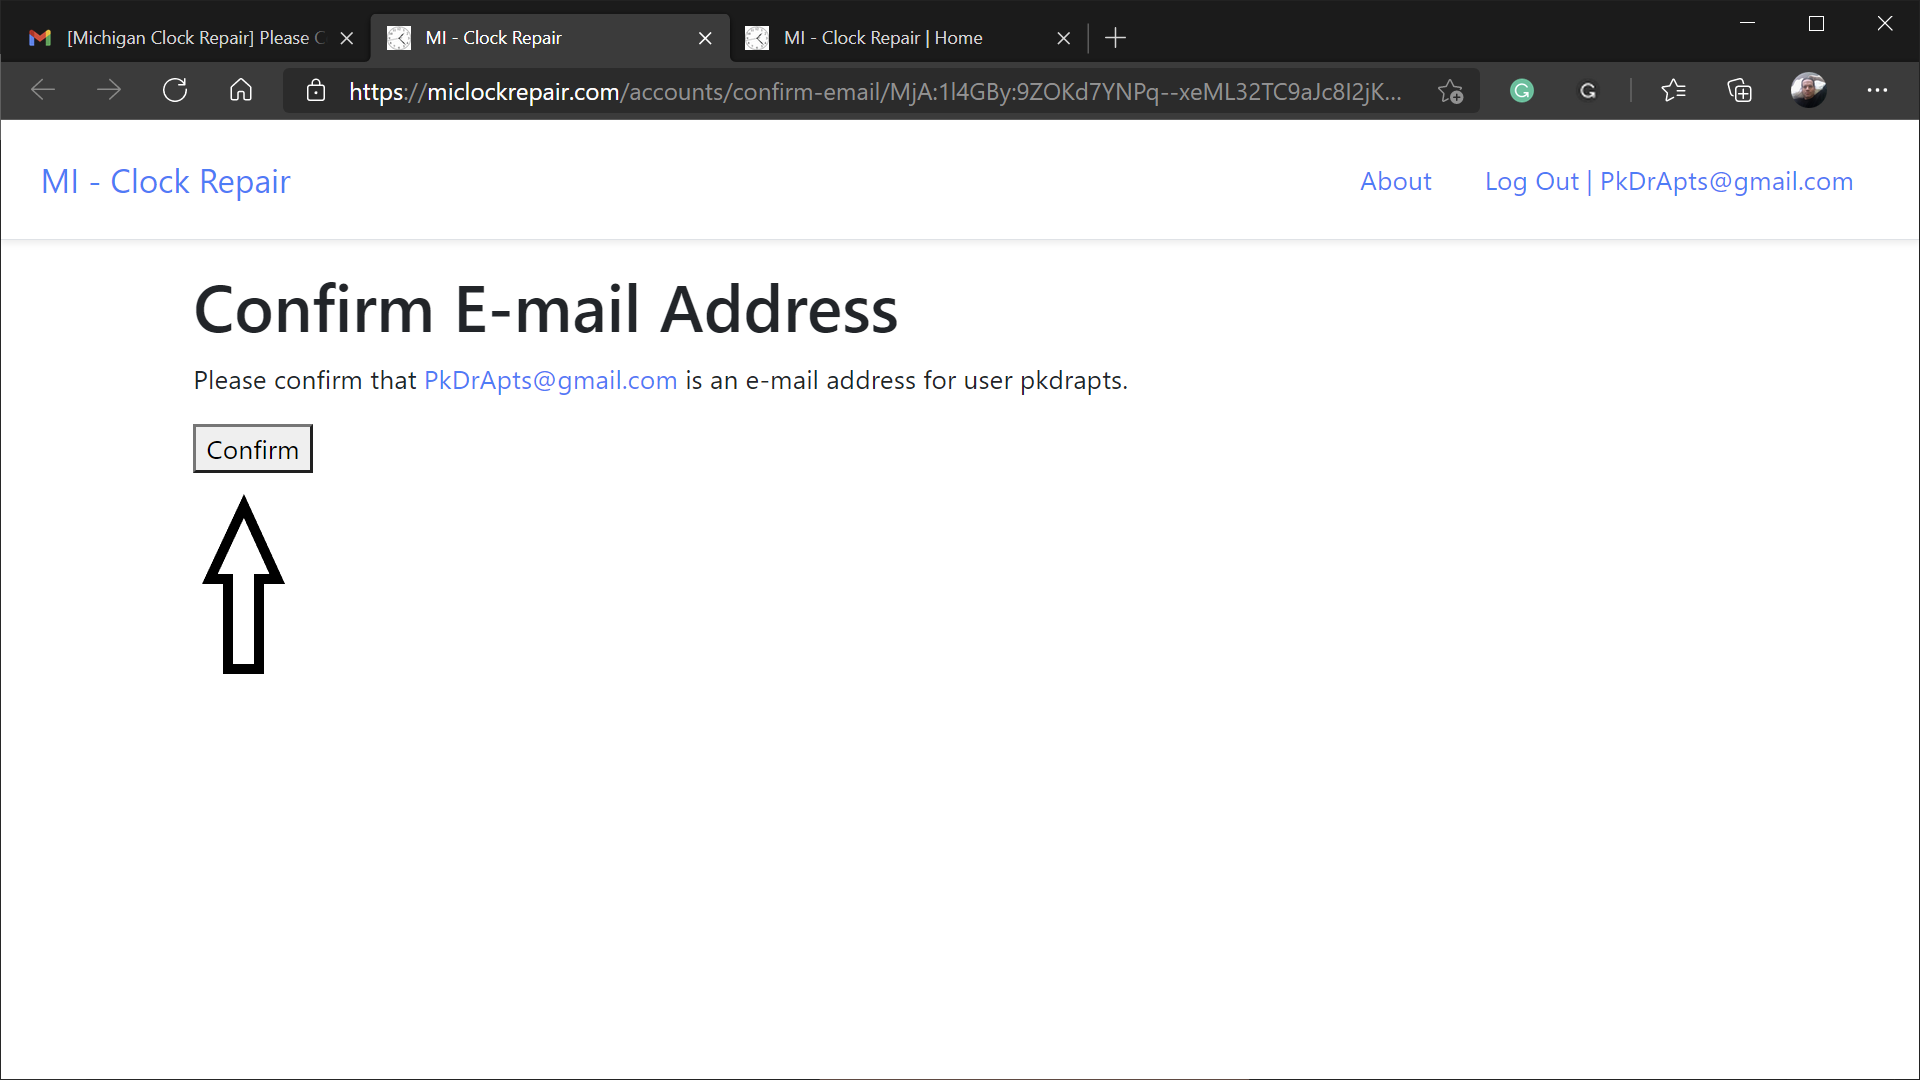
- Click the Confirm button to confirm your email address
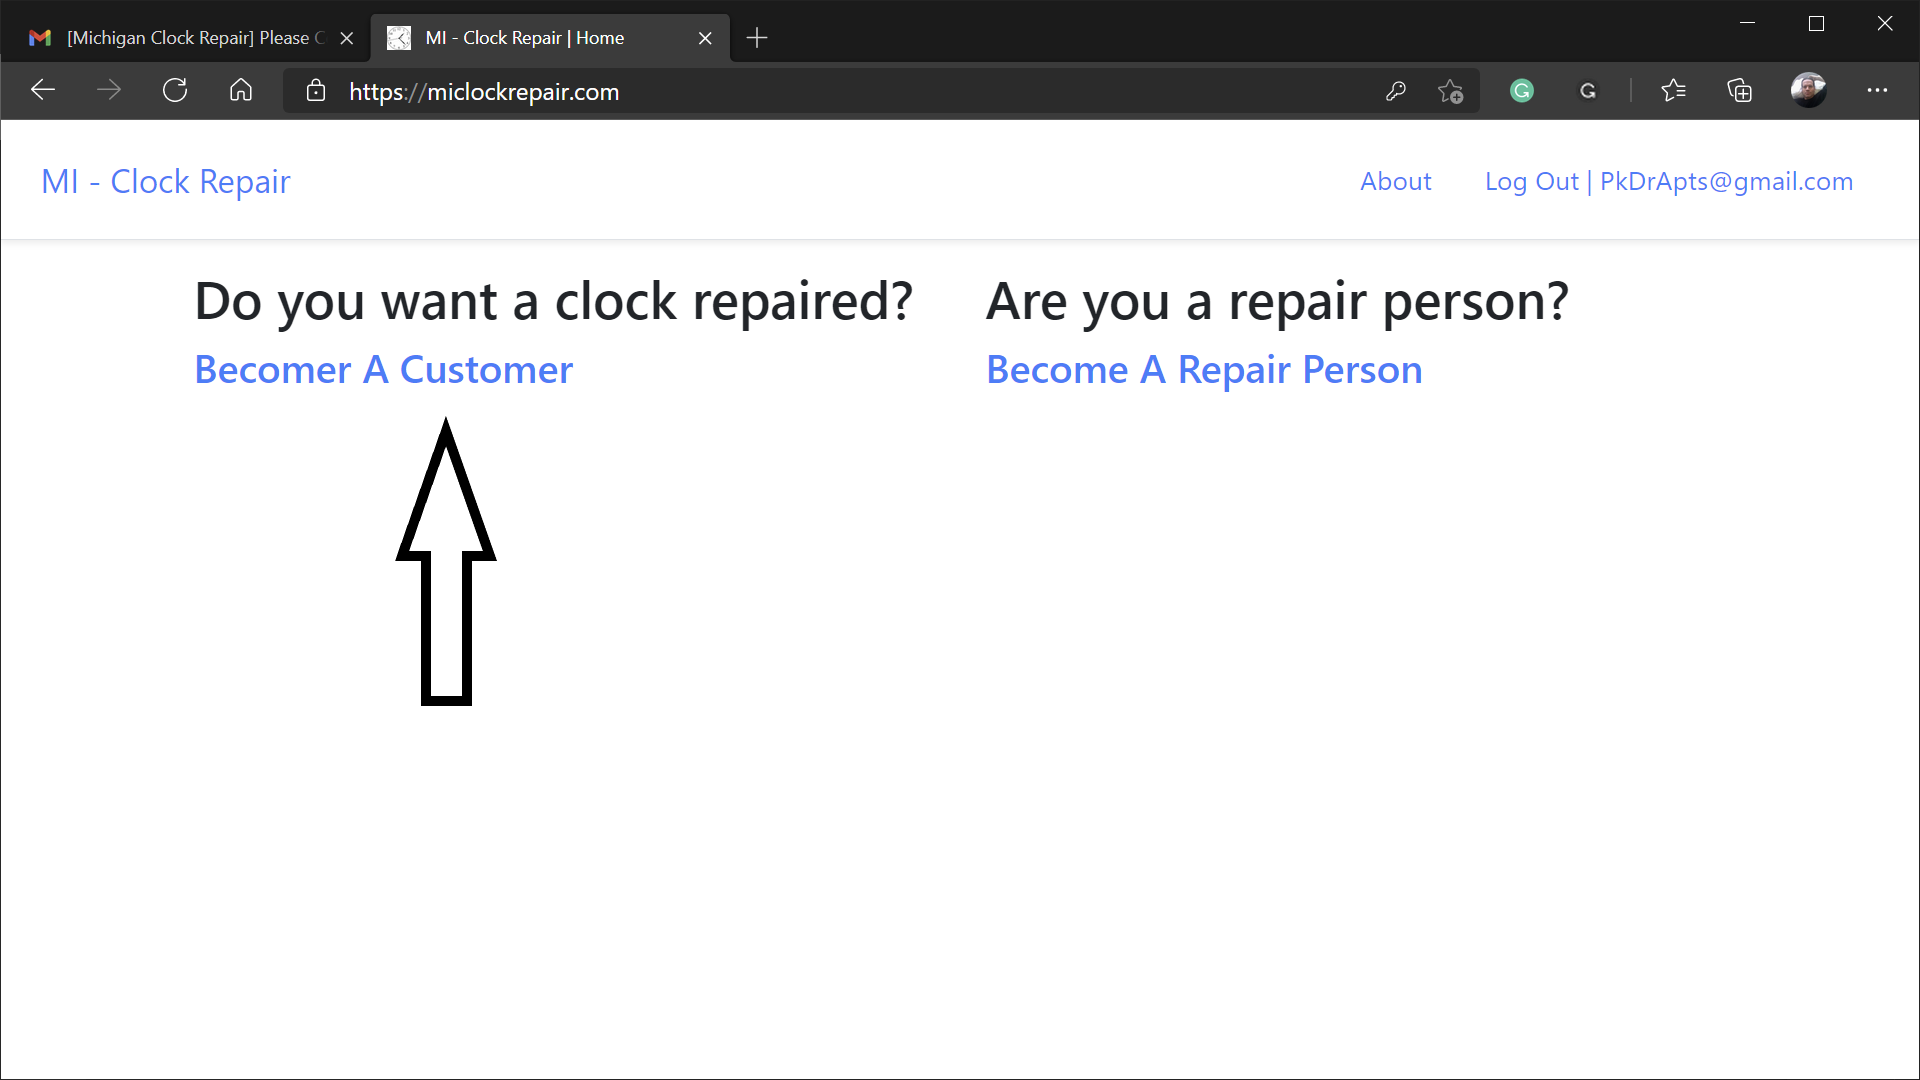
- Click the Become A Customer link
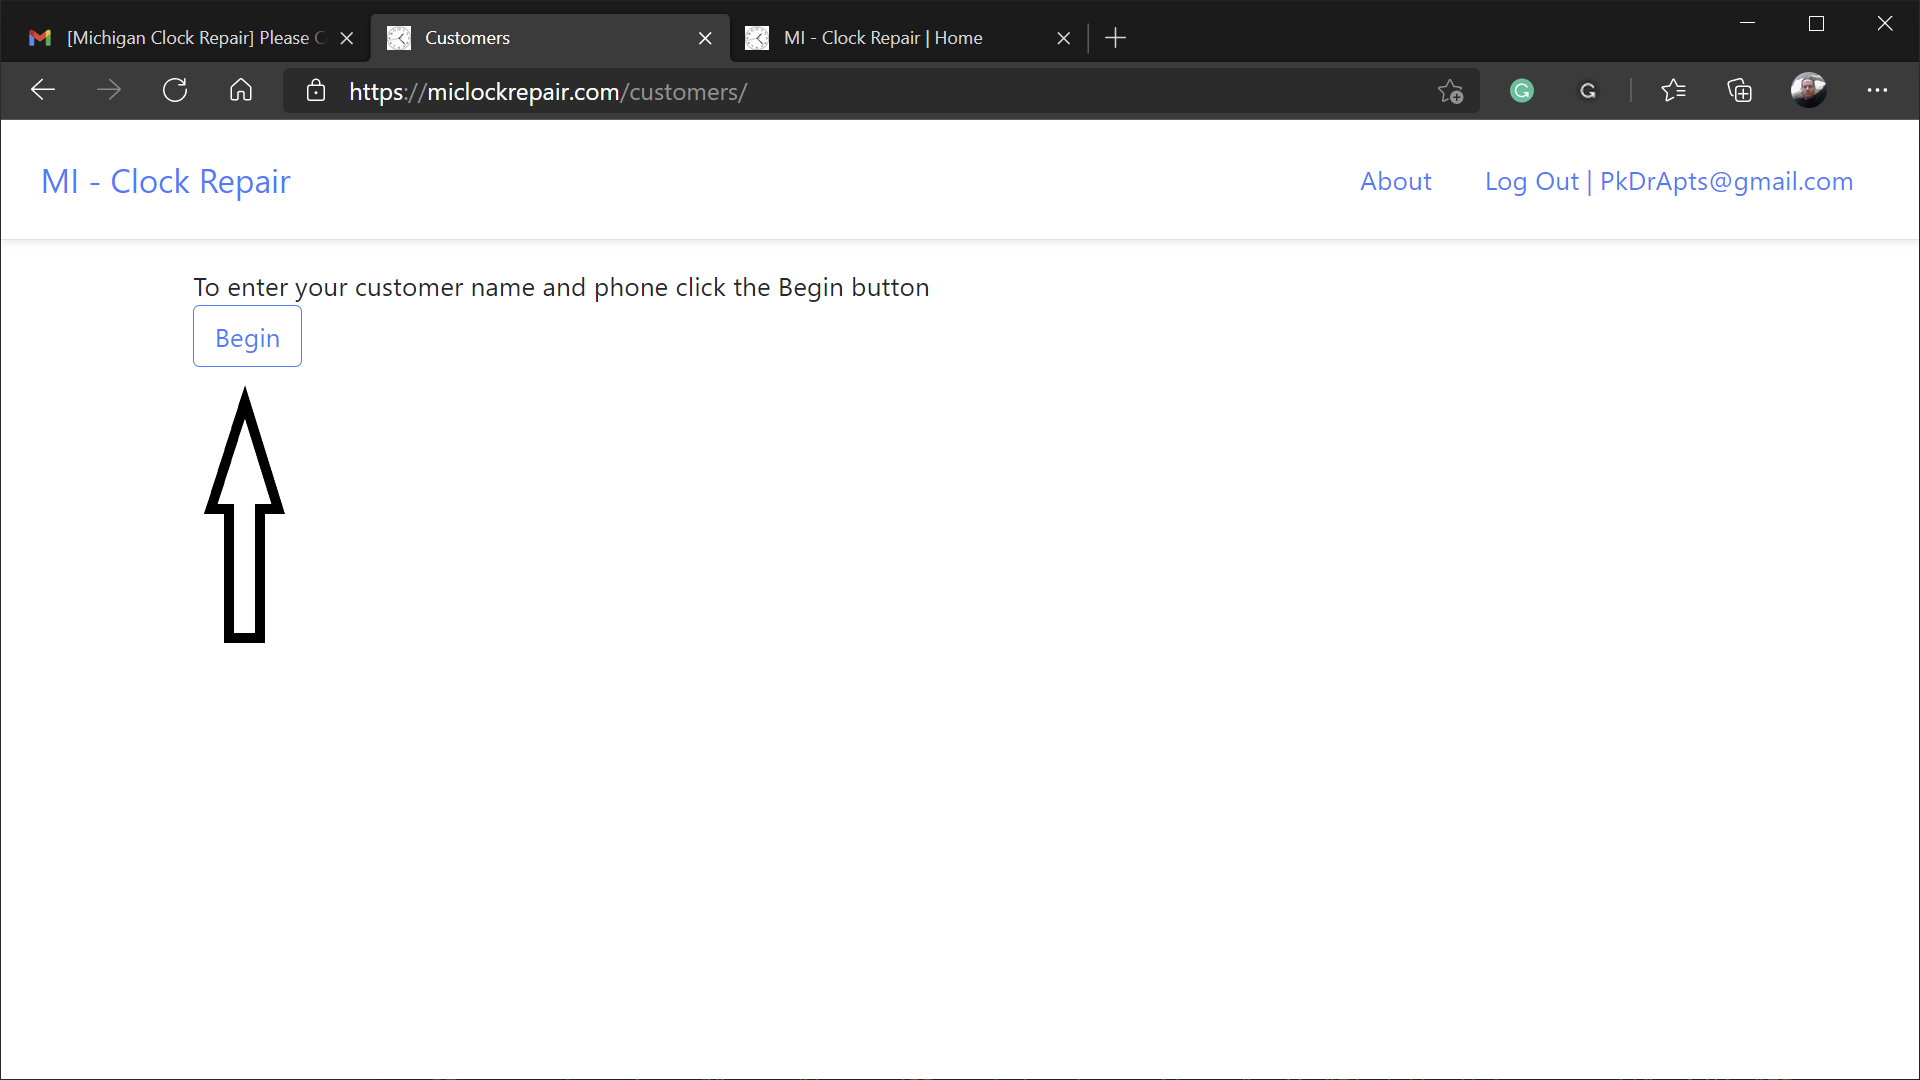
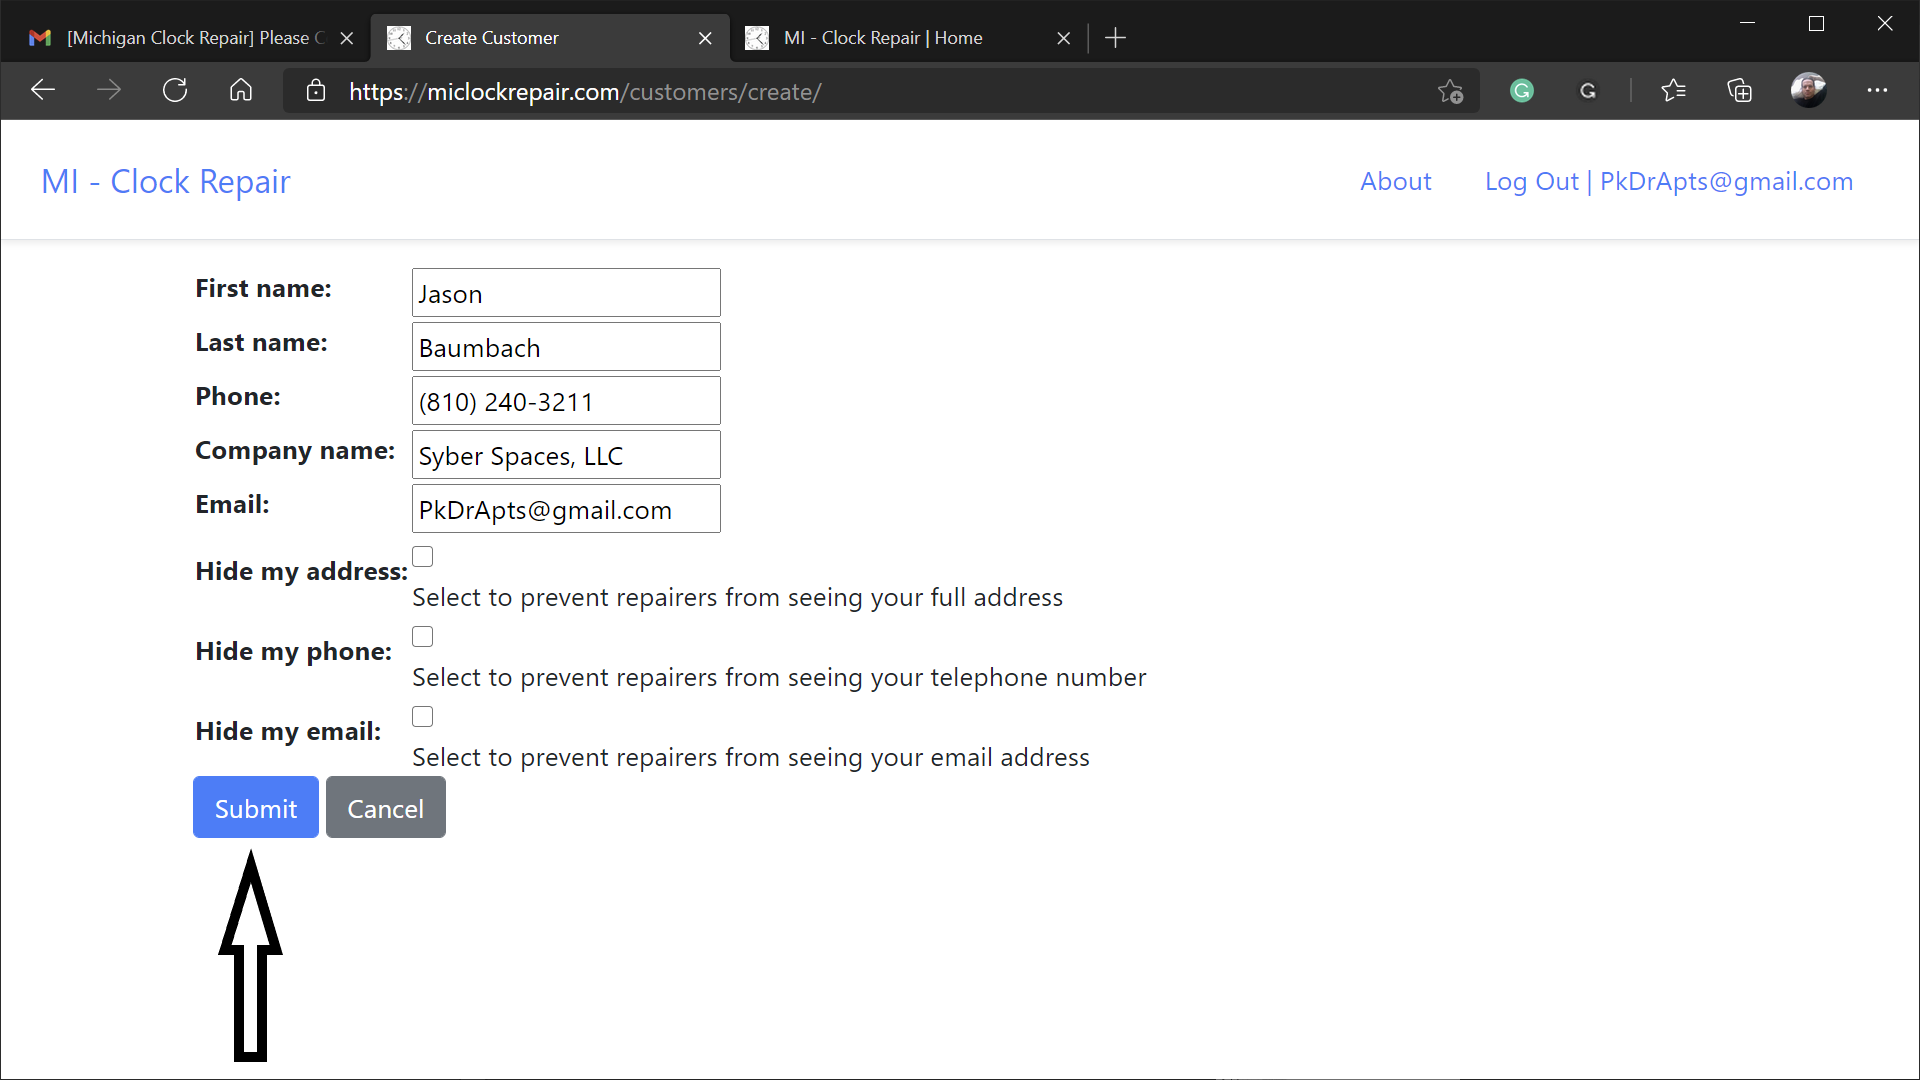
- Fill out the Customer Information Form, then press the Submit button
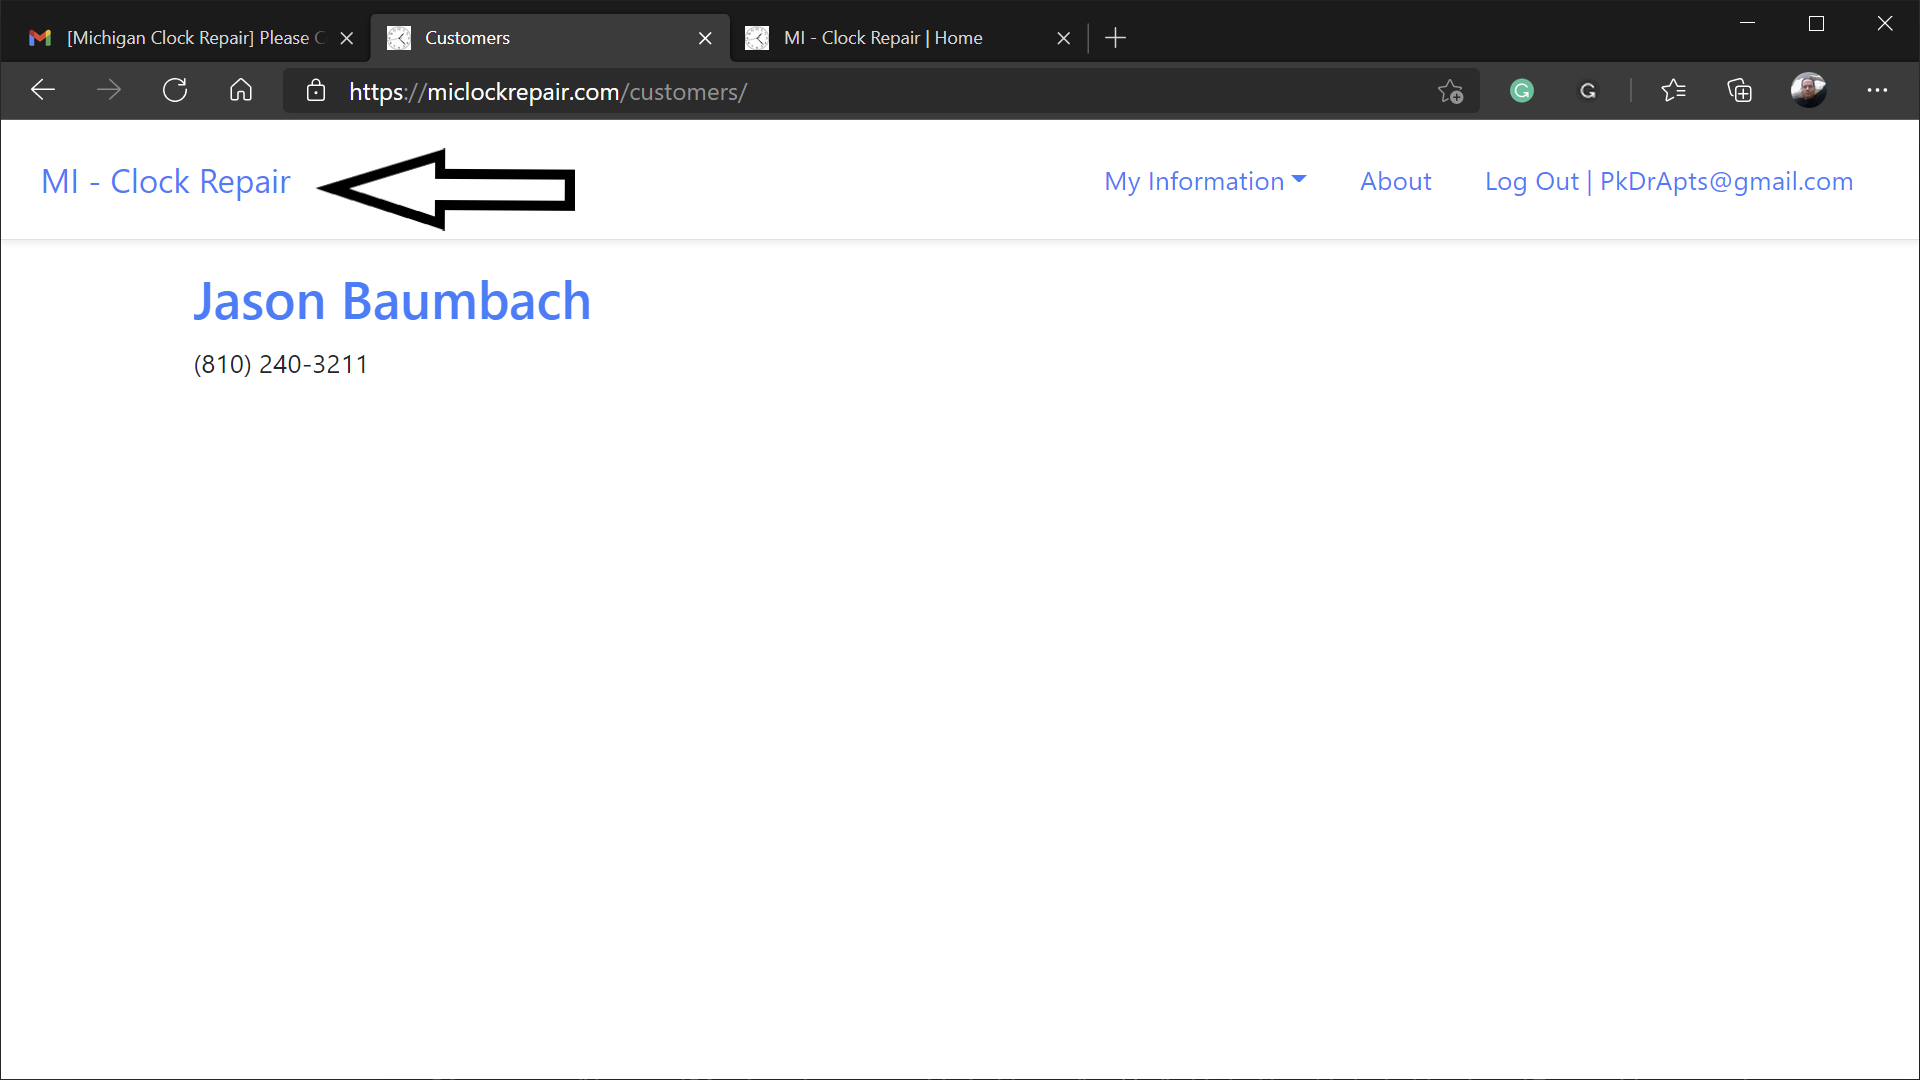
- Click the Mi - Clock Repair logo to return to the home page
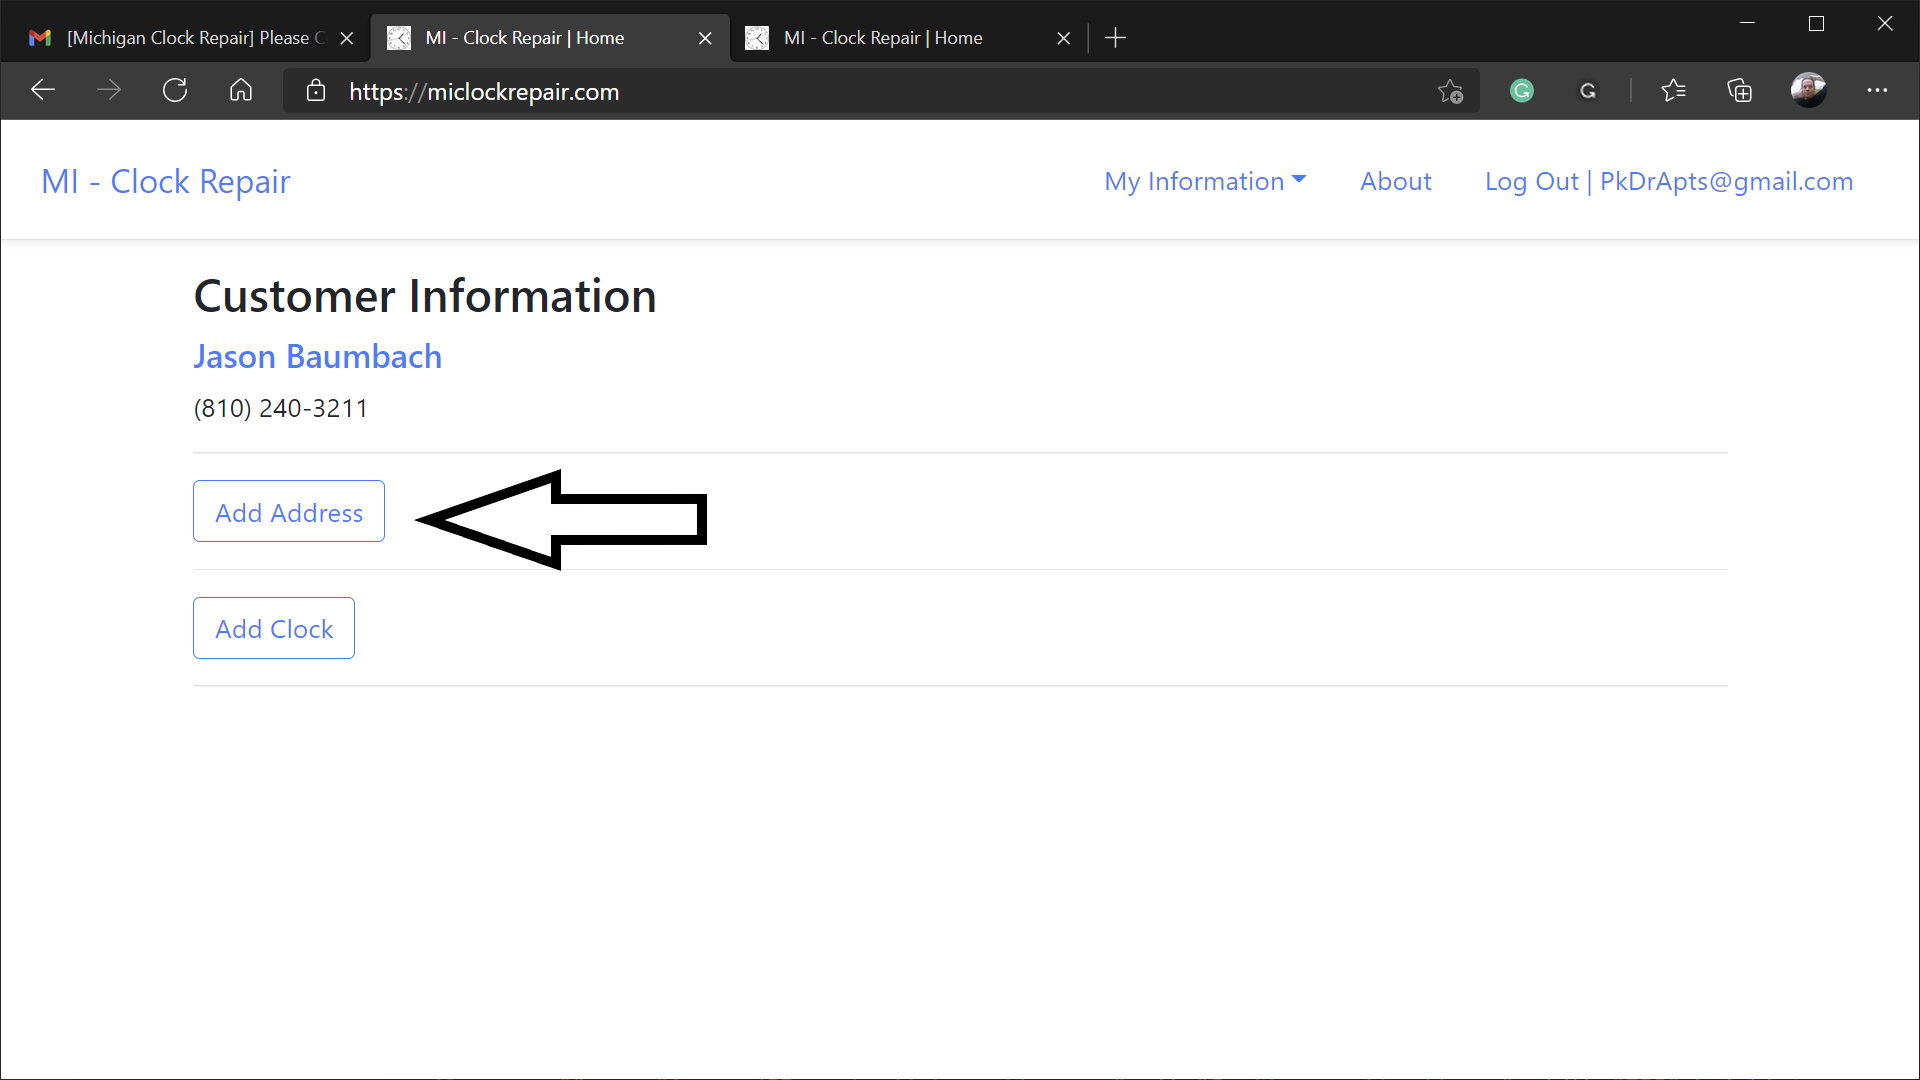
- Click the Add Address button
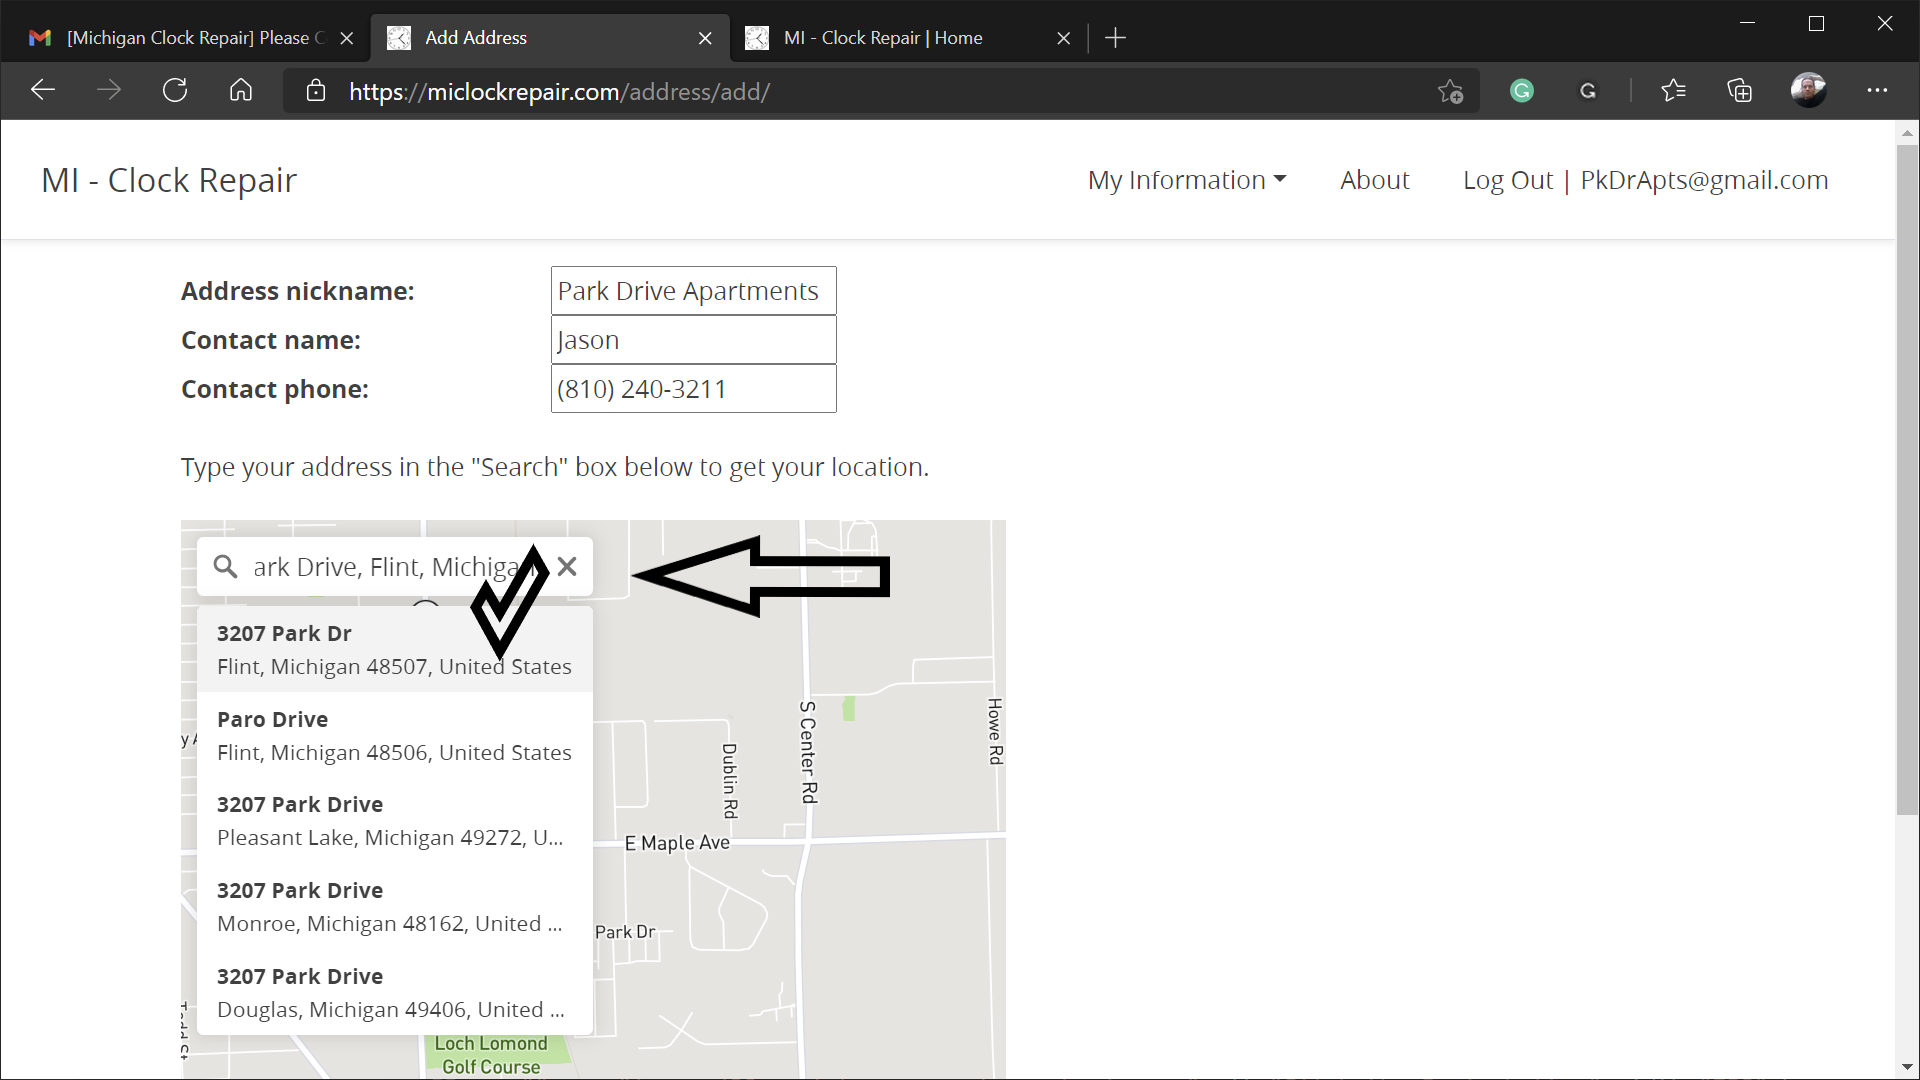
- Enter nickname and contact information for this address
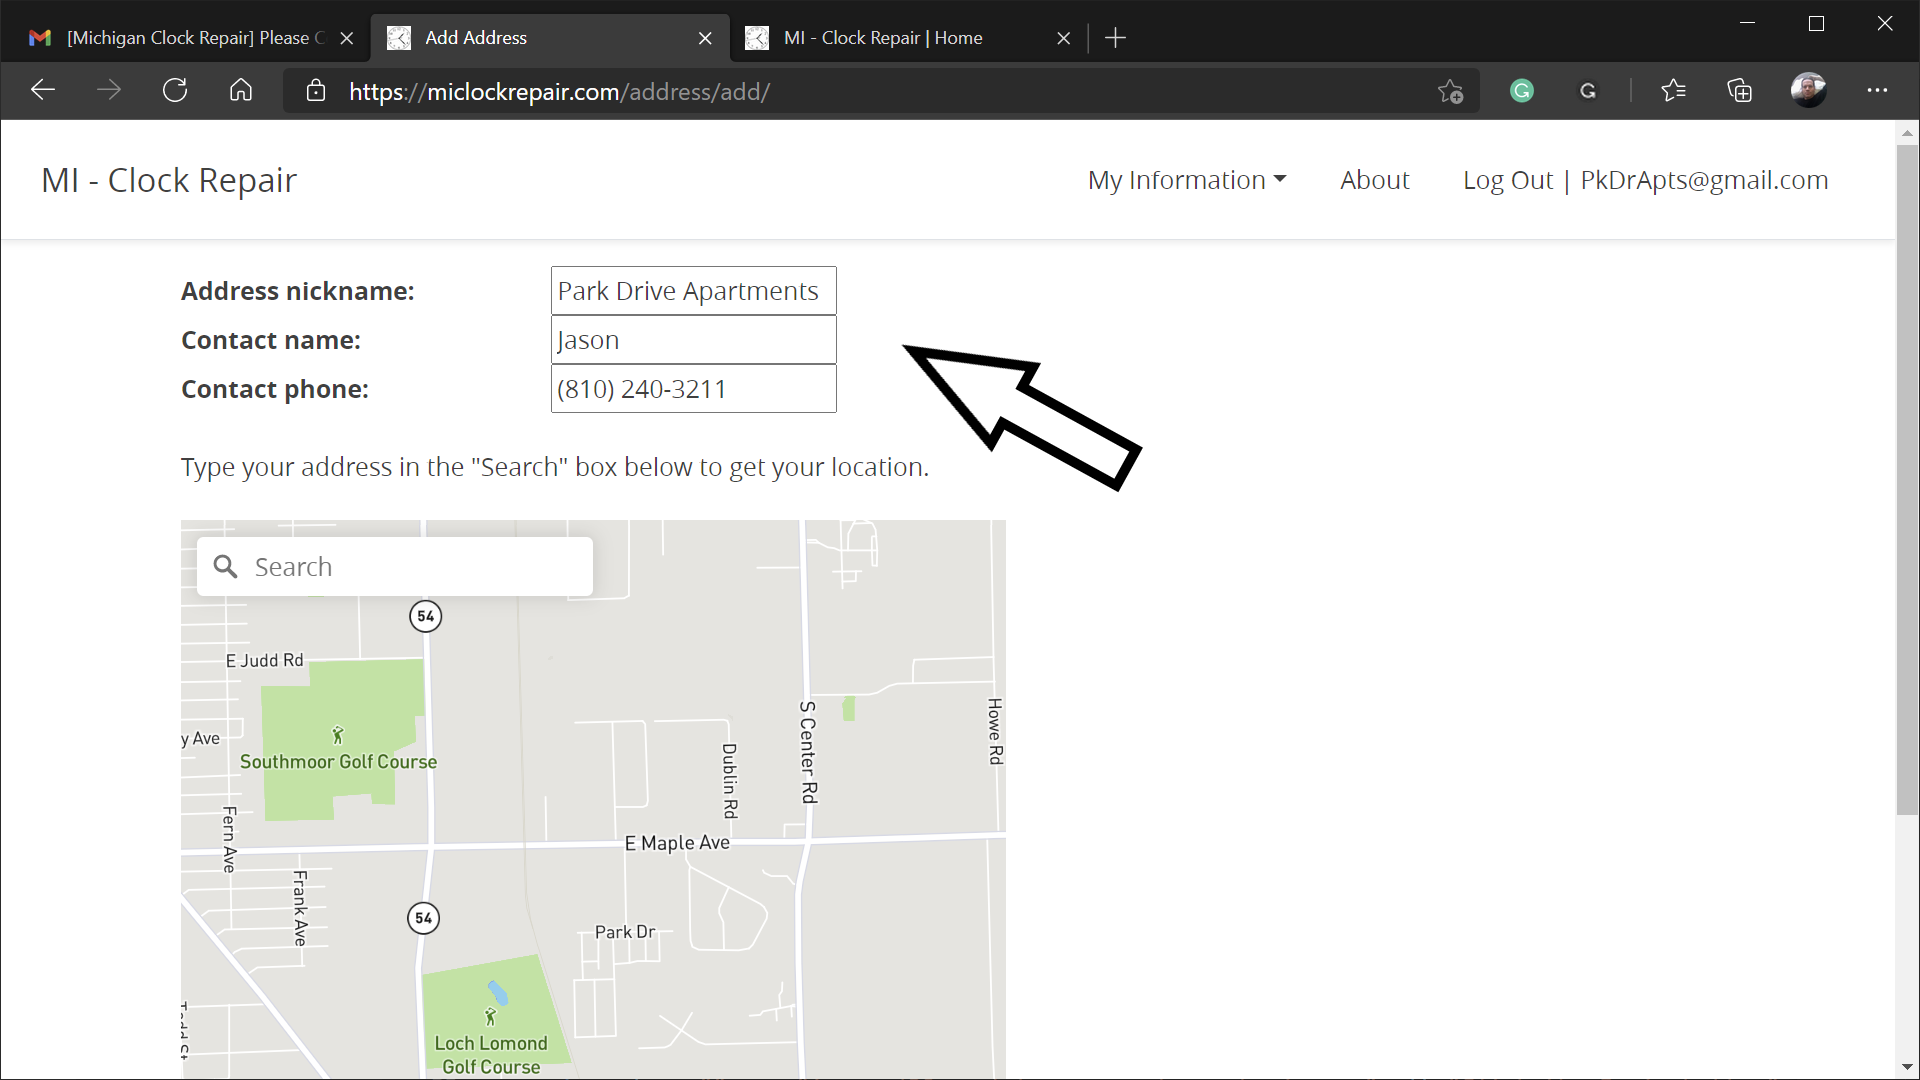
- Type your address in the Search box to get your location
- Then click on your address
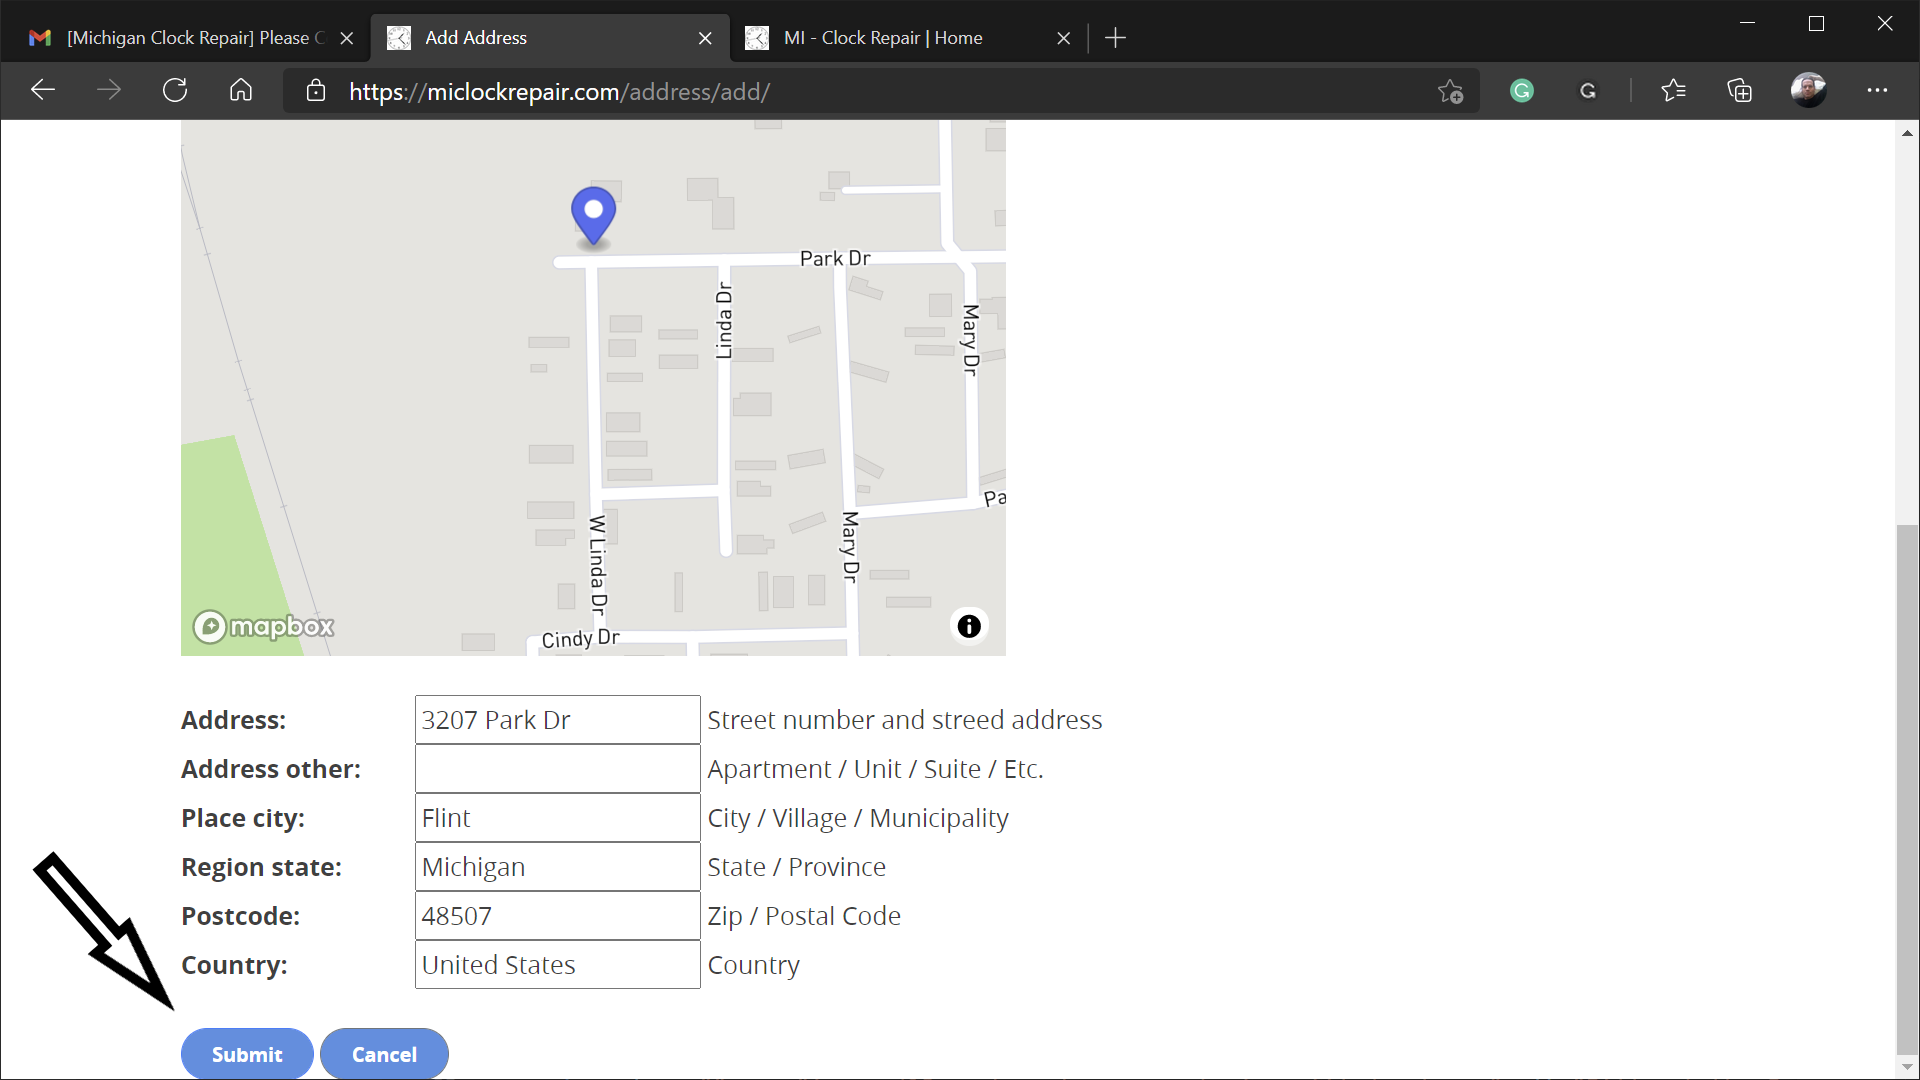
- The Address Information Form will be automatically filled out for you
- Make any necessary changes
- Press Submit button
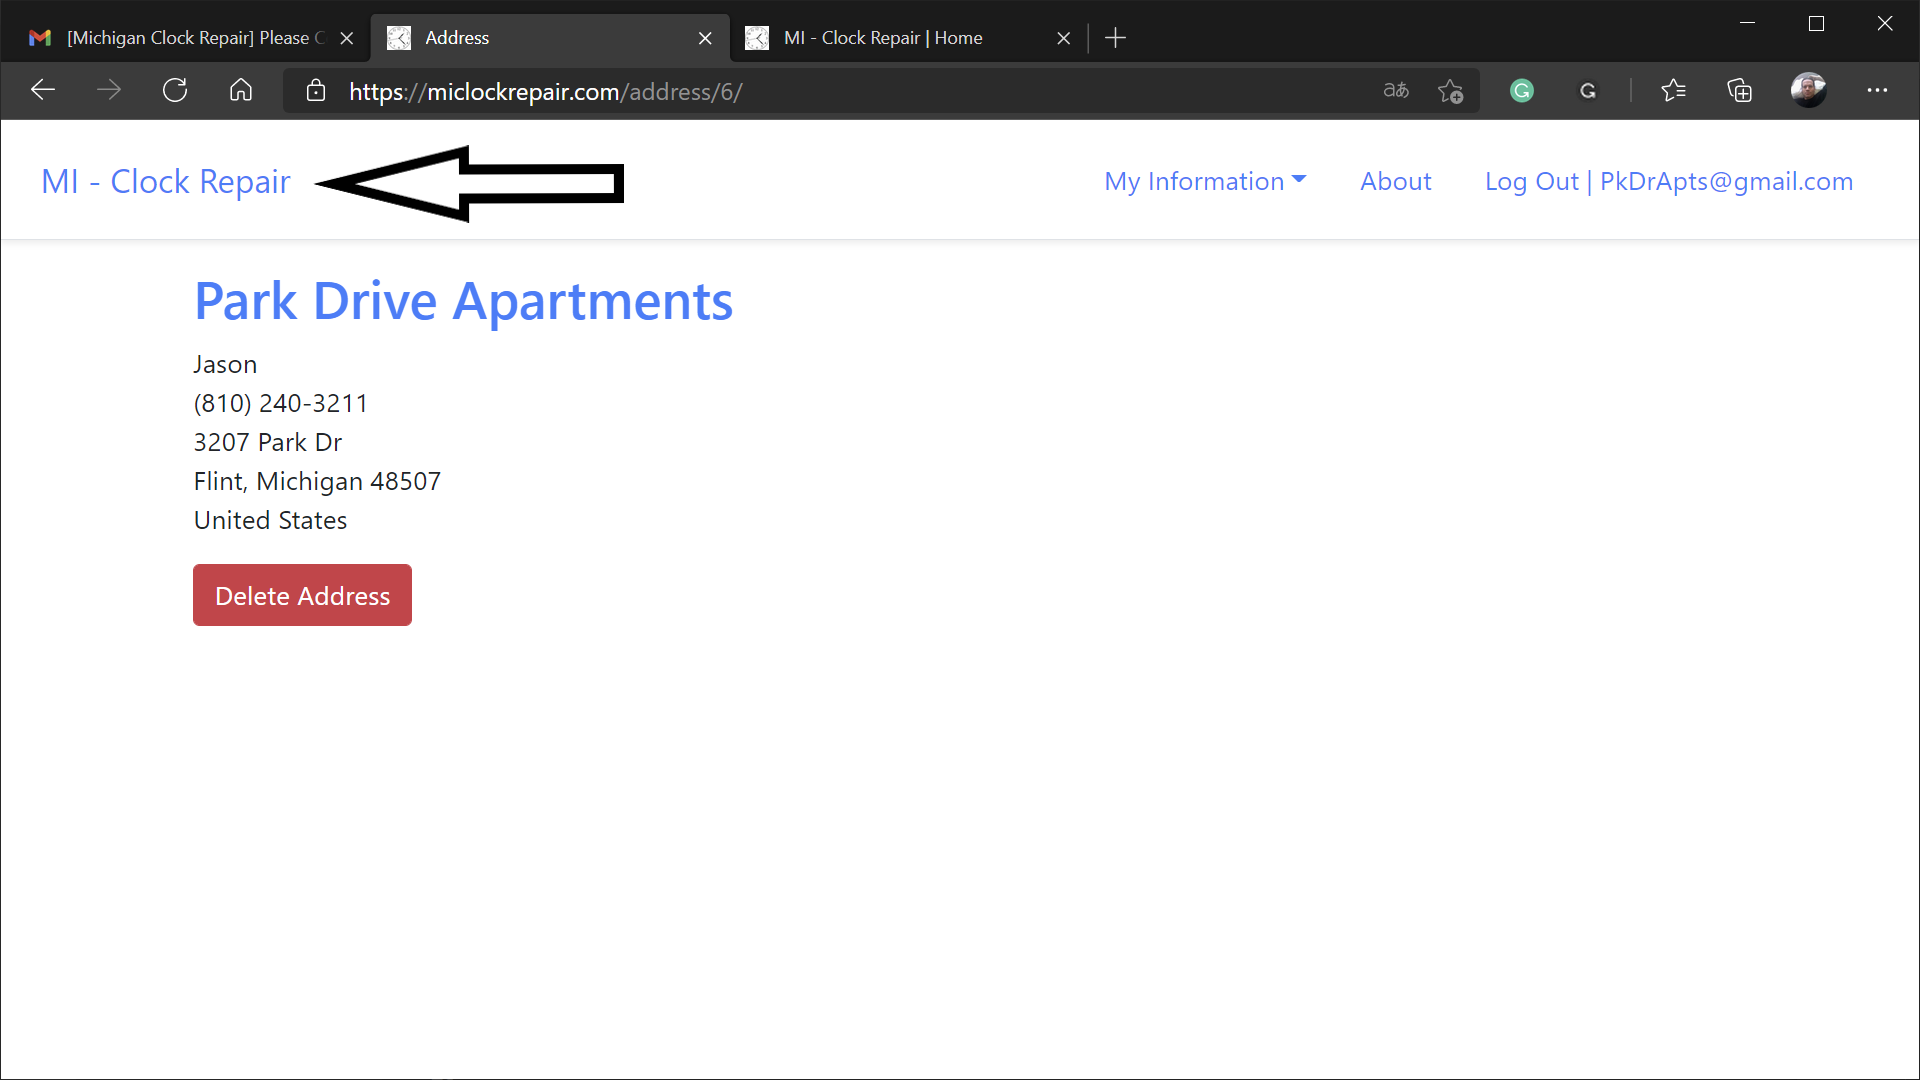
- Click the Mi - Clock Repair logo to return to the home page
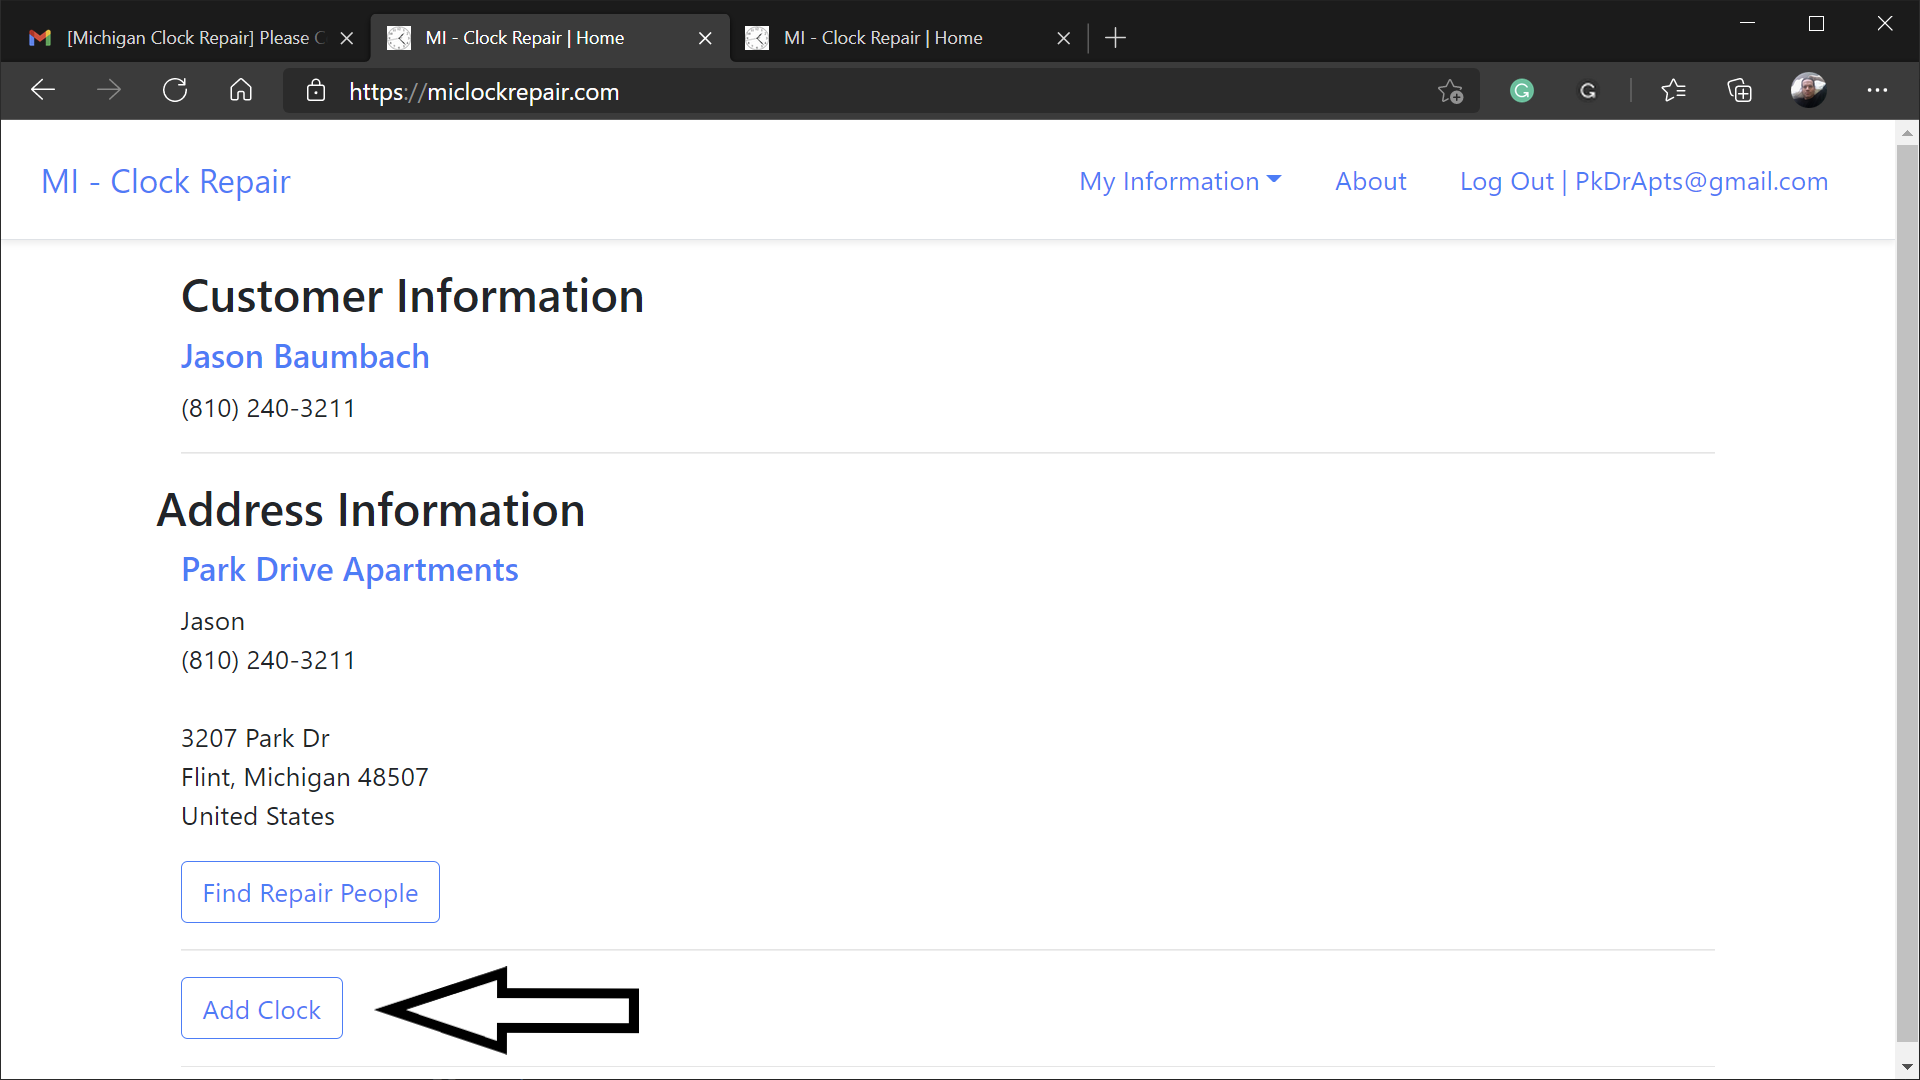
- Click the Add Clock button
- Scroll through the list of clock types
- Do not worry about the different clock type names because there is no industry standard naming convention for clock types
- Try to find a clock that most closely resembles your clock
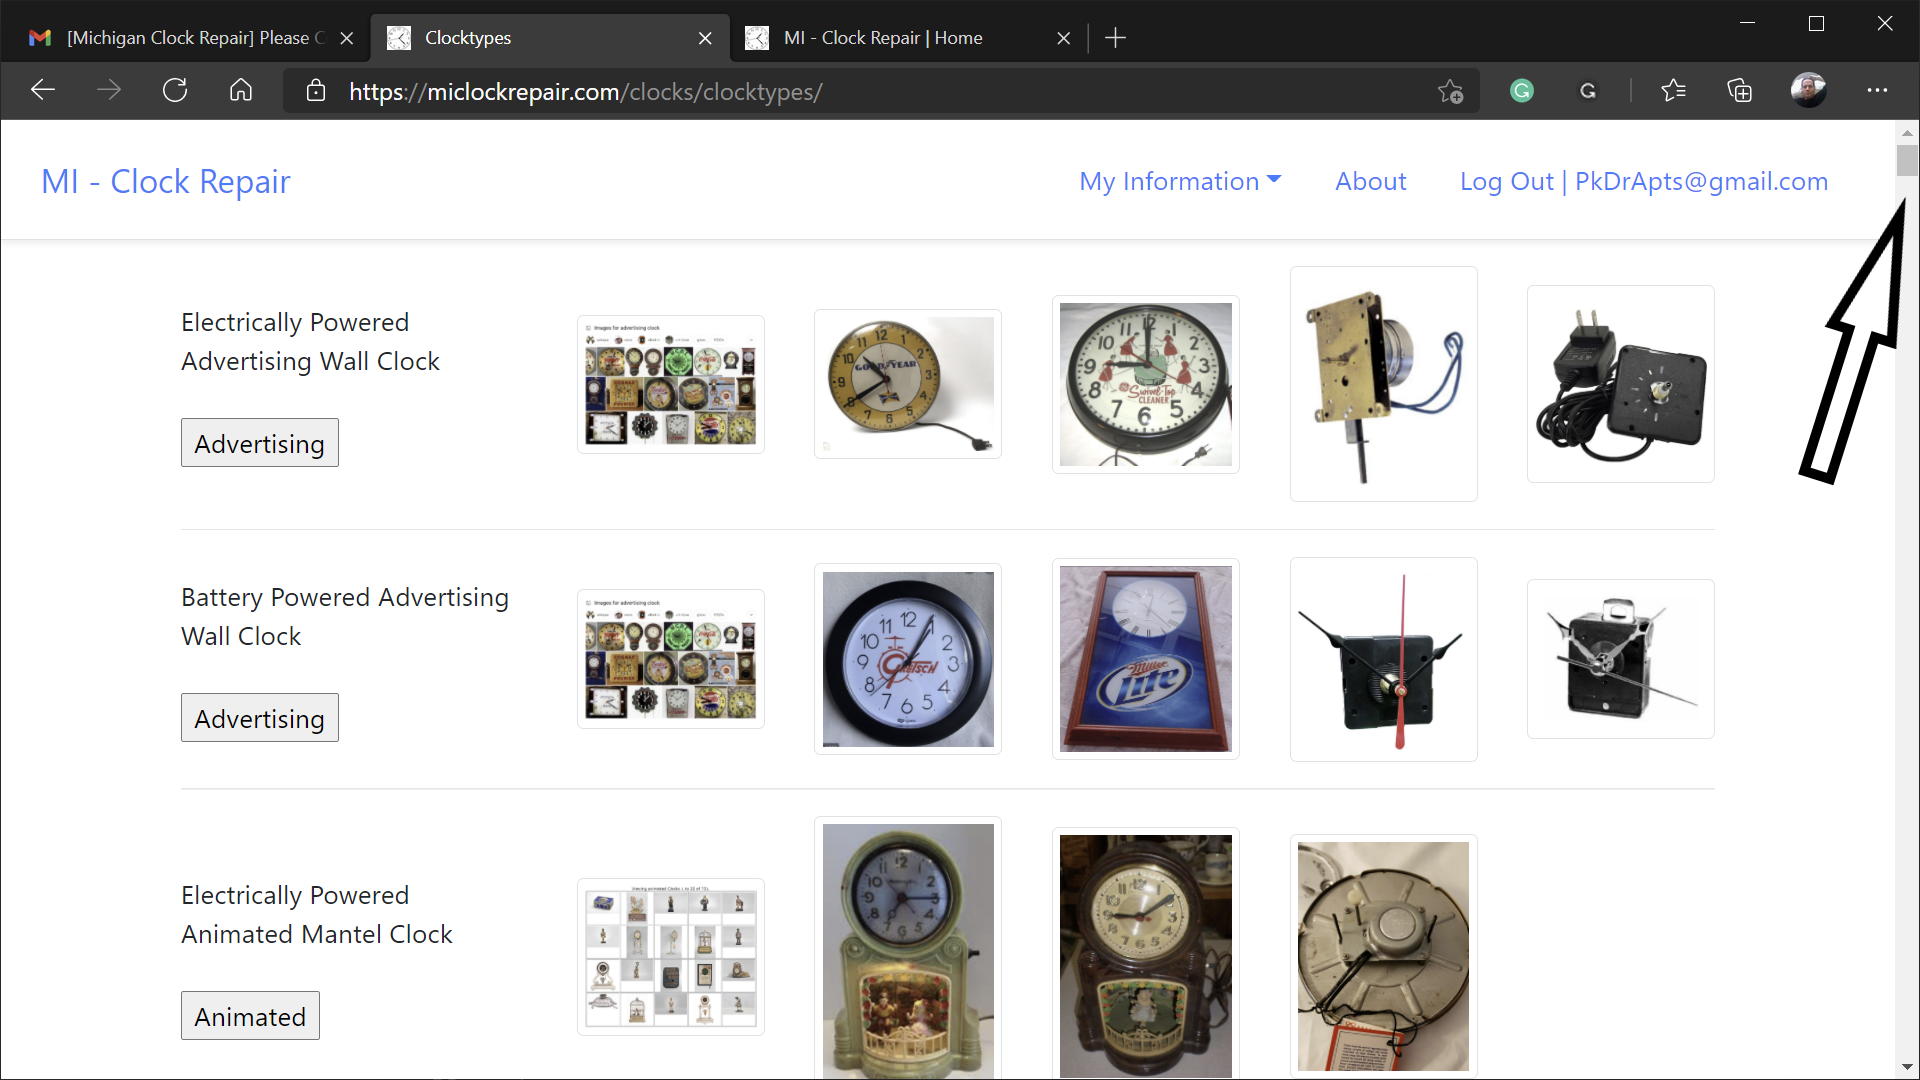
- Read the descriptions
- Ask yourself the following questions.
- Does your clock have batteries? Does your clock strike the hour? Does your clock chime every quarter of an hour?
- Look for a description that most closely matches your clock's functionality
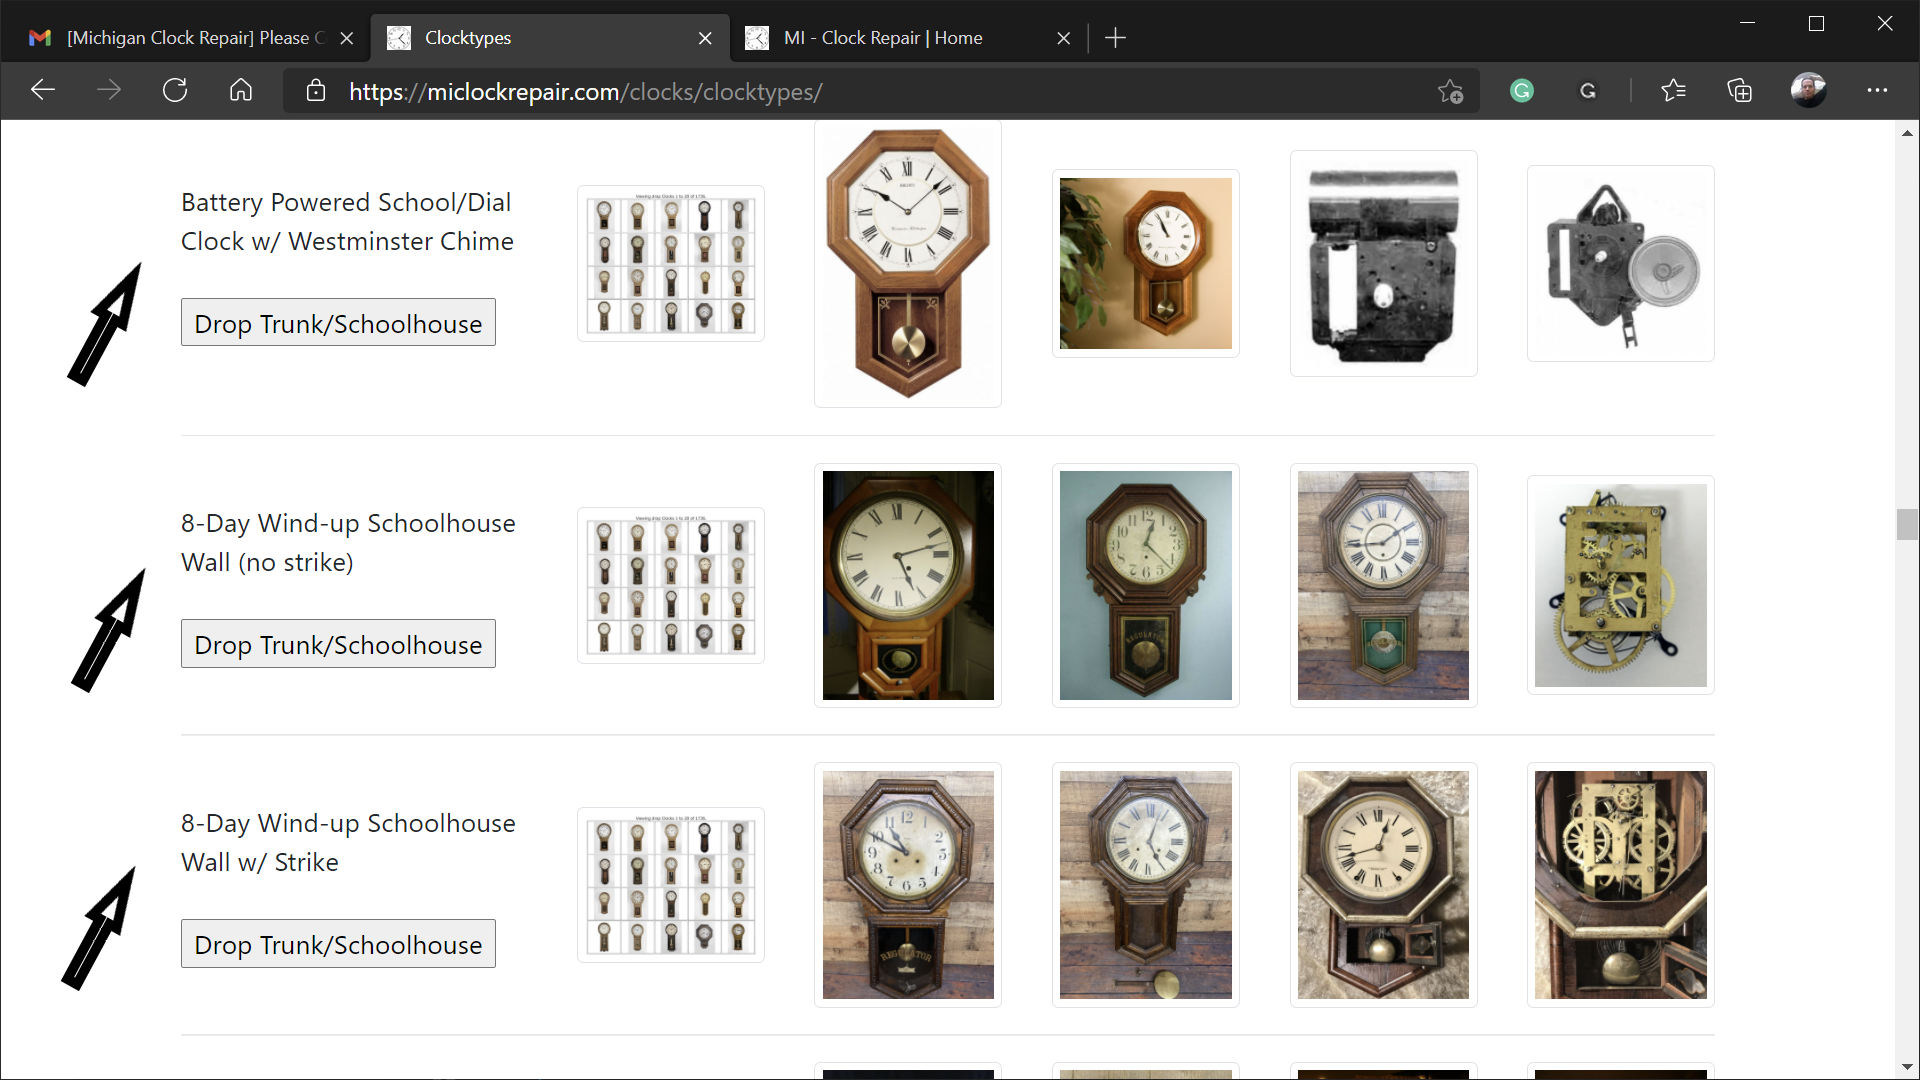
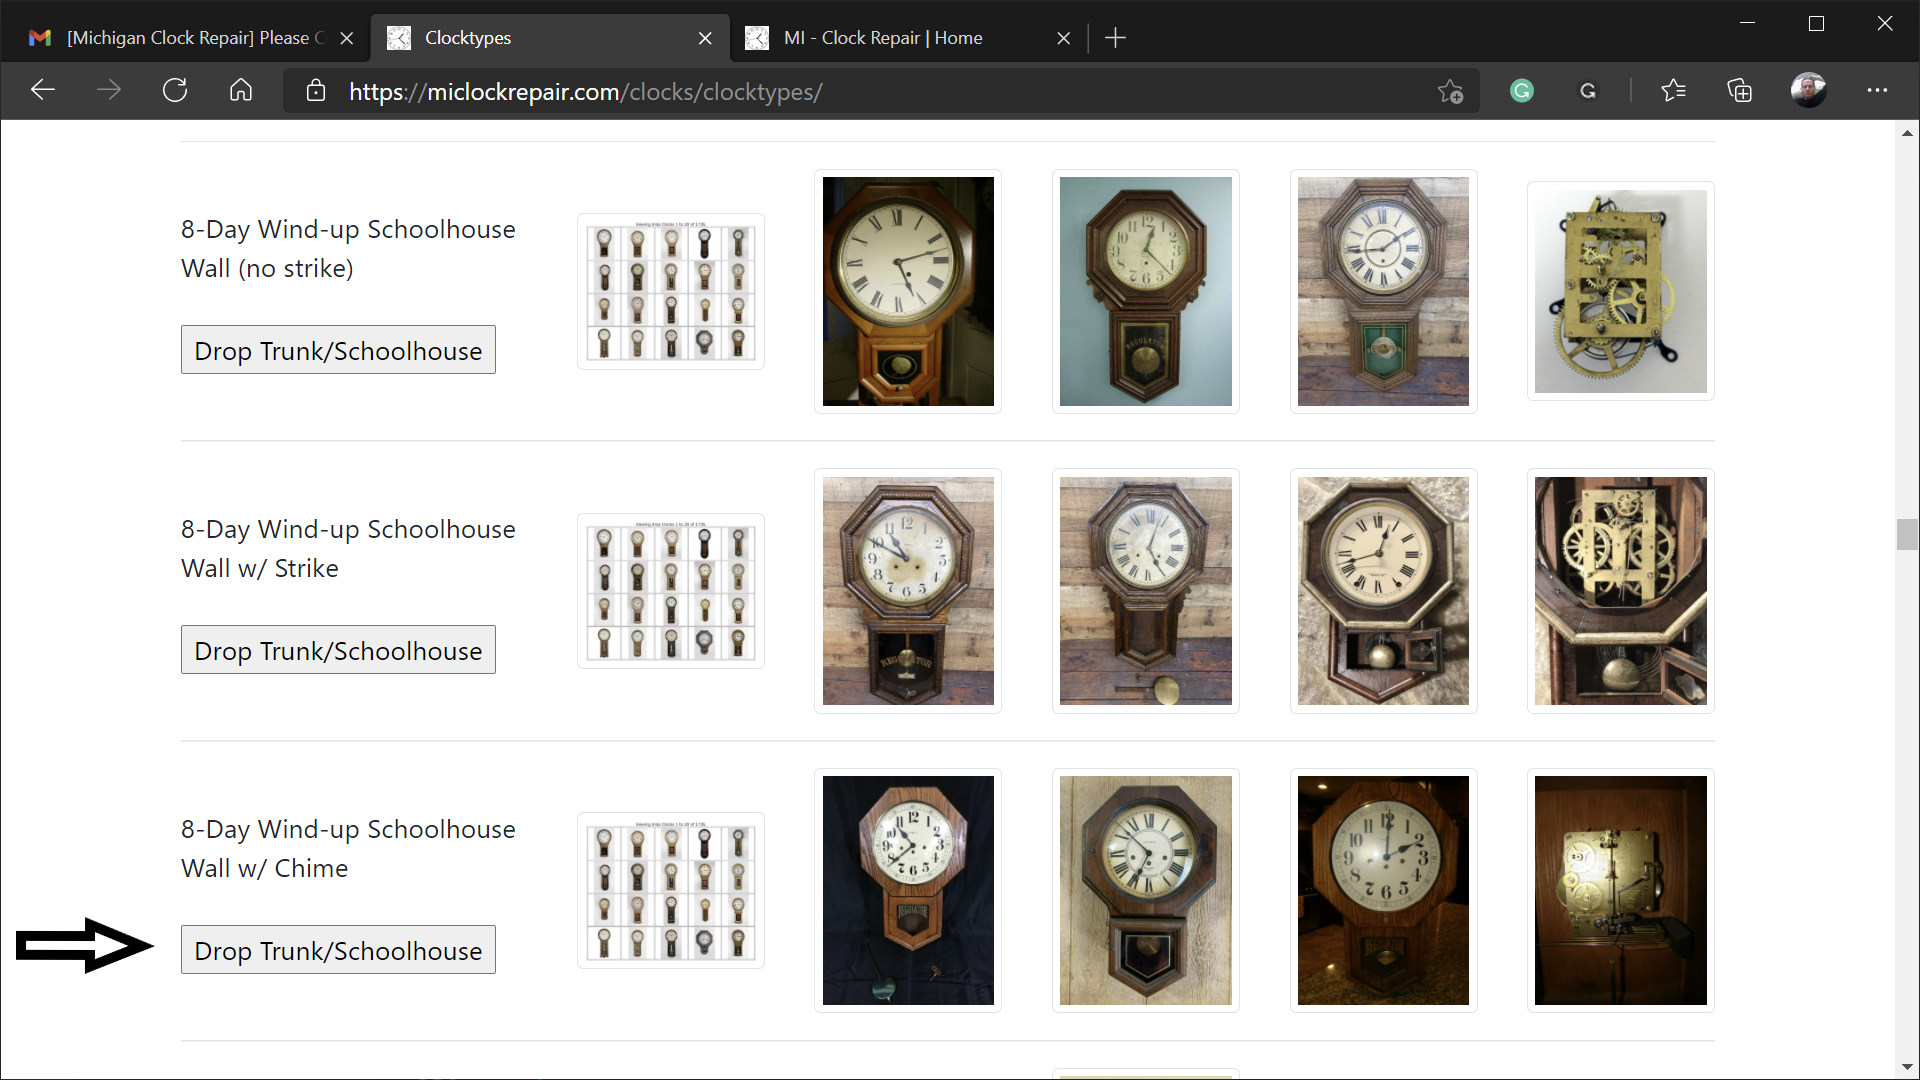
- For the purpose of this walkthrough, the clock type we are trying to find is a General Motors retirement wall clock
- The most common configuration of these clocks in the Michigan area is 8-Day Wind-up w/ Westminster chime
- Look for a description that most closely matches your clock's functionality
- Then click the button
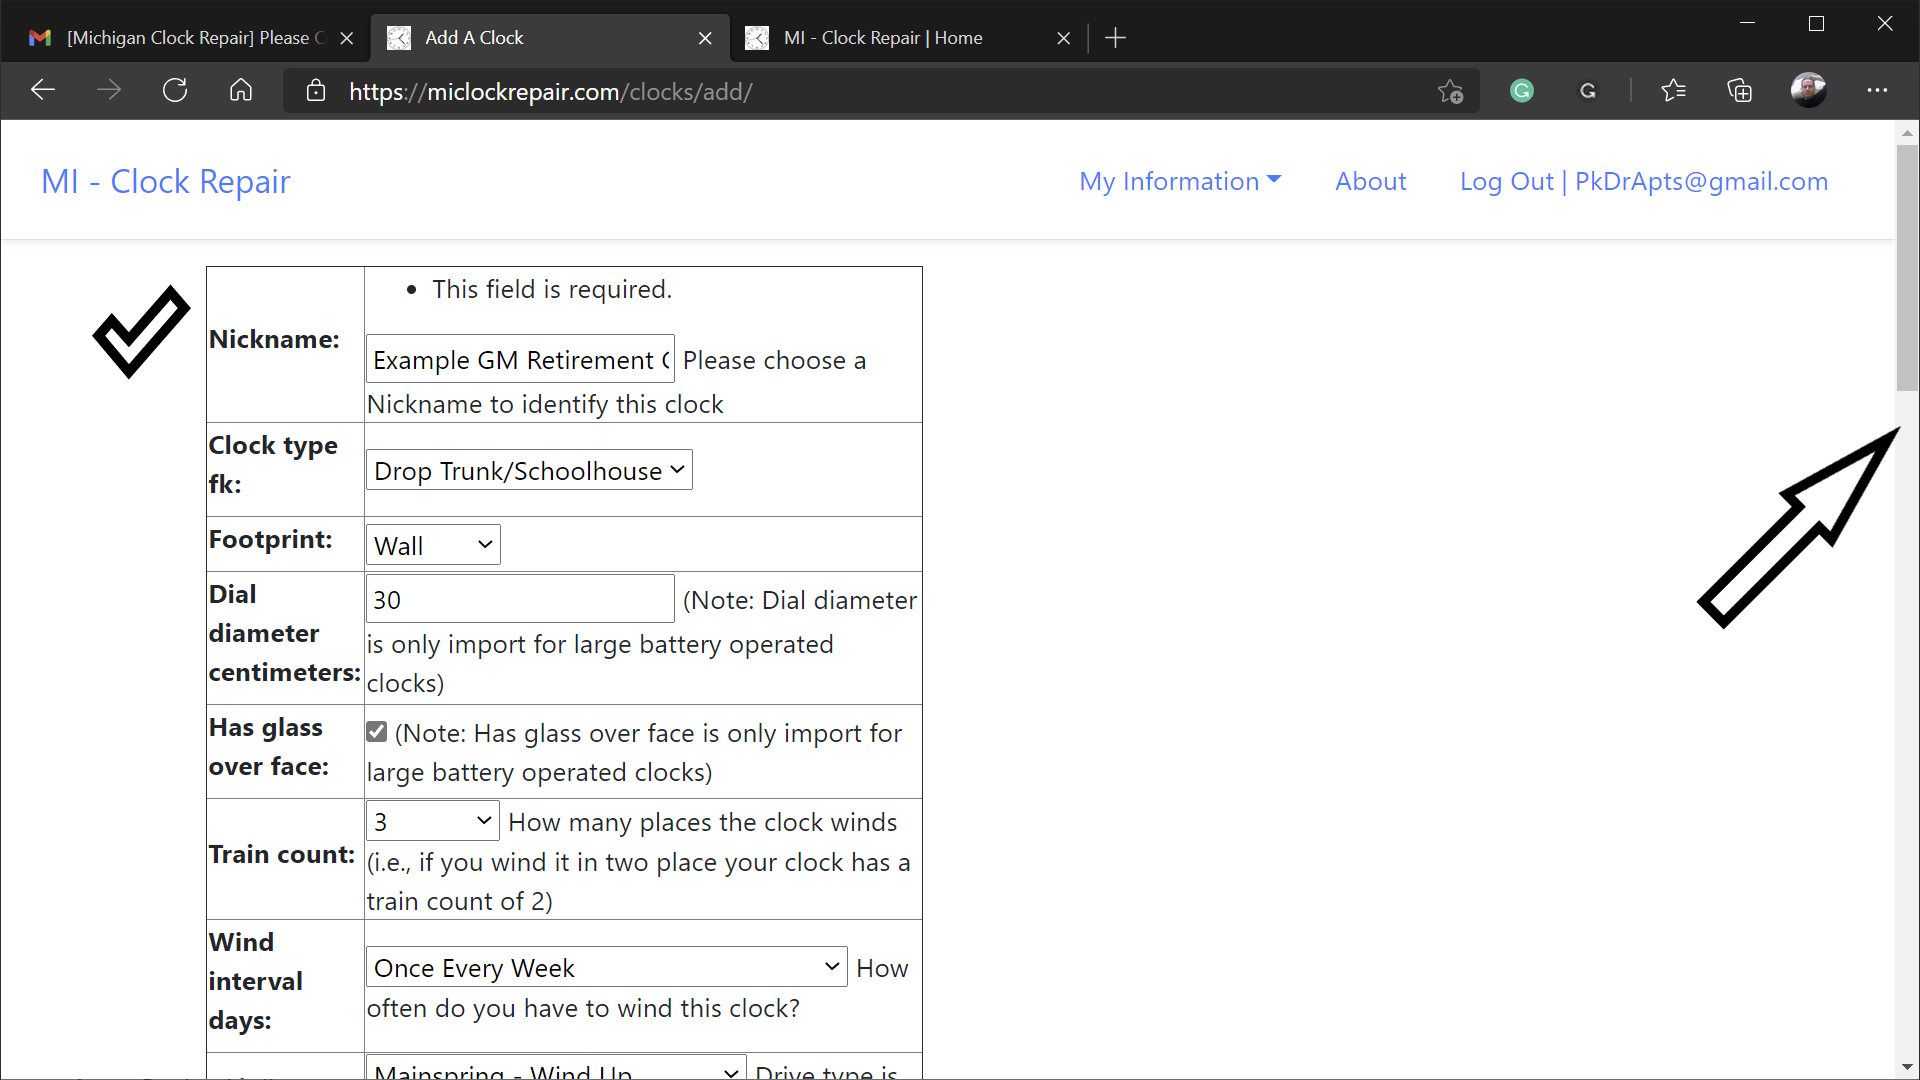
- Most of the clock information is already provided
- Enter a Nickname for this clock
- You are welcome to review the other fields, but the clock repair person can fill these out later if you are unsure.
- Thus, you can accept all of the default values
- Finally, scroll to the bottom of the form to add at least one picture of your clock.
- Adding pictures helps the repairer better understand your clock
- To add pictures
- Click Image 1: Choose File
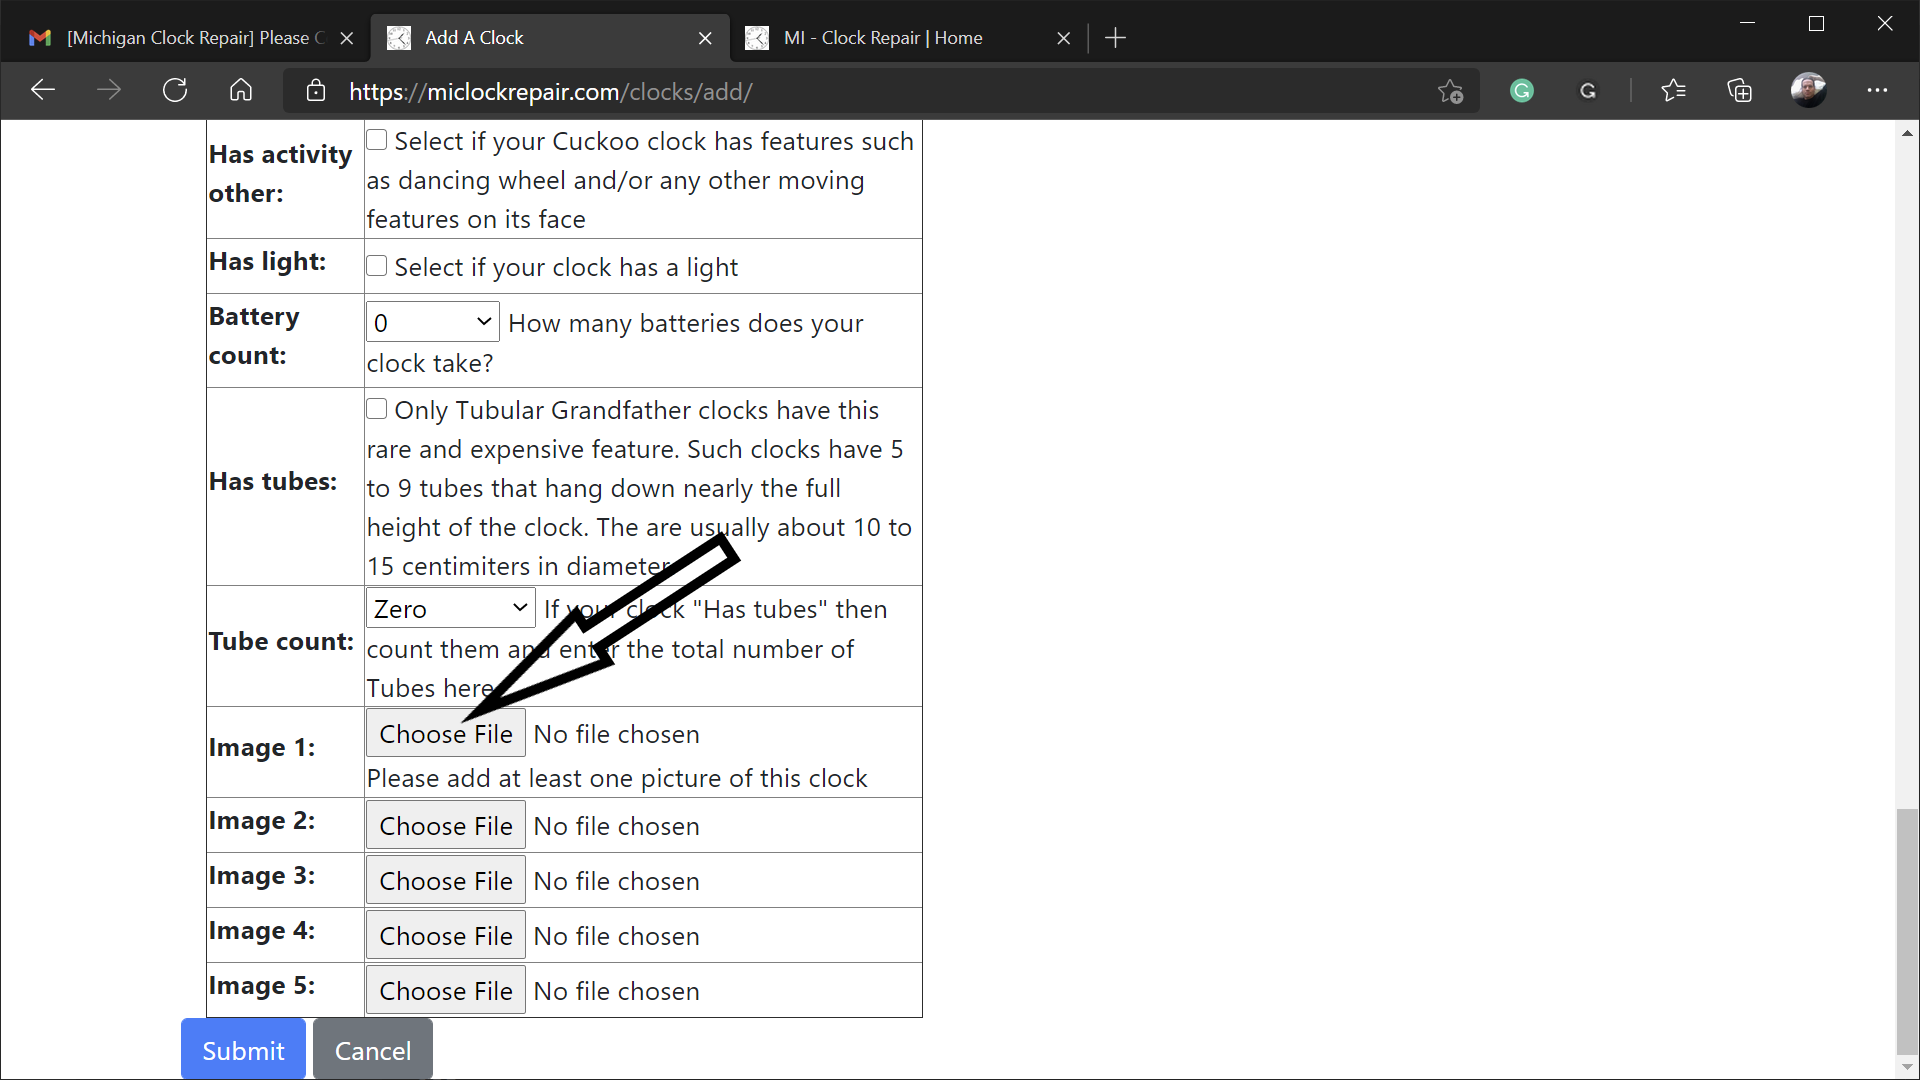
- Clicking Choose File will open a file explorer on your device
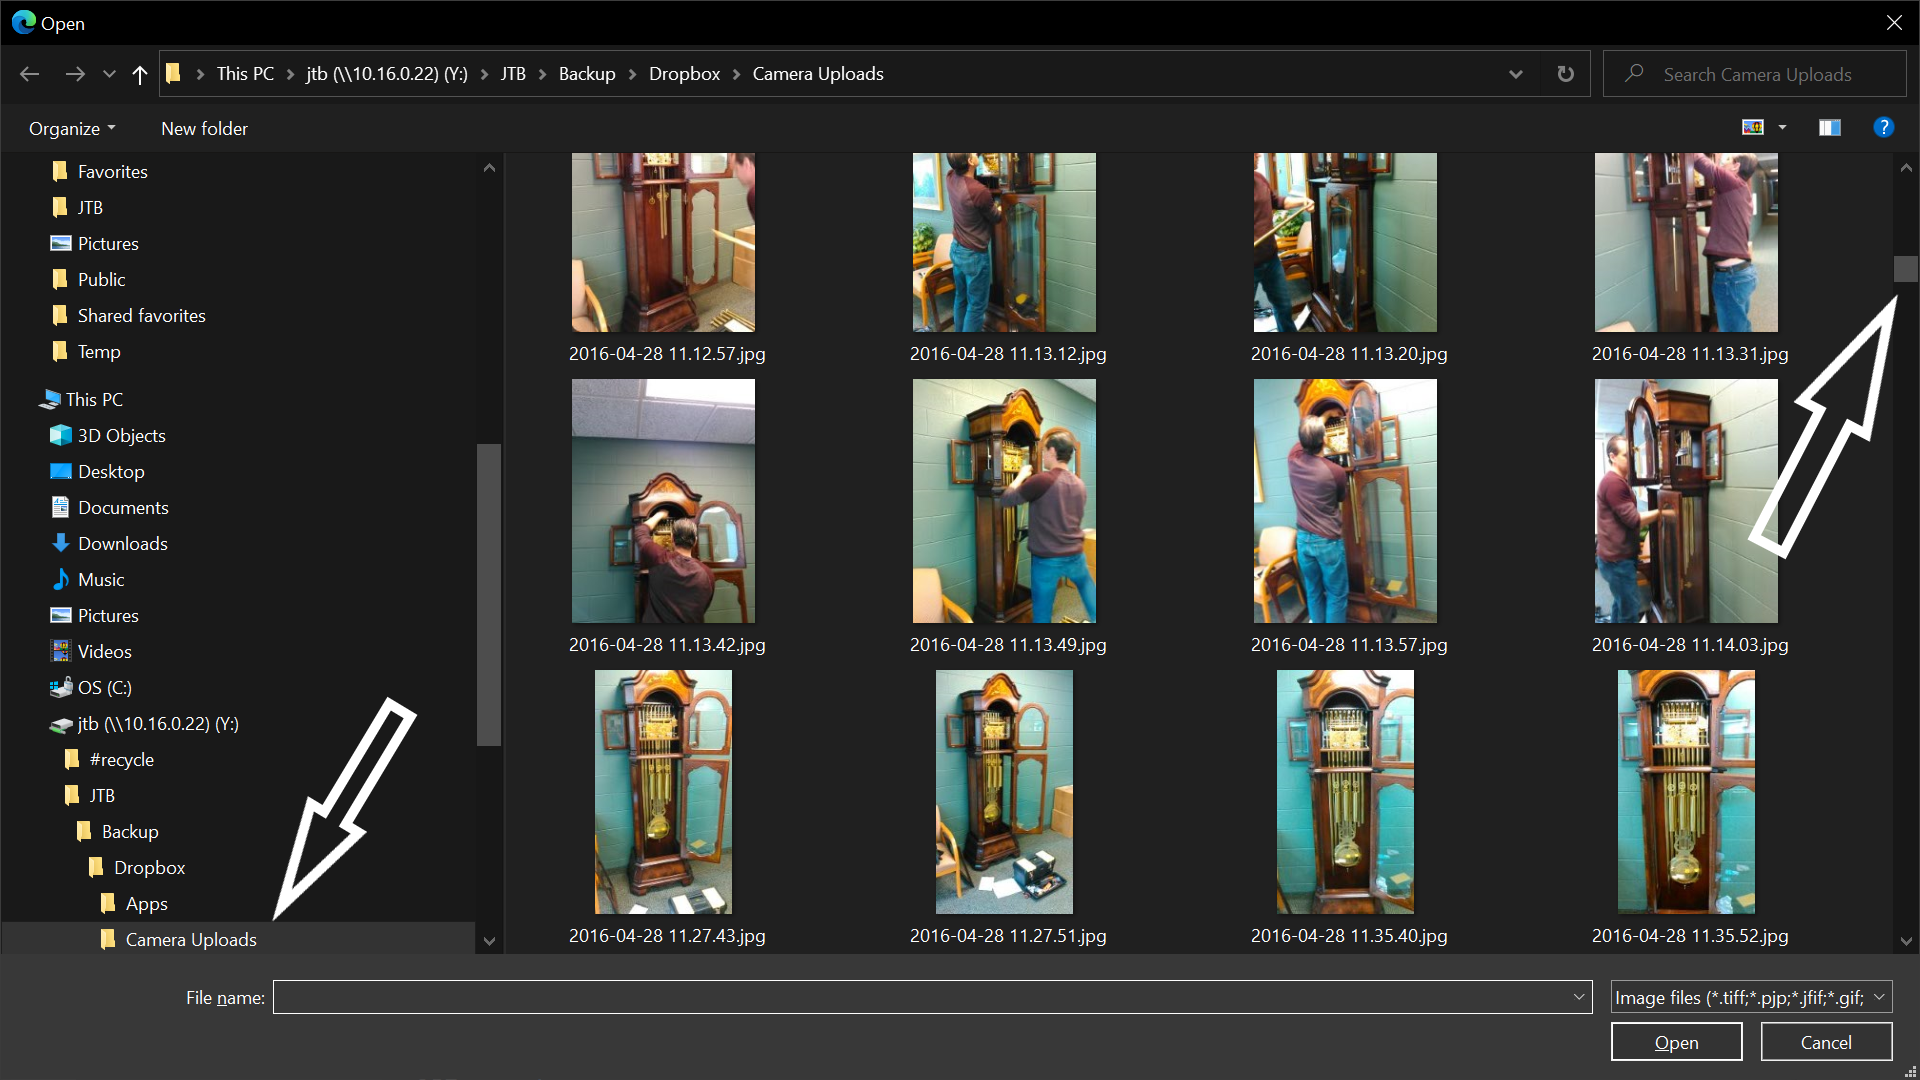
- Navigate to your pictures folder
- Then, scroll through your pictures and find a good one of your clock
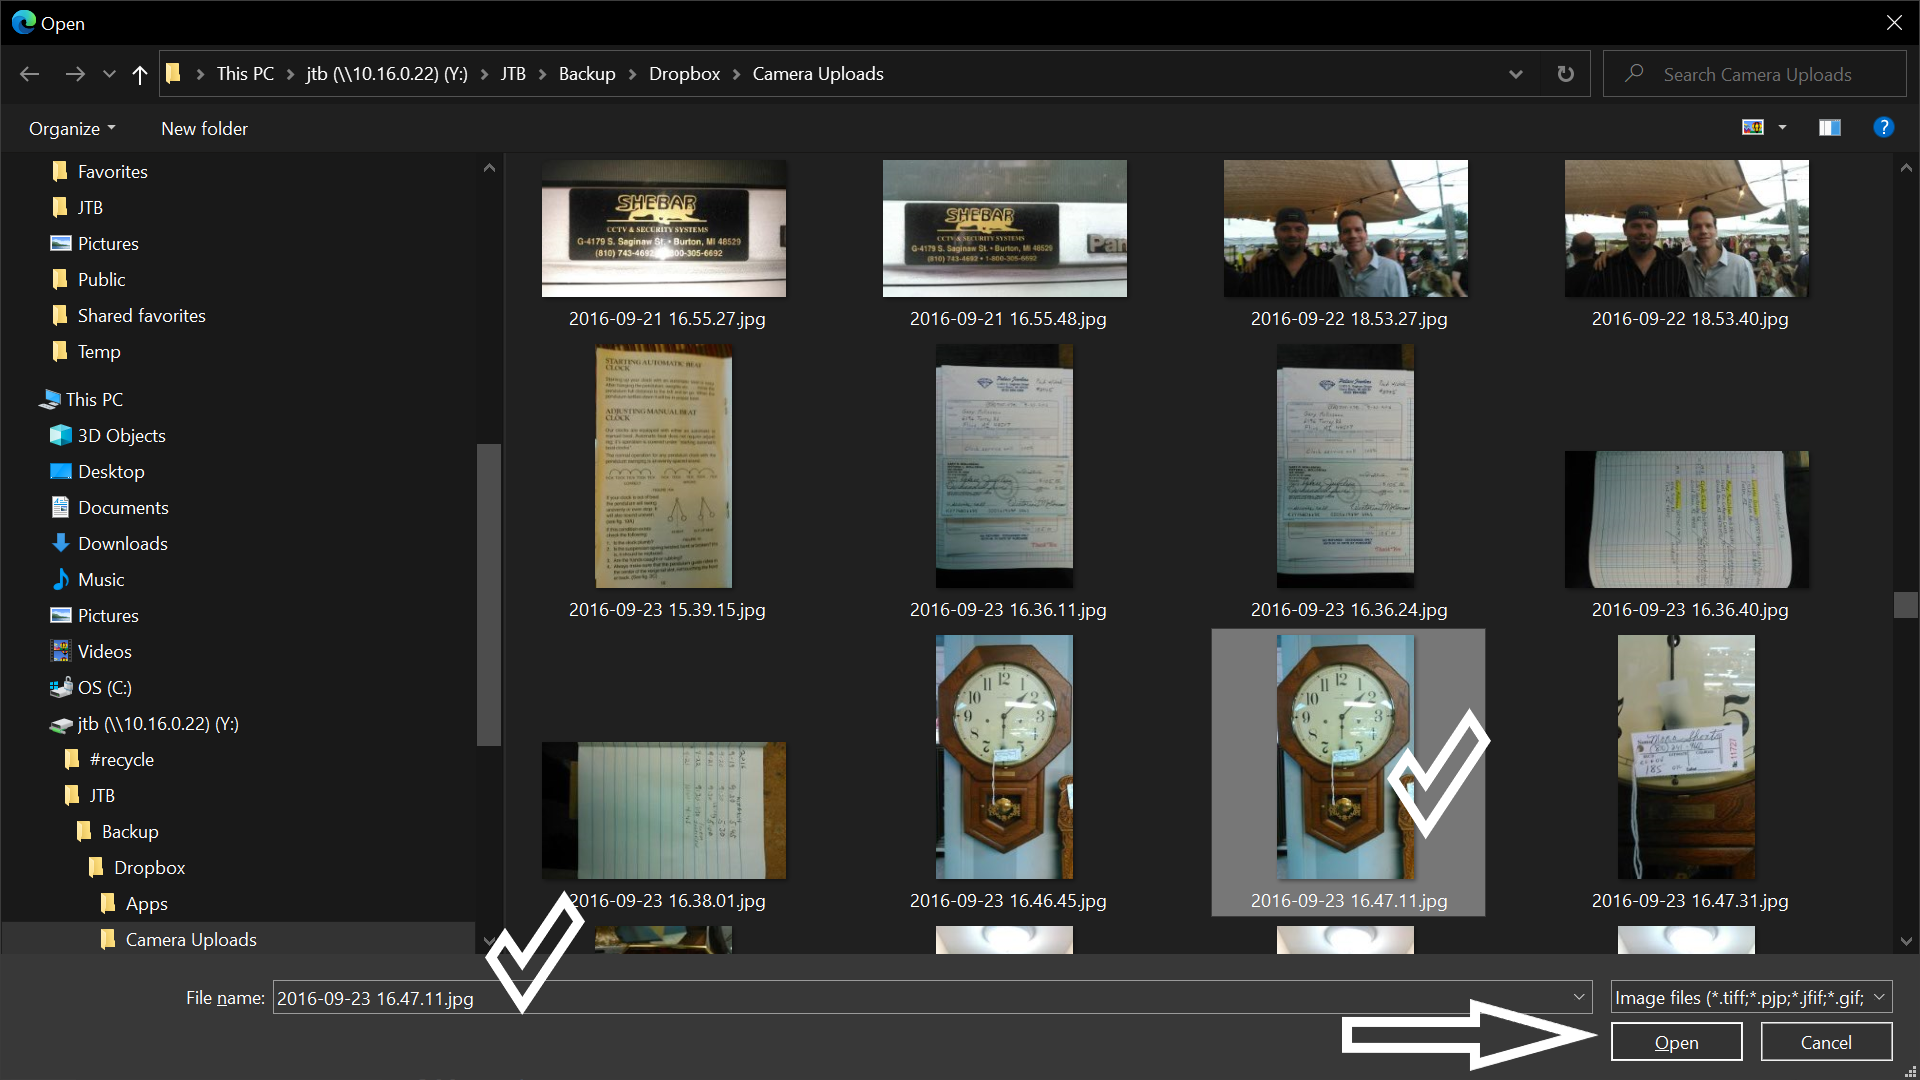
- Locate the picture of your clock
- Click on the picture you want to add
- Then, click Open
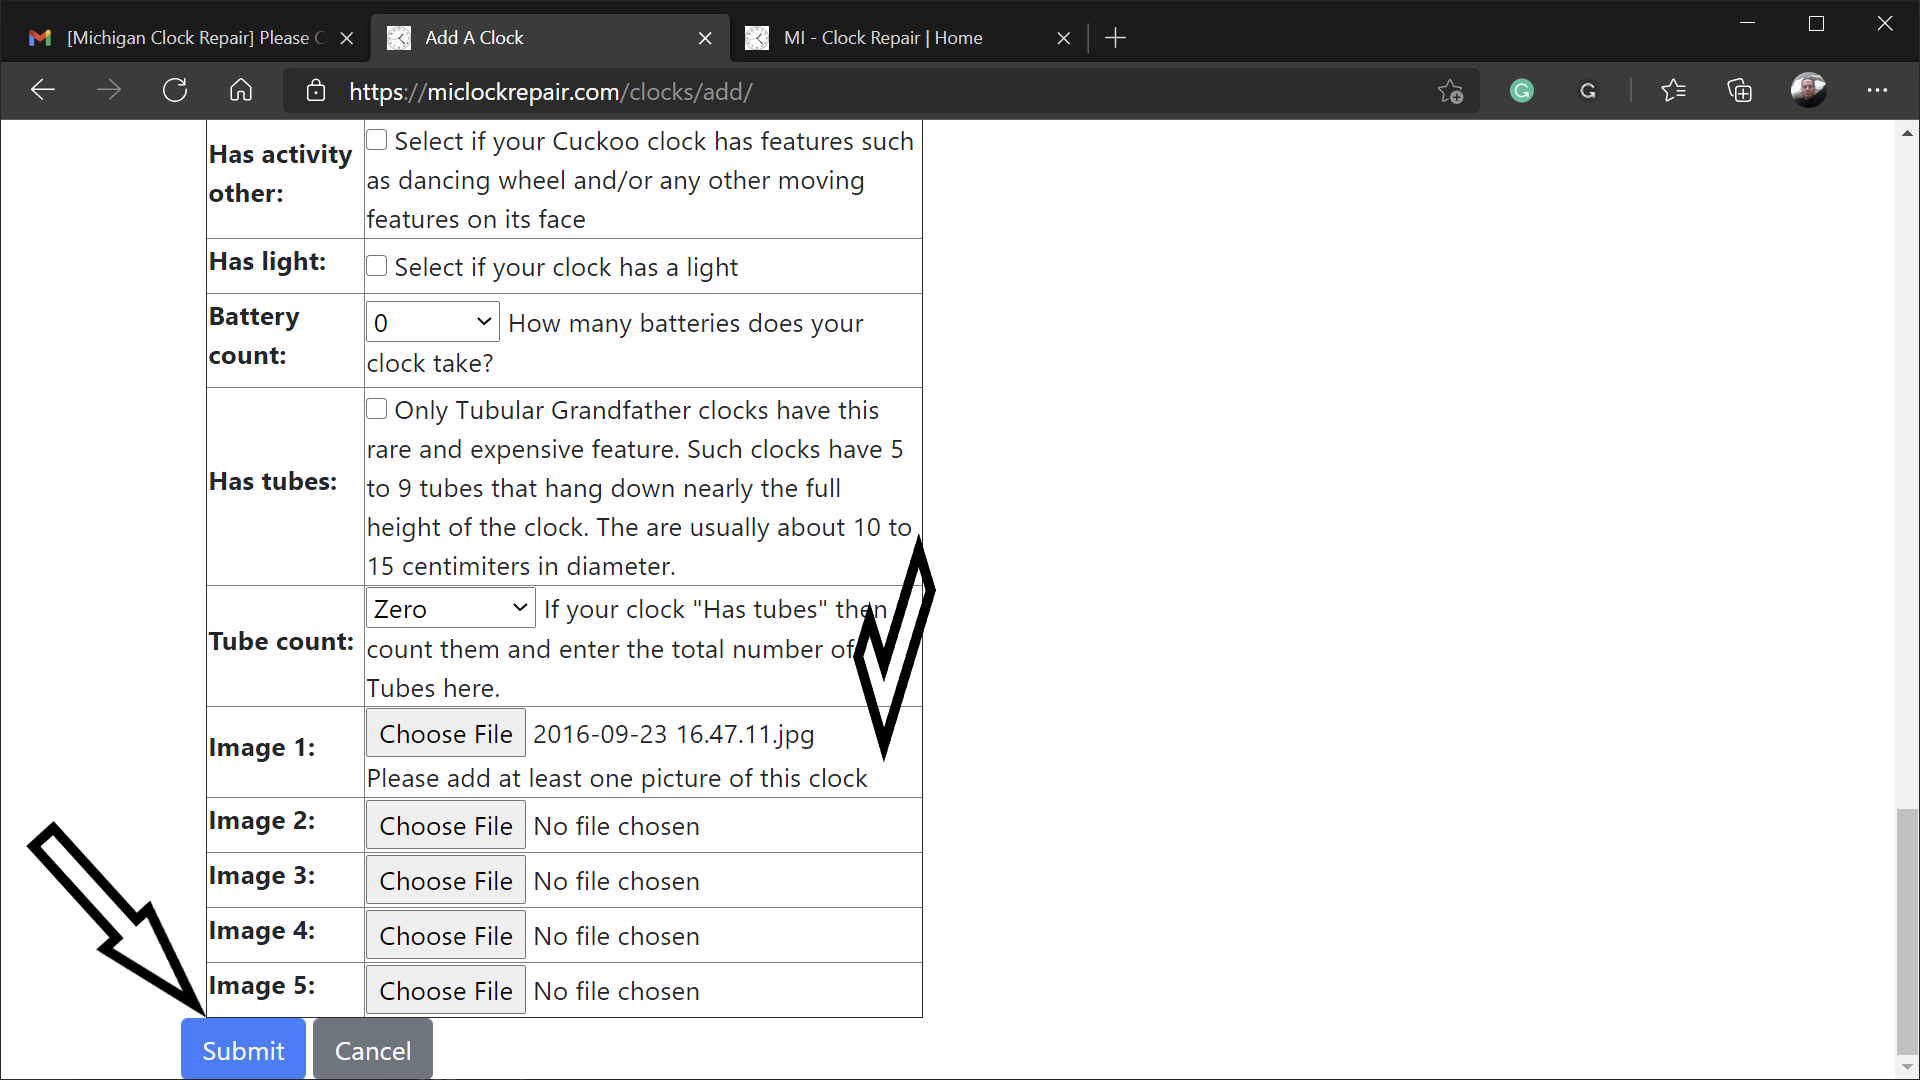
- After selecting your clock's picture
- You will see the picture's location on the Add Clock form
- Now, click Submit
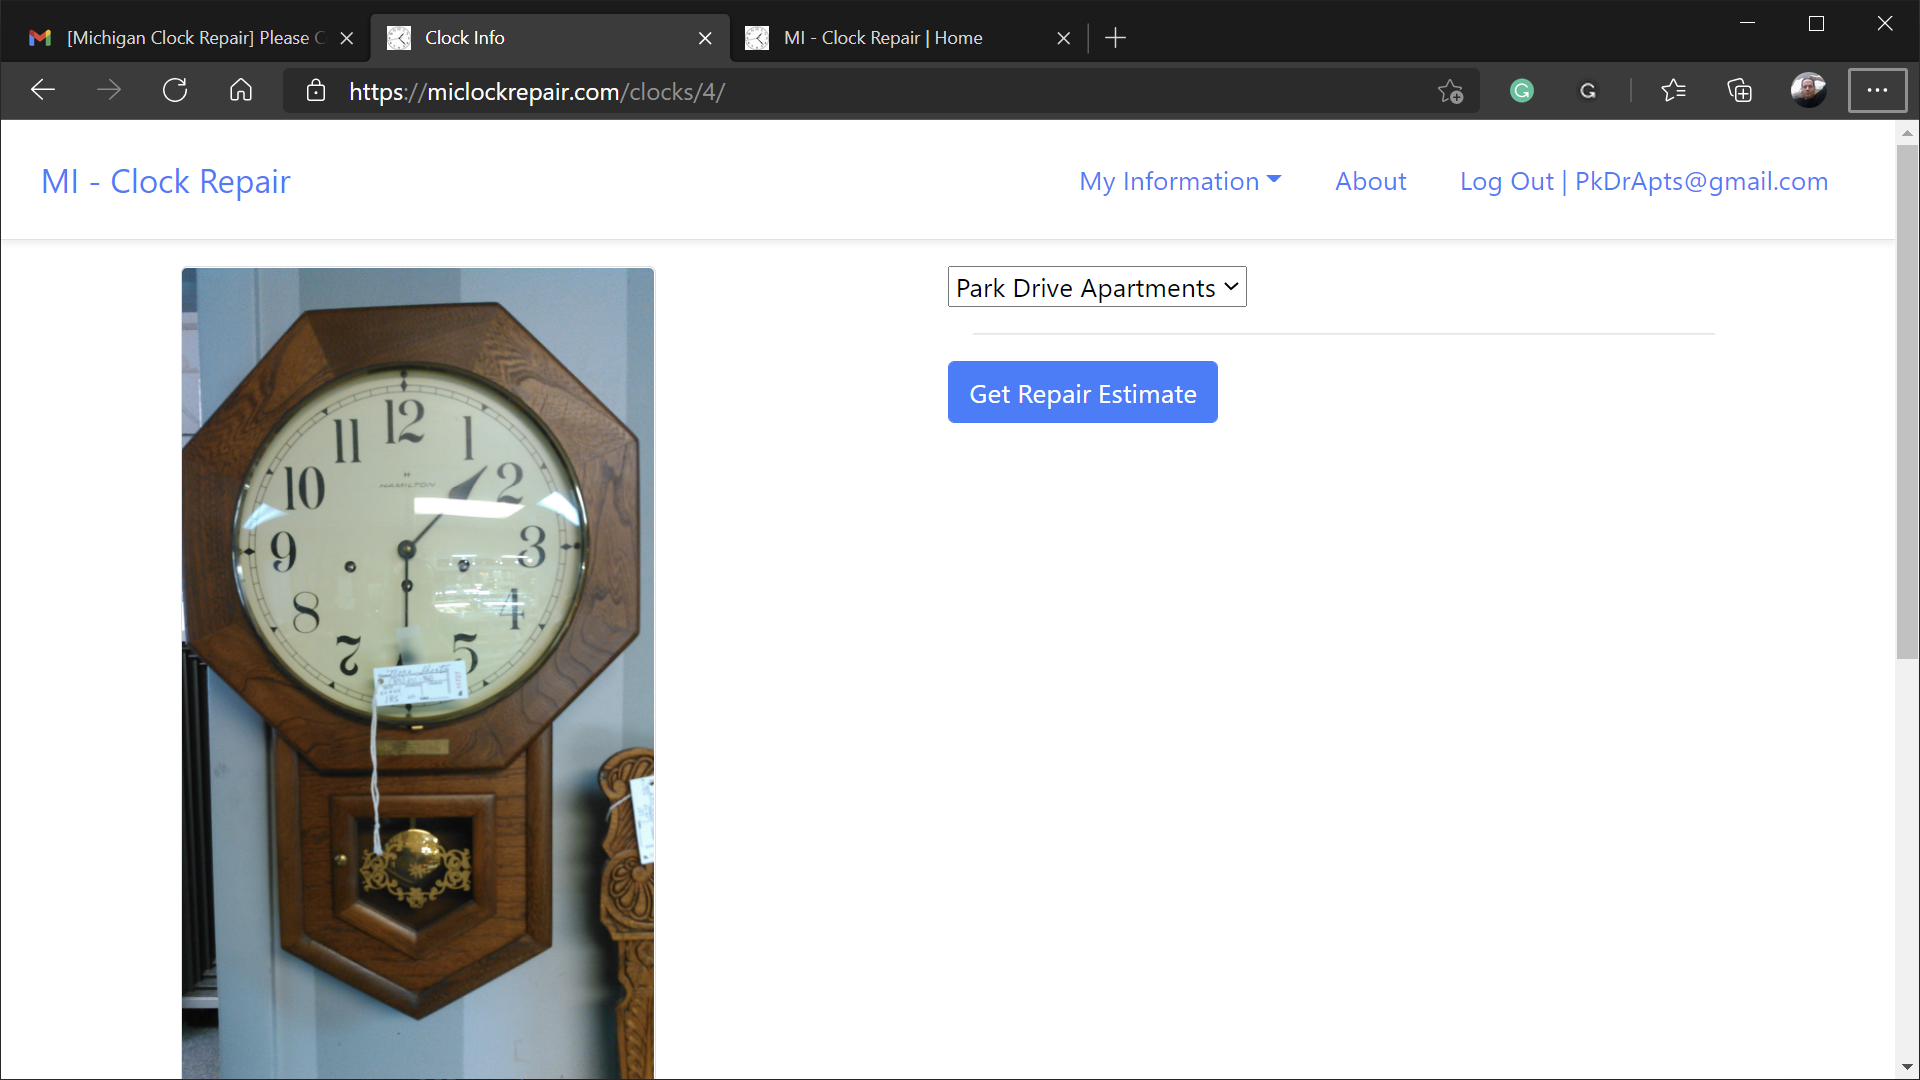
- Your clock has been added
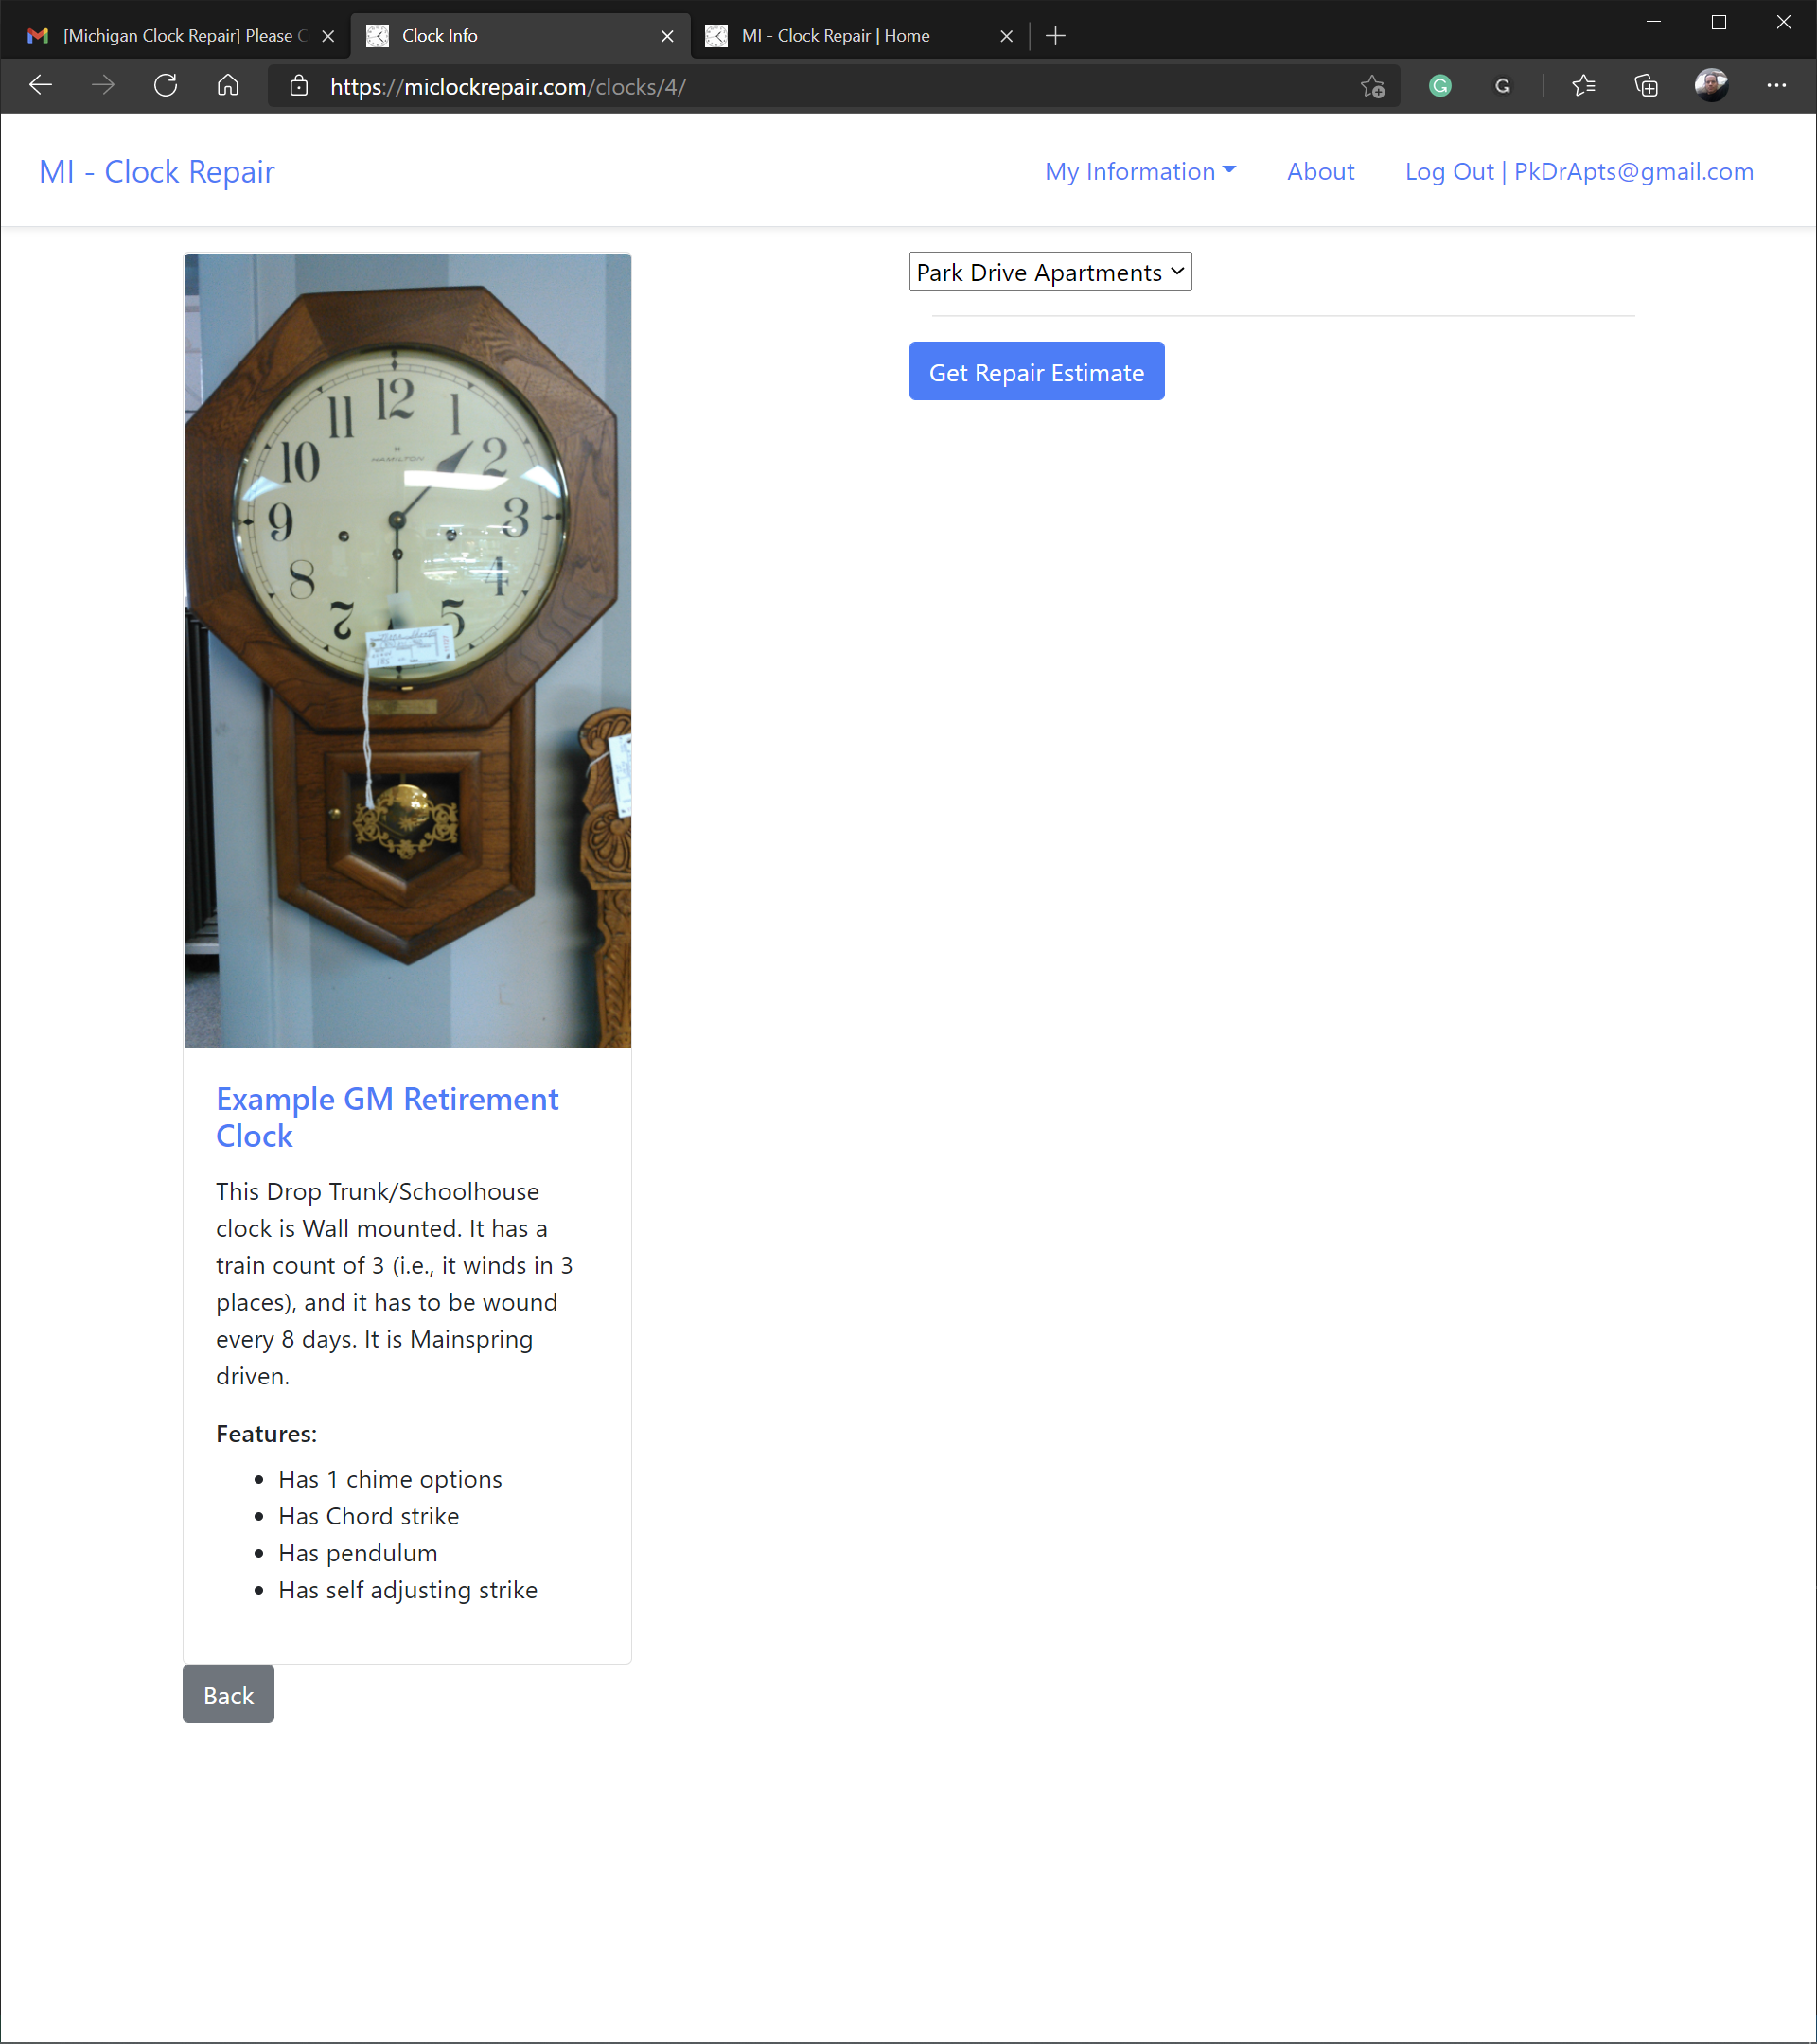
- From here, you can get dynamic clock repair estimates
- Click Get Repair Estimate button
- These are the repairer estimates for your clock
- To see the repairer's details click the repairer's name
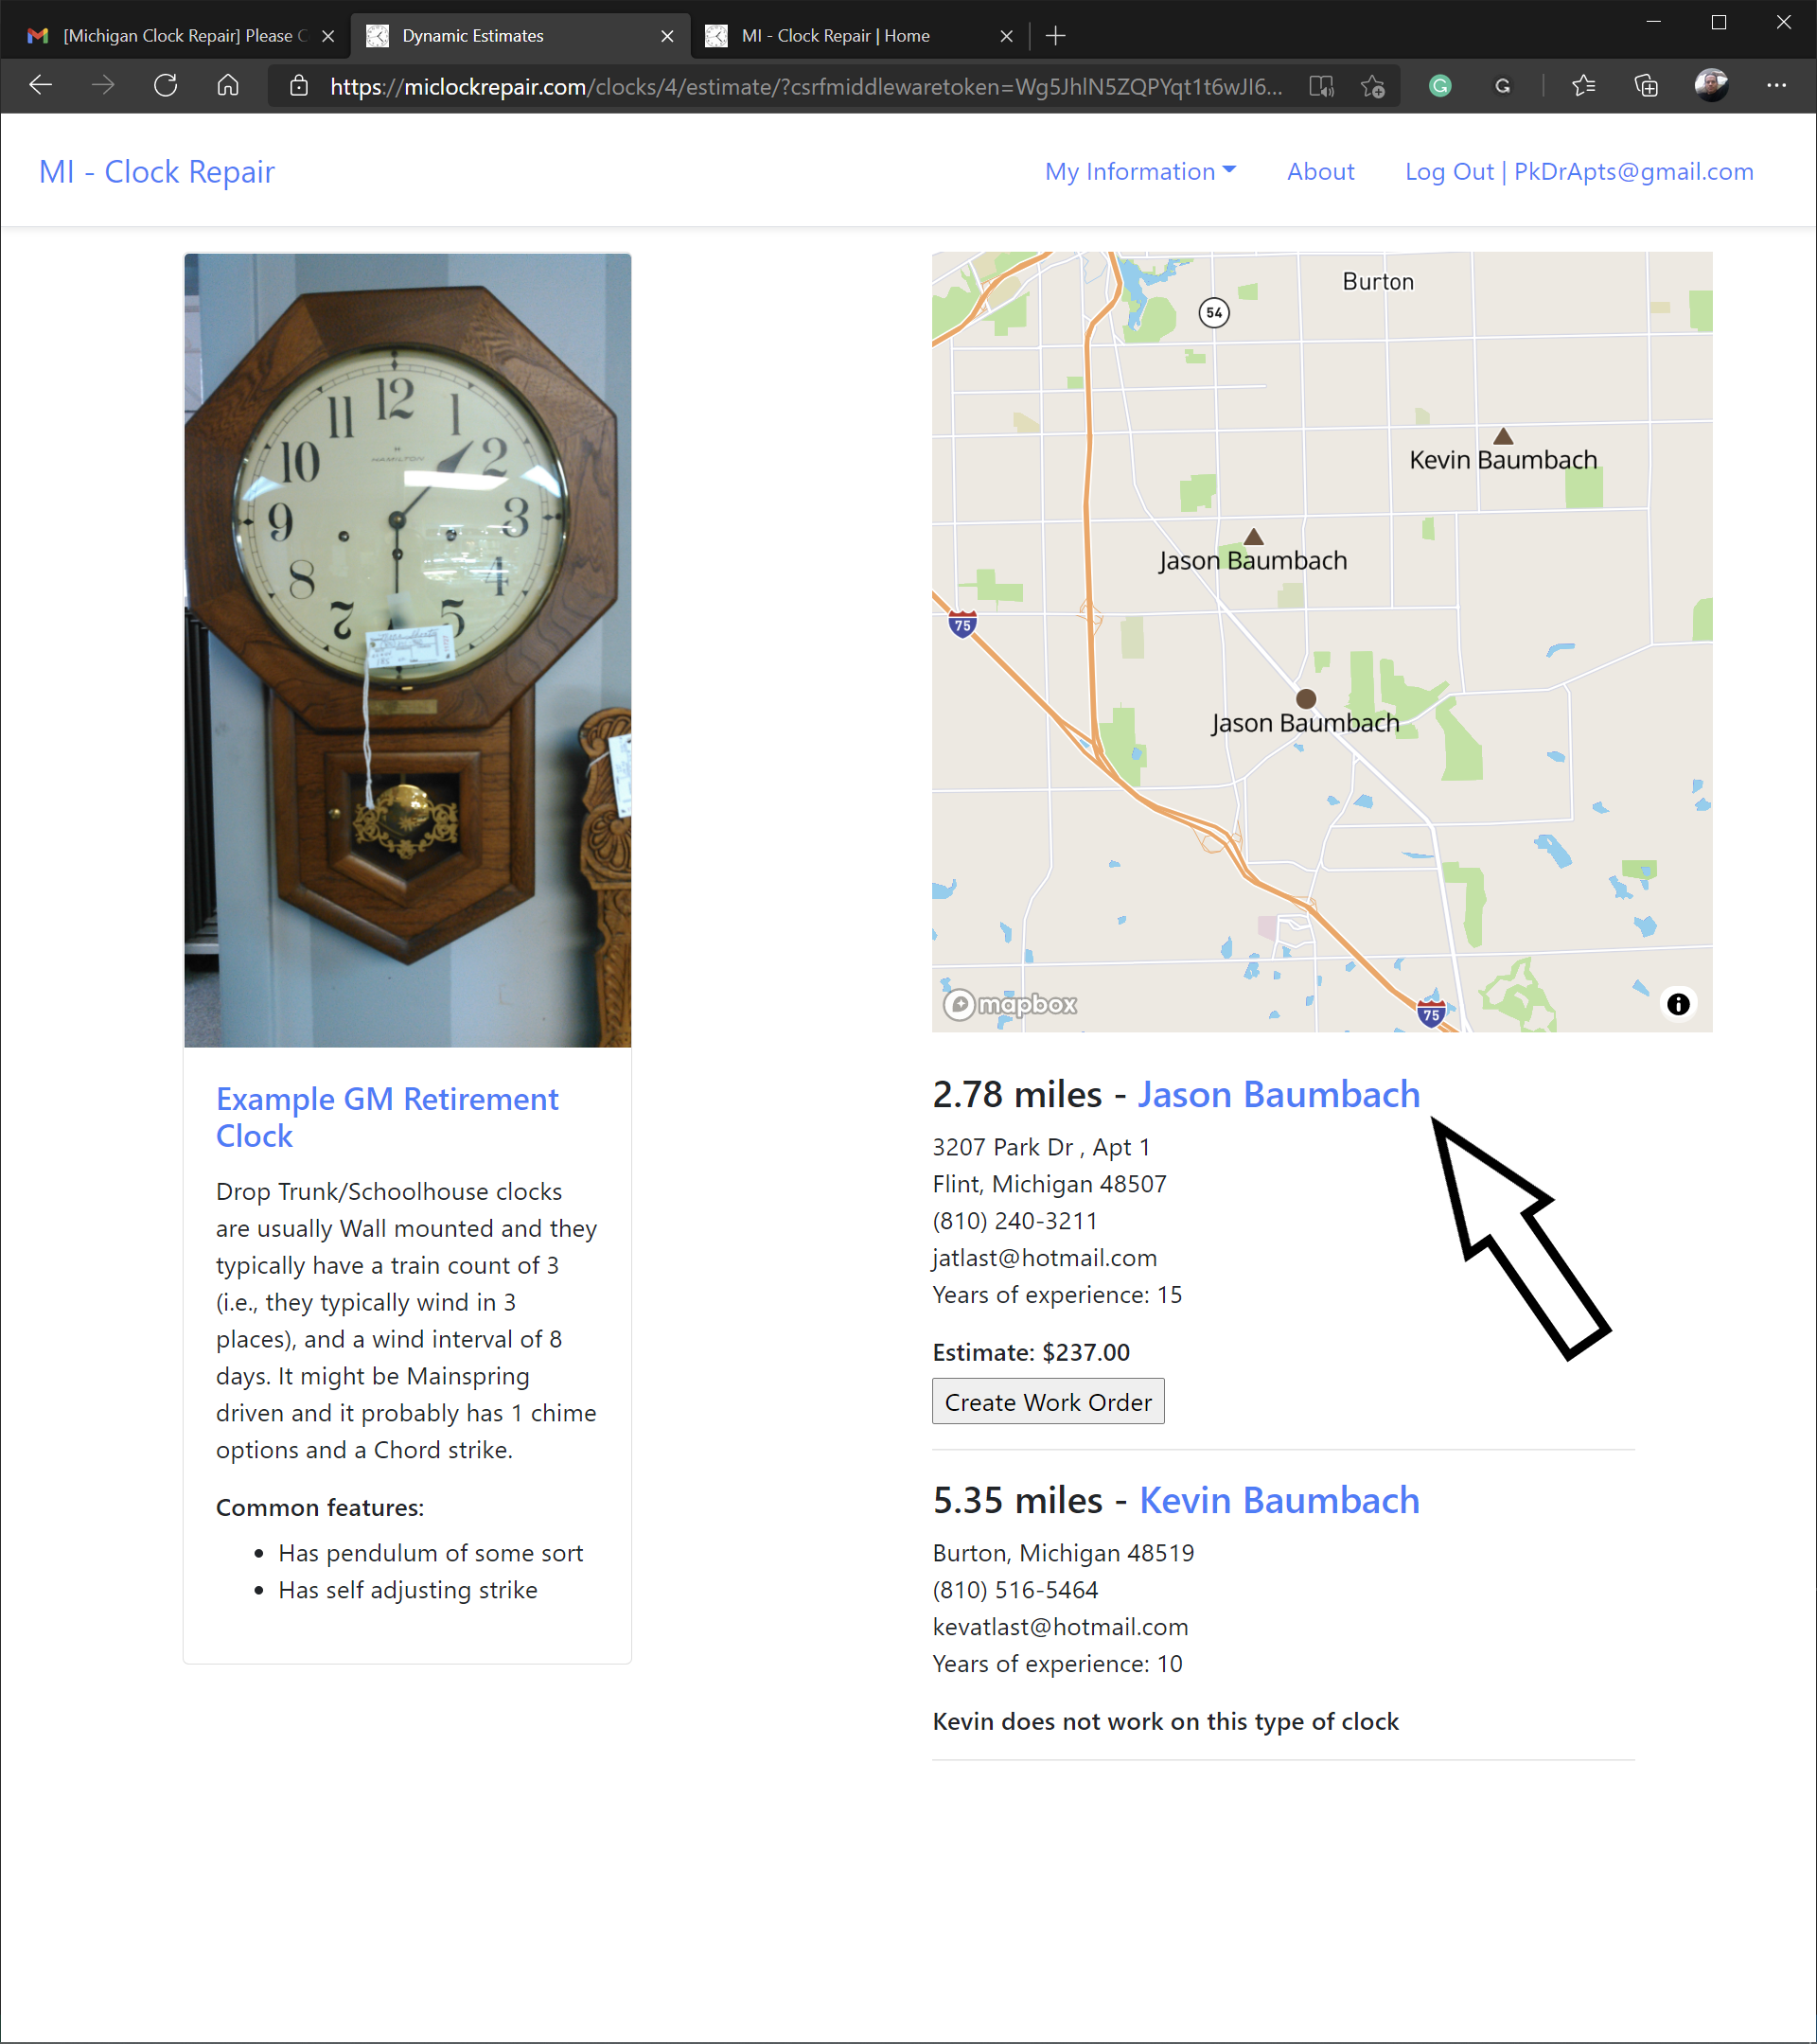
- After reviewing the repairer's information
- Click the Back button to return to the dynamic estimates

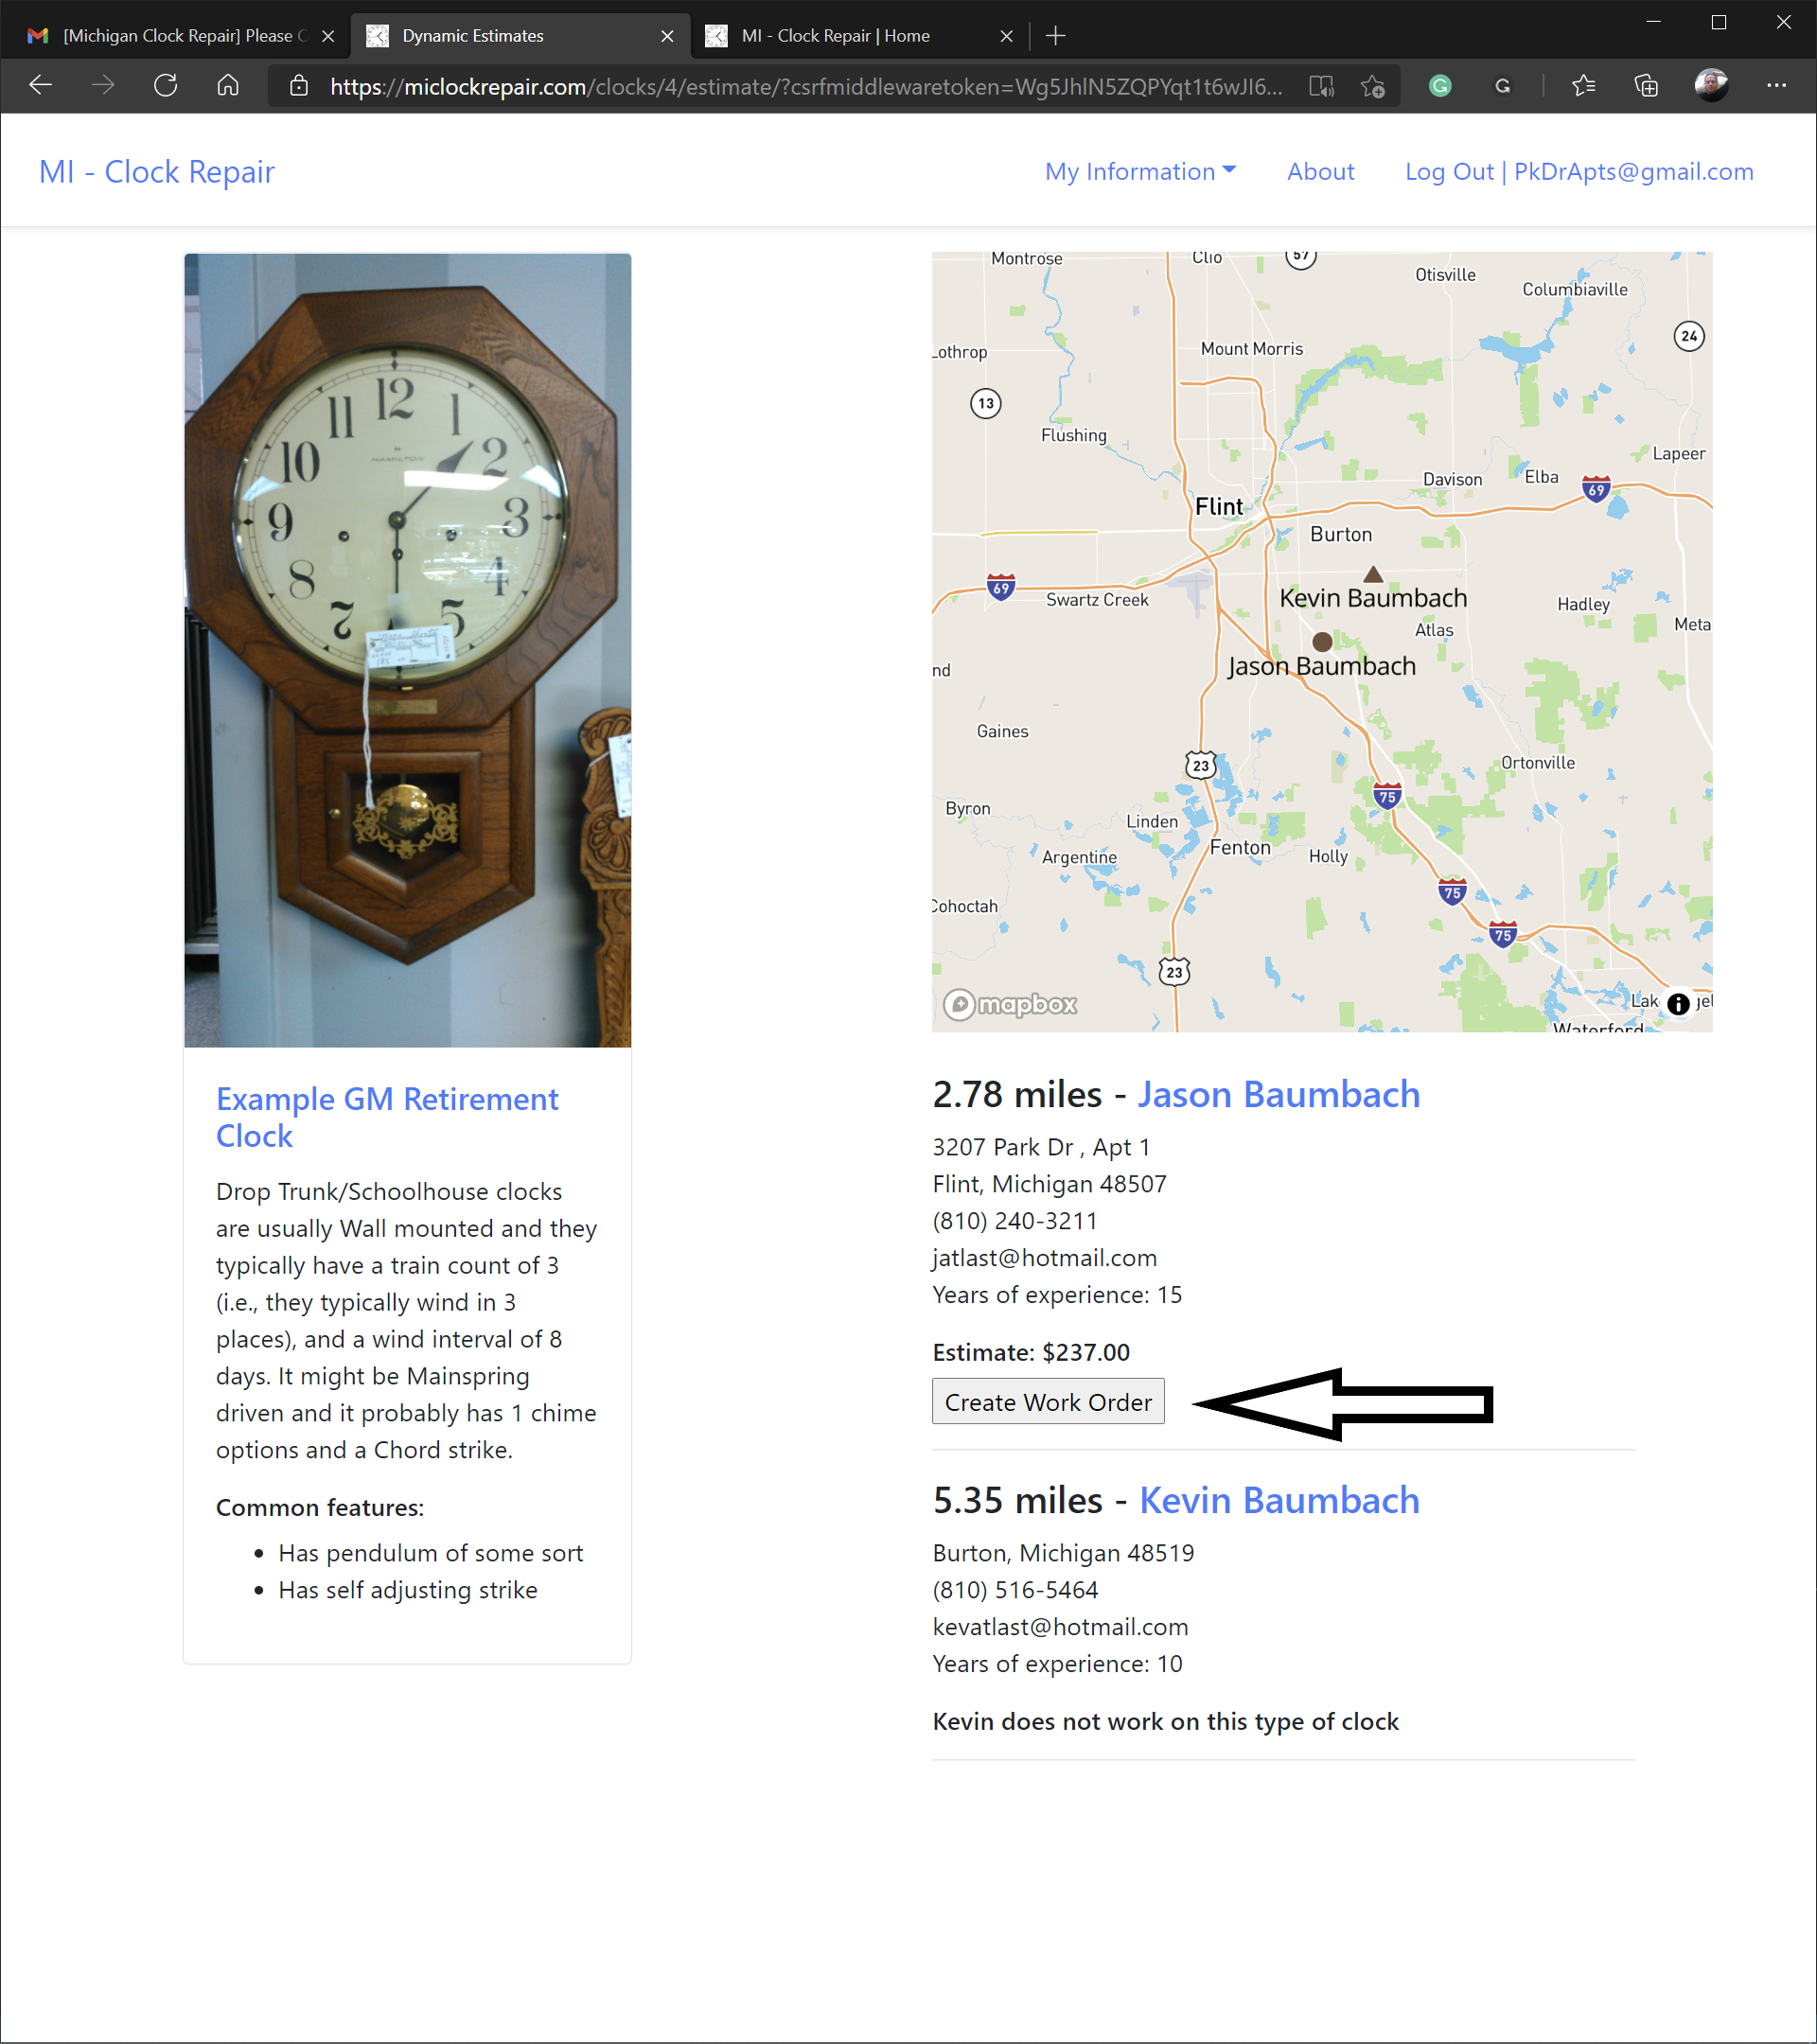
- Now you can create a work order
- Click the Create Work Order button
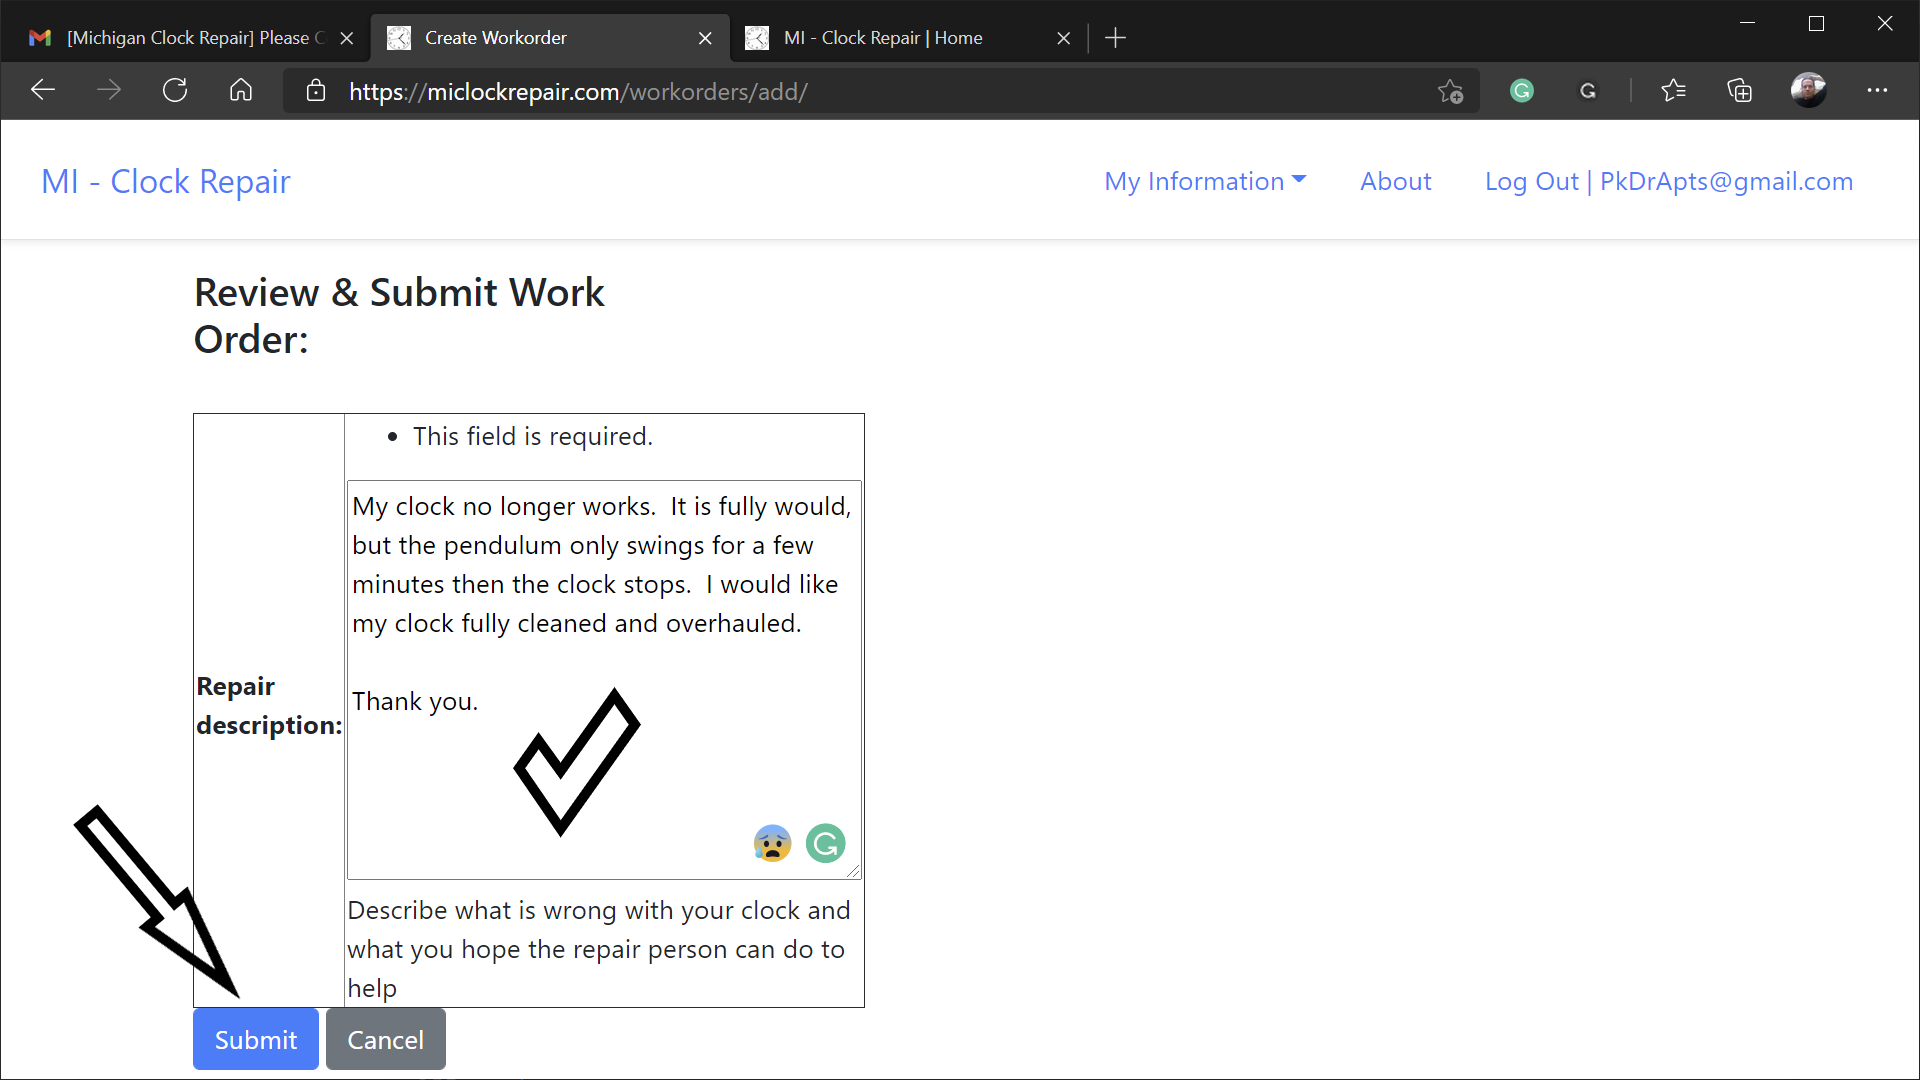
- Describe what is wrong with your clock
- Click the Submit button
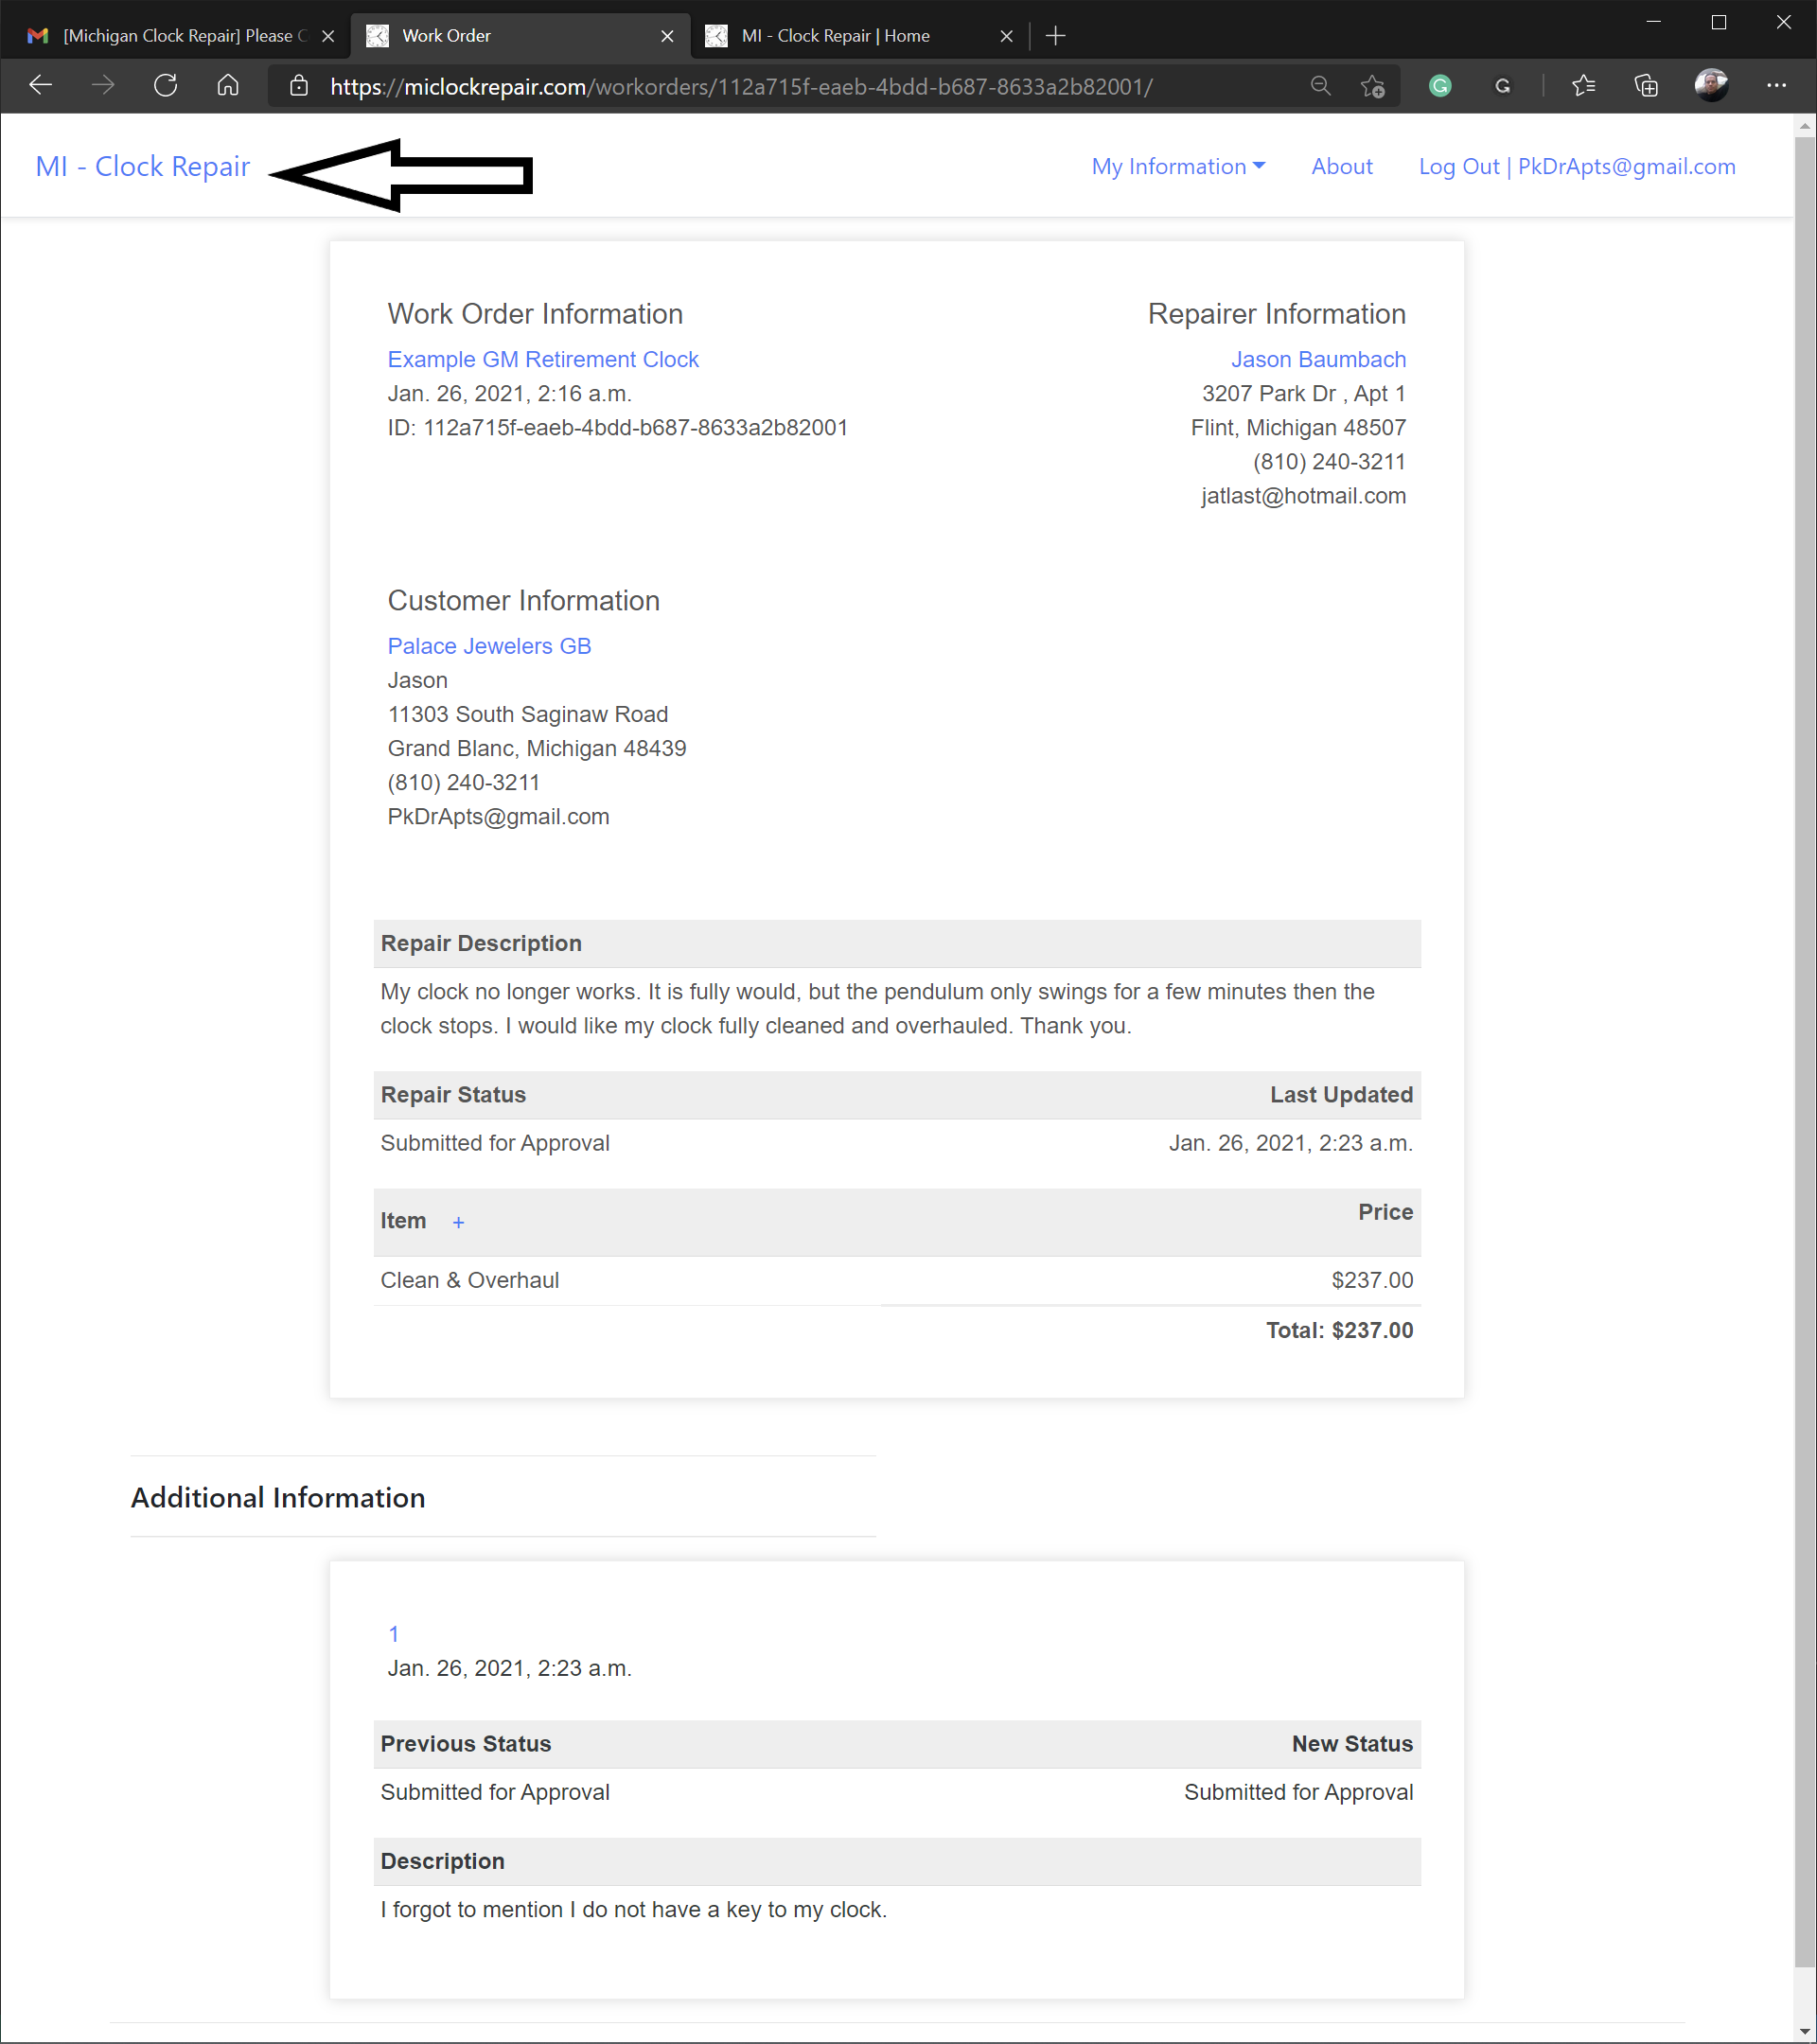
- This new Work Order is now viewable by both you and the repairer you selected
- You can add comments to your Work Order by clicking the "+" sign next to the Item field

- To add a comment, select Comment under Addon Type
- Add the description text
- Then click the Submit button

- As you can see, your comment is now a part of your work order
- Both you and the repairer you selected can add to this work order
- You now have seen most of the functionality offered on this site
- To see a summary of your information, click the Mi - Clock Repair logo to return to the home page
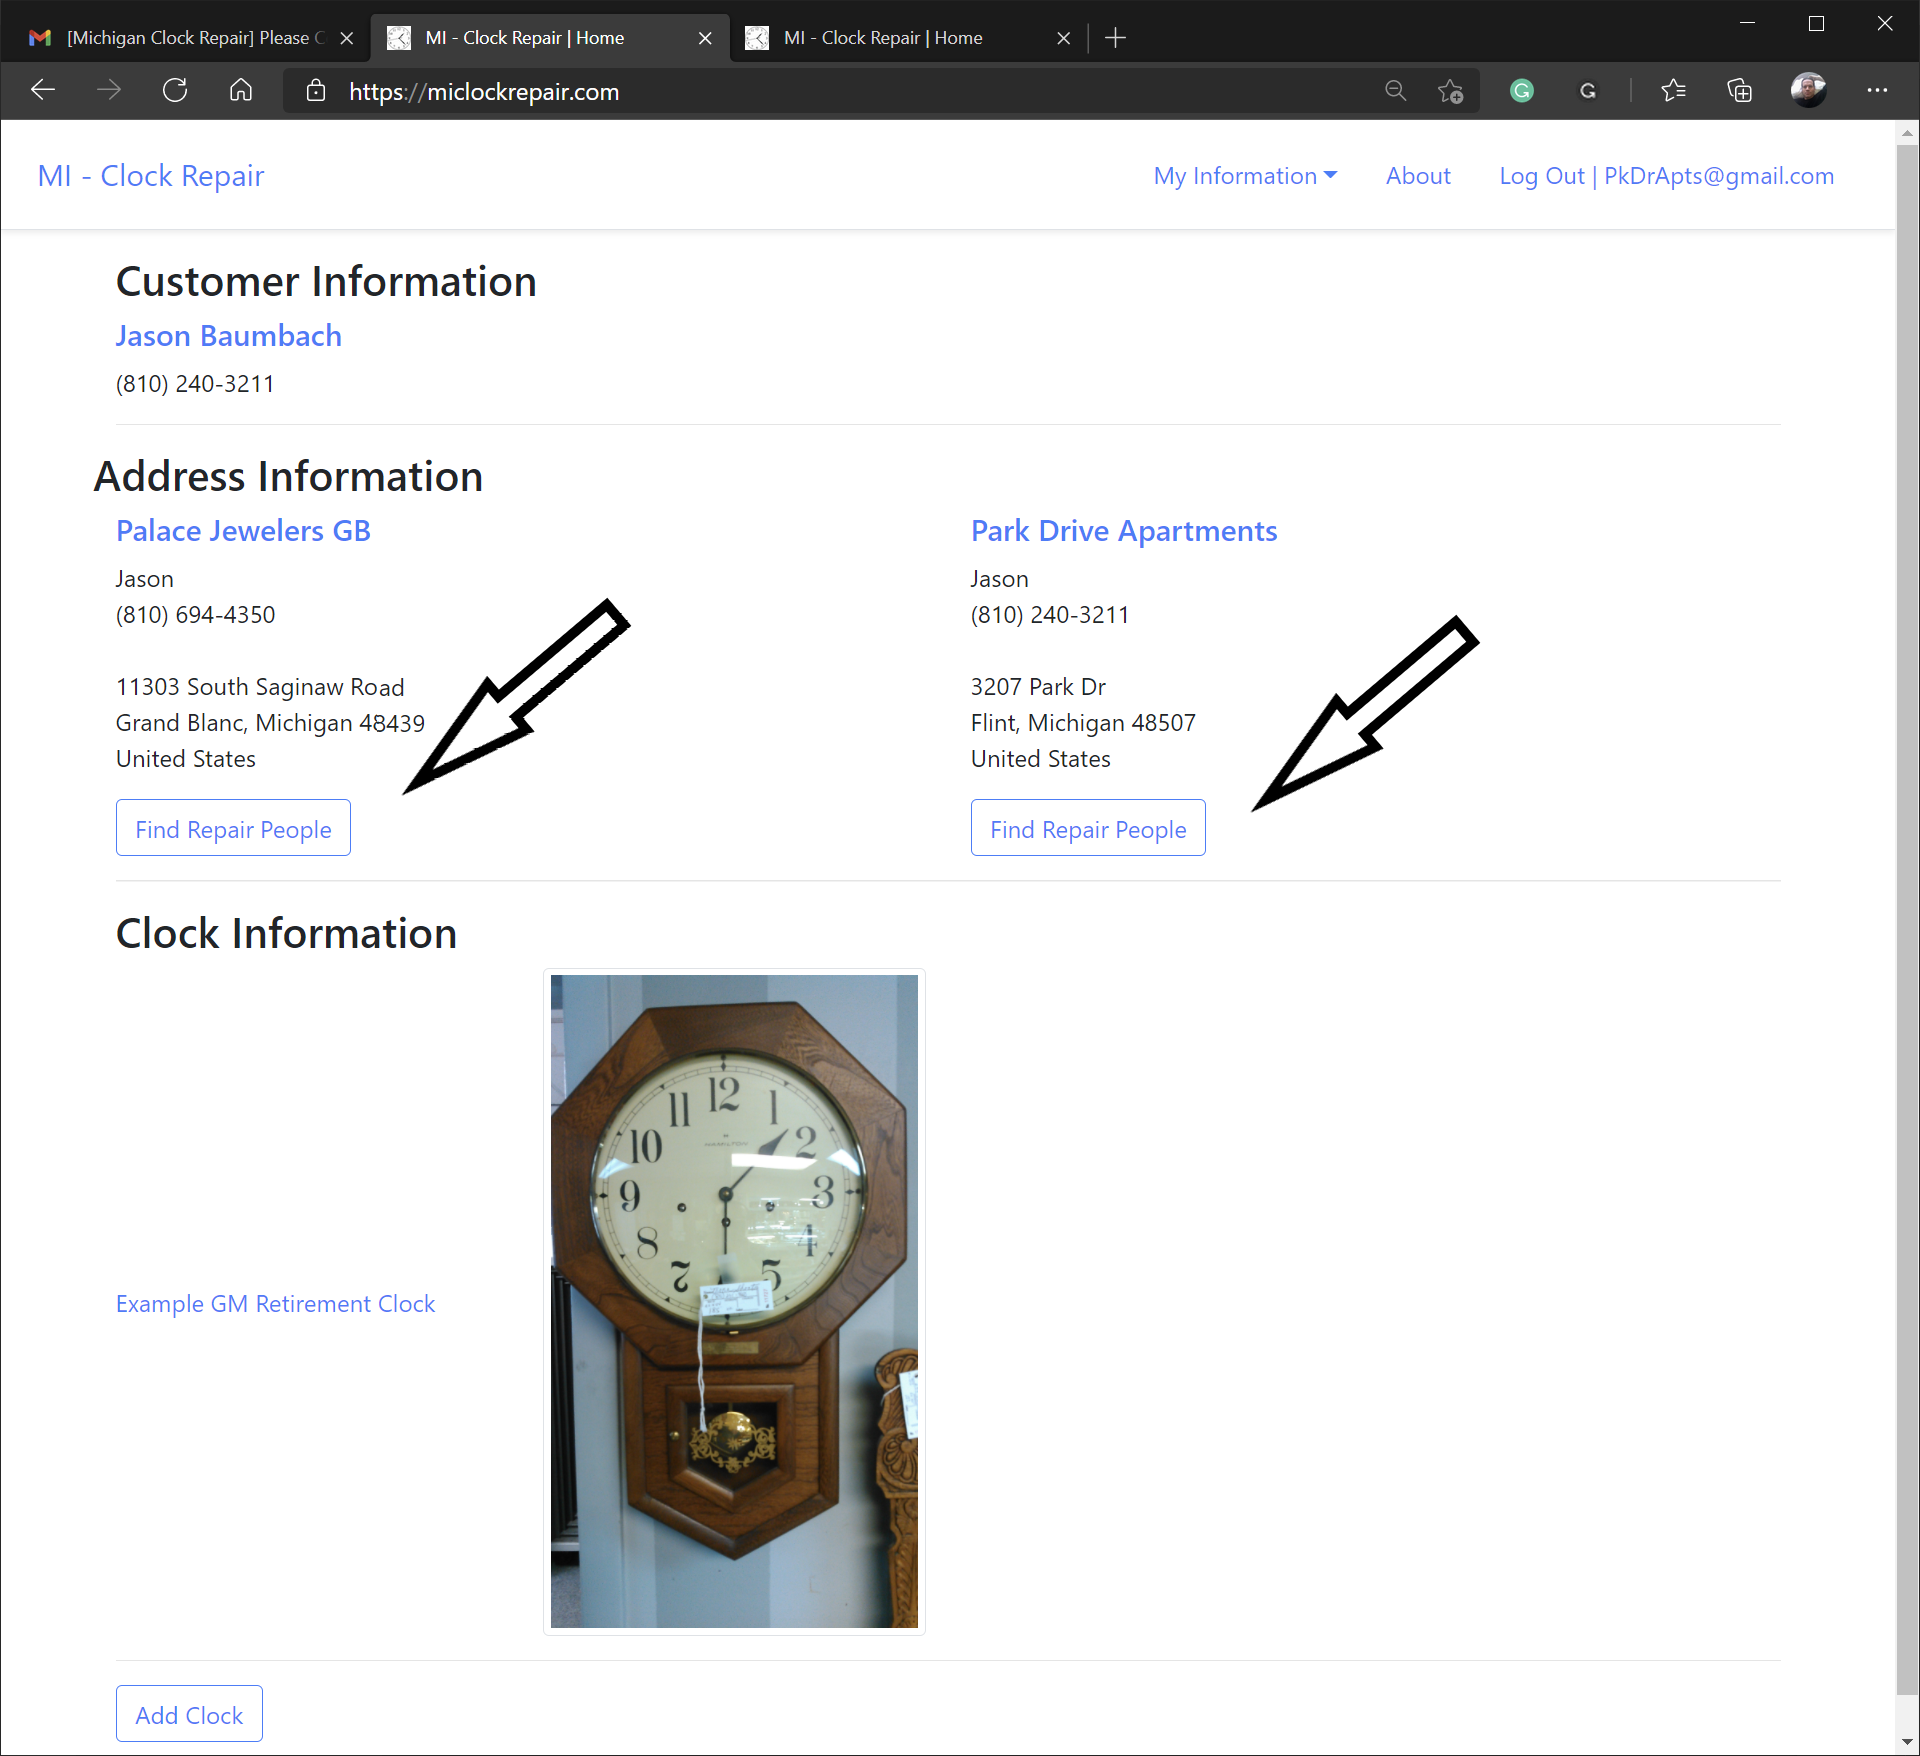
- The Home Page shows most of your information
- Clicking any of the links such as customer name and address name will allow you to edit your provided information
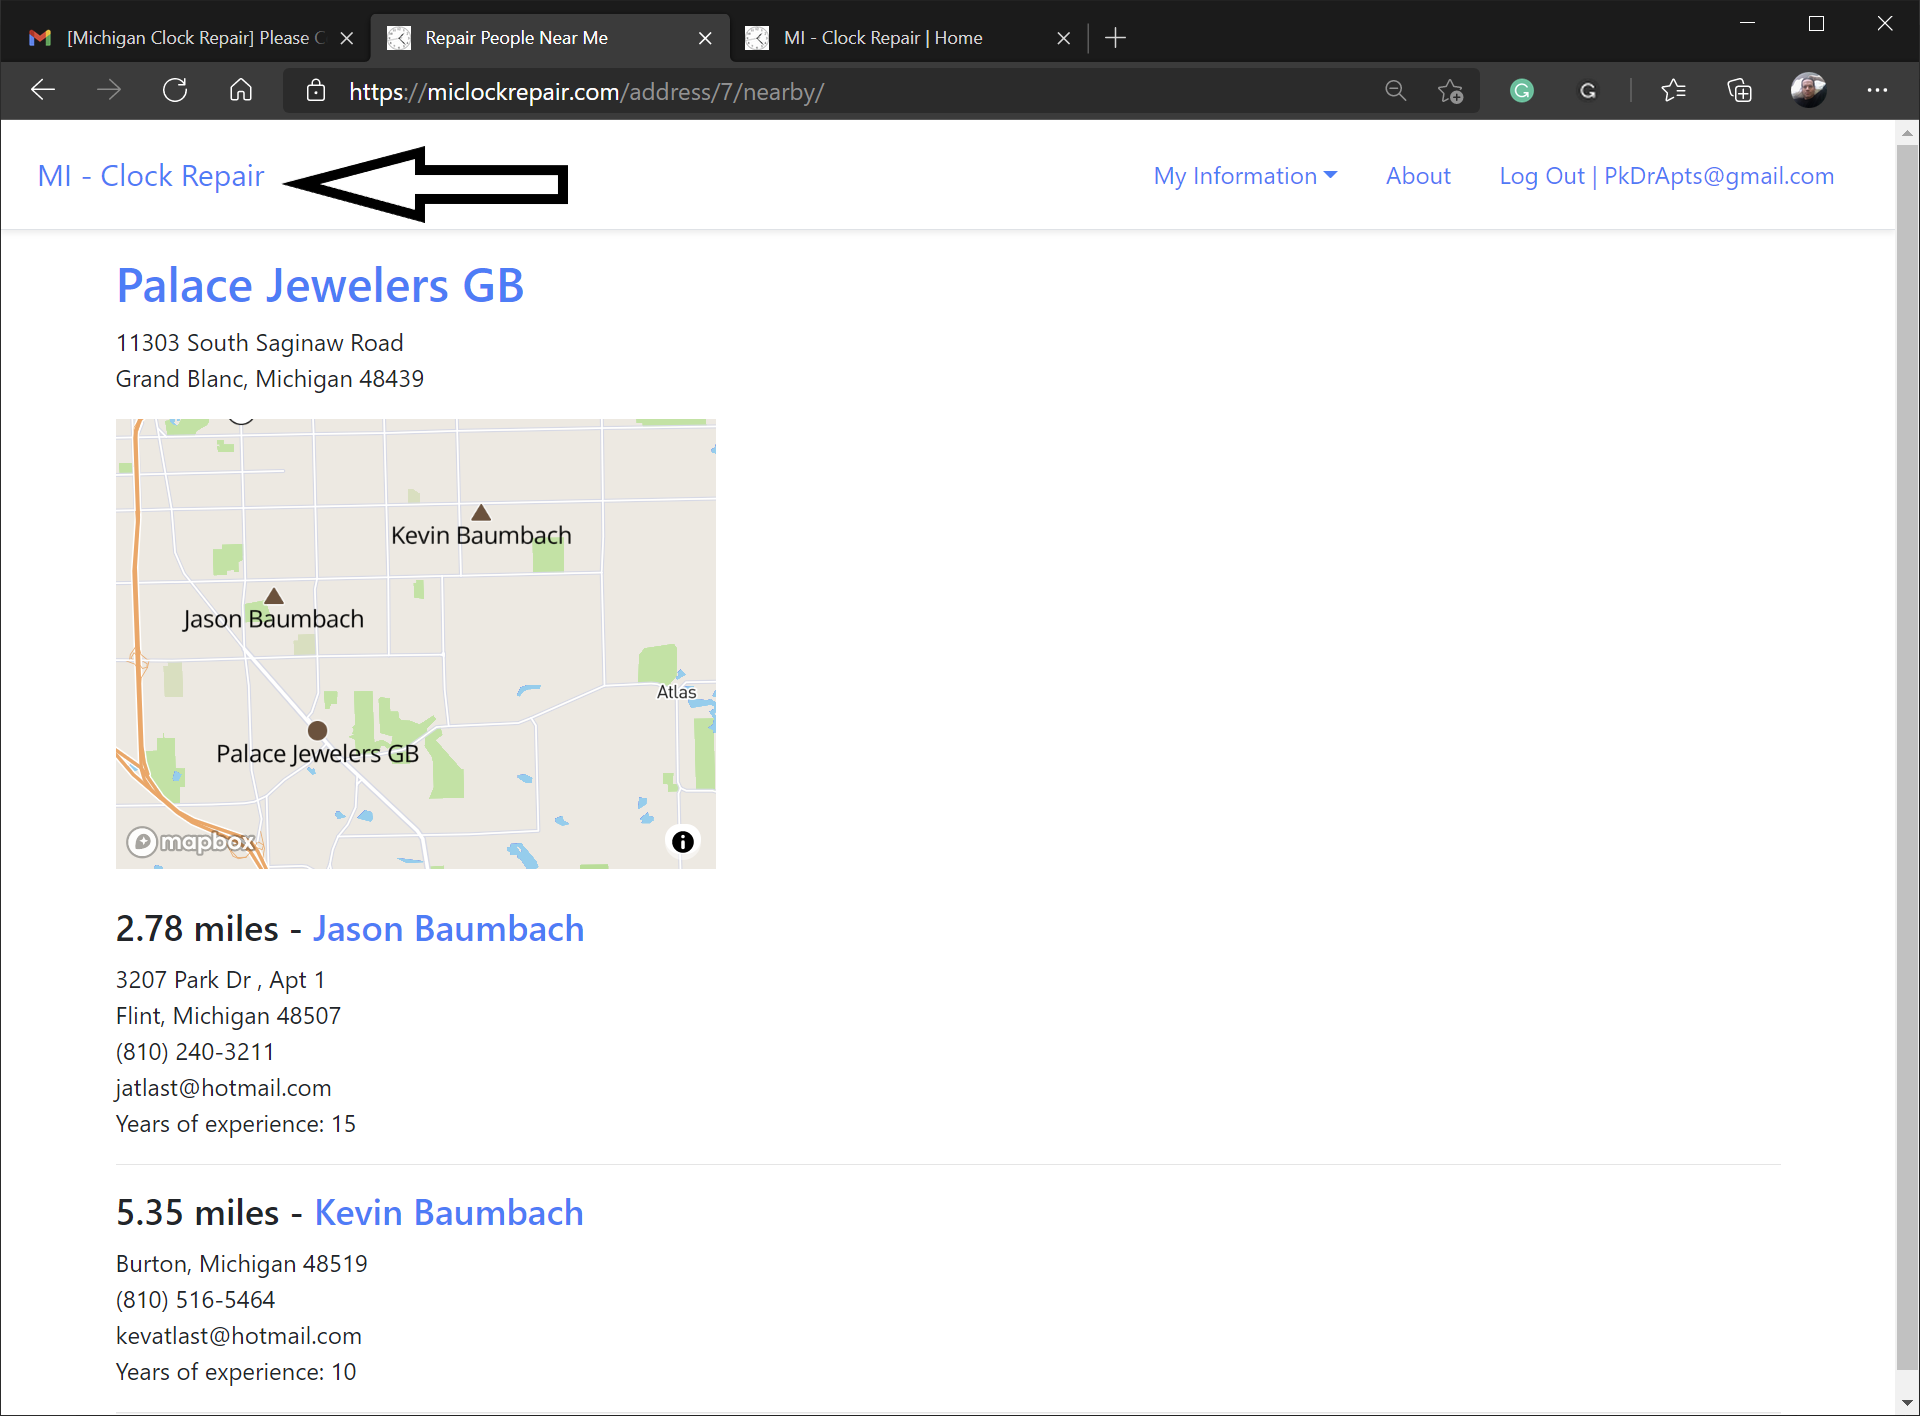
- You can also click a "Find Repair People" button to get a map of nearby repairers
- Find Repair People
- The map has your address marked with a circle and repairers' addresses marked with triangles
- (Note: For moves, map has your from address marked with a circle and your to address marked with a square.)
- To return to your summary page click the Mi - Clock Repair logo again
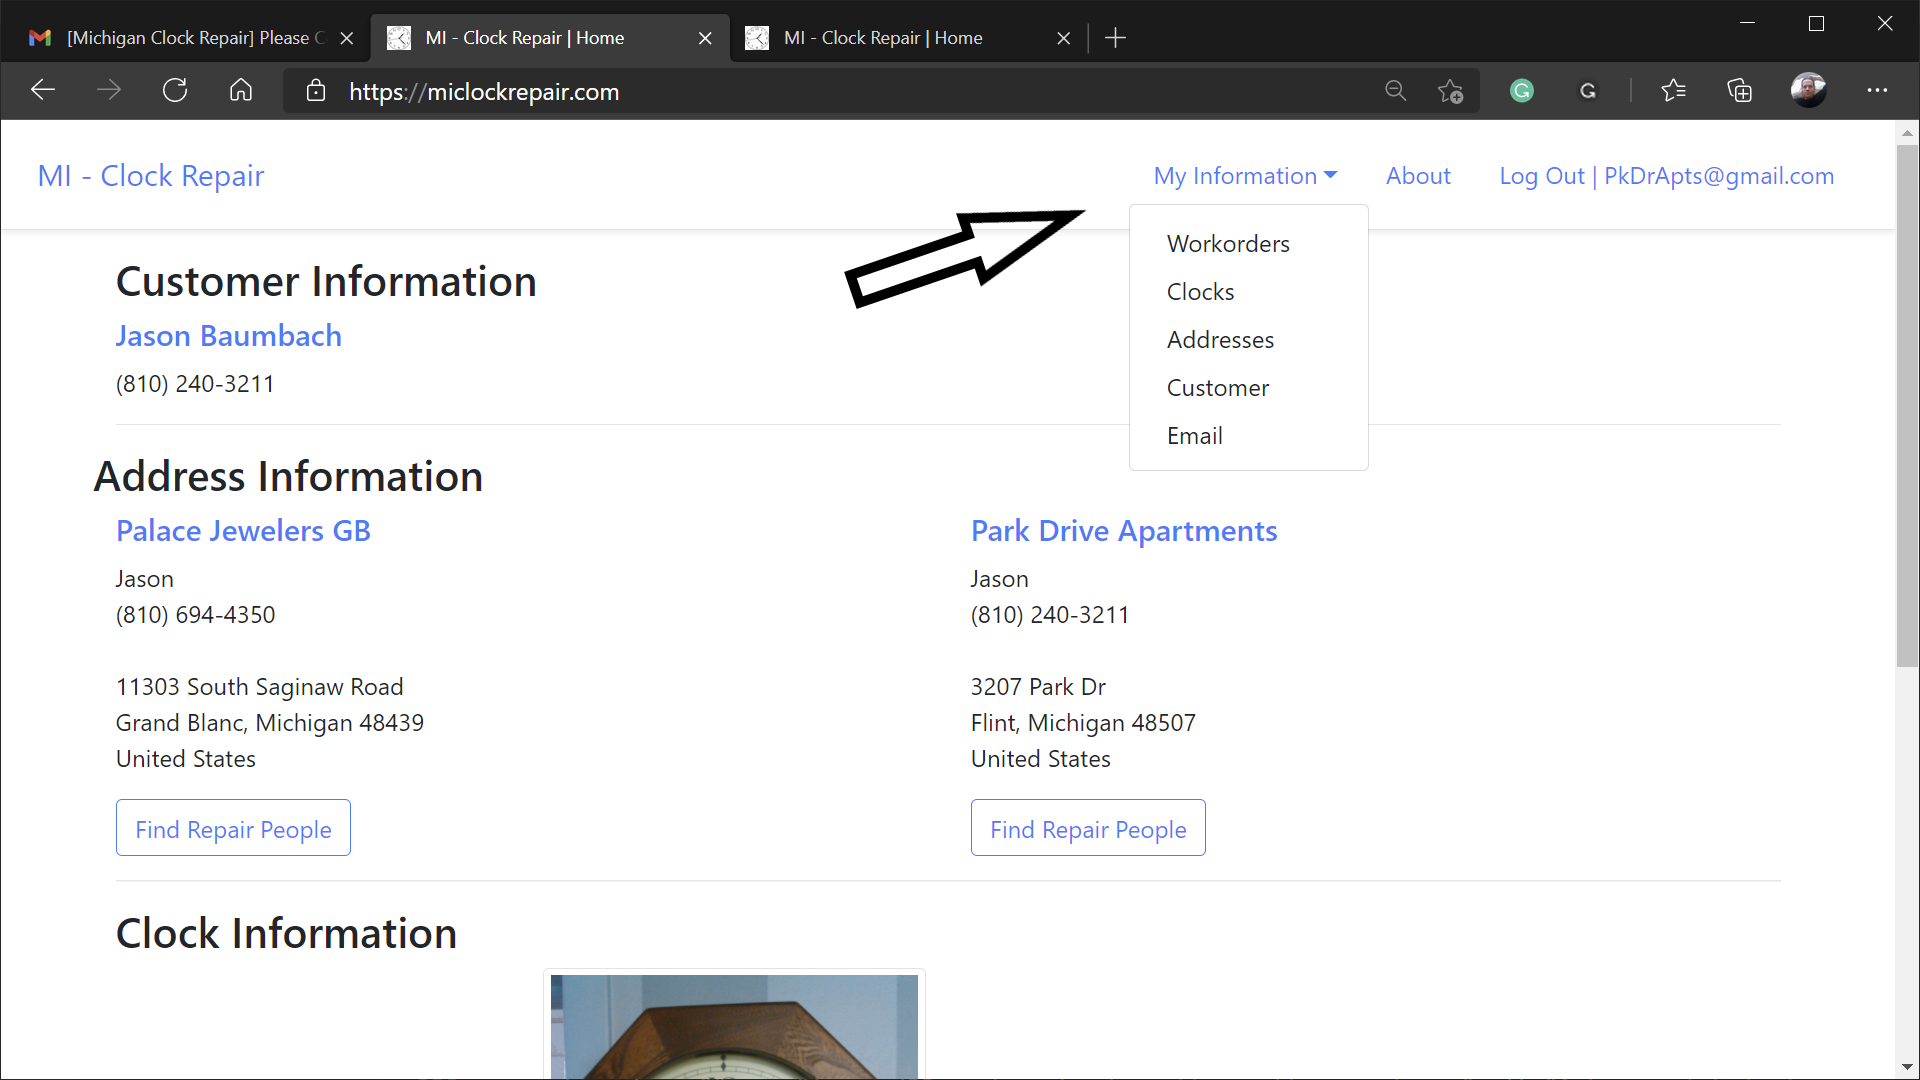
- The My Information menu
- Use this menu to navigate to all of your associated information
- Workorders - returns a list of your work orders
- Clocks - returns a list of your clocks
- Addresses - returns a list of your addresses
- Customer - returns your customer information
- Email - returns your email settings
- Success!!
- You now have all the information you need to use this site