Repairer Walkthrough
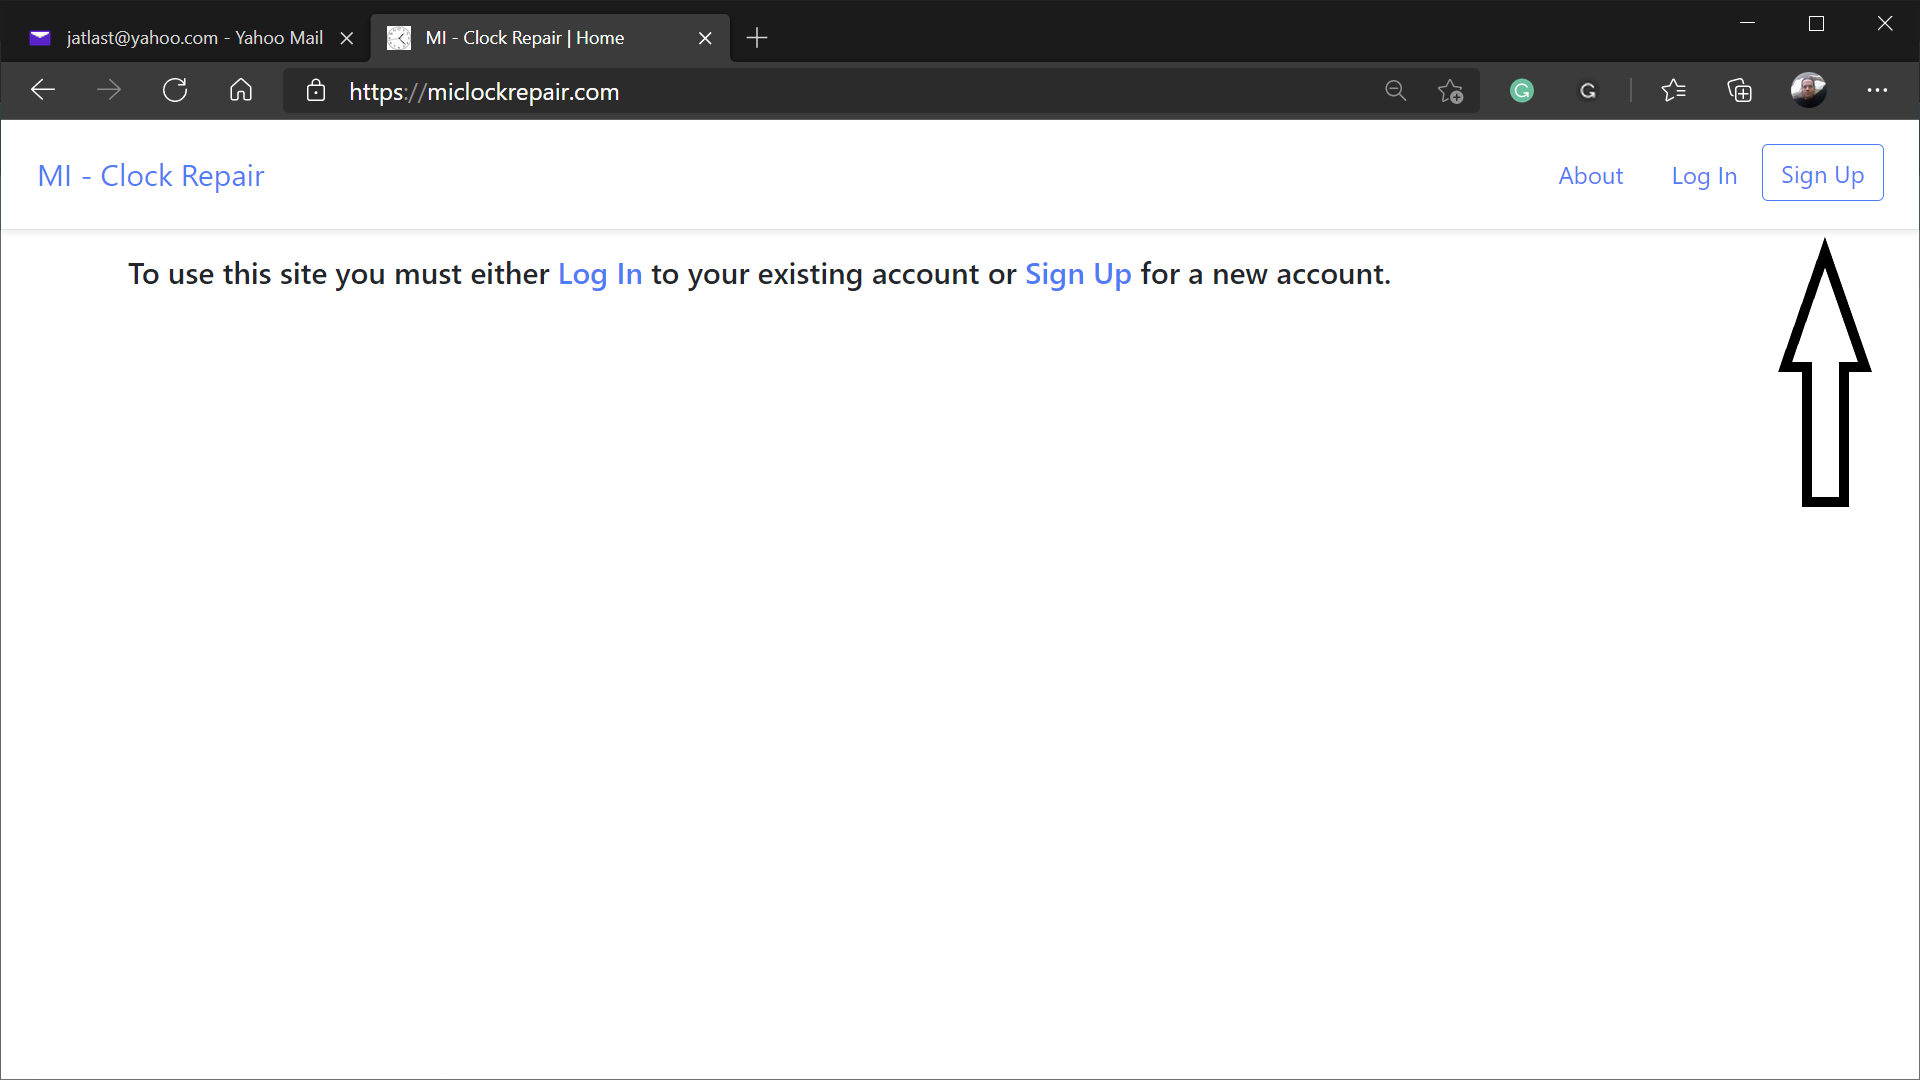
- From the home page
- Click the Sign Up button or link
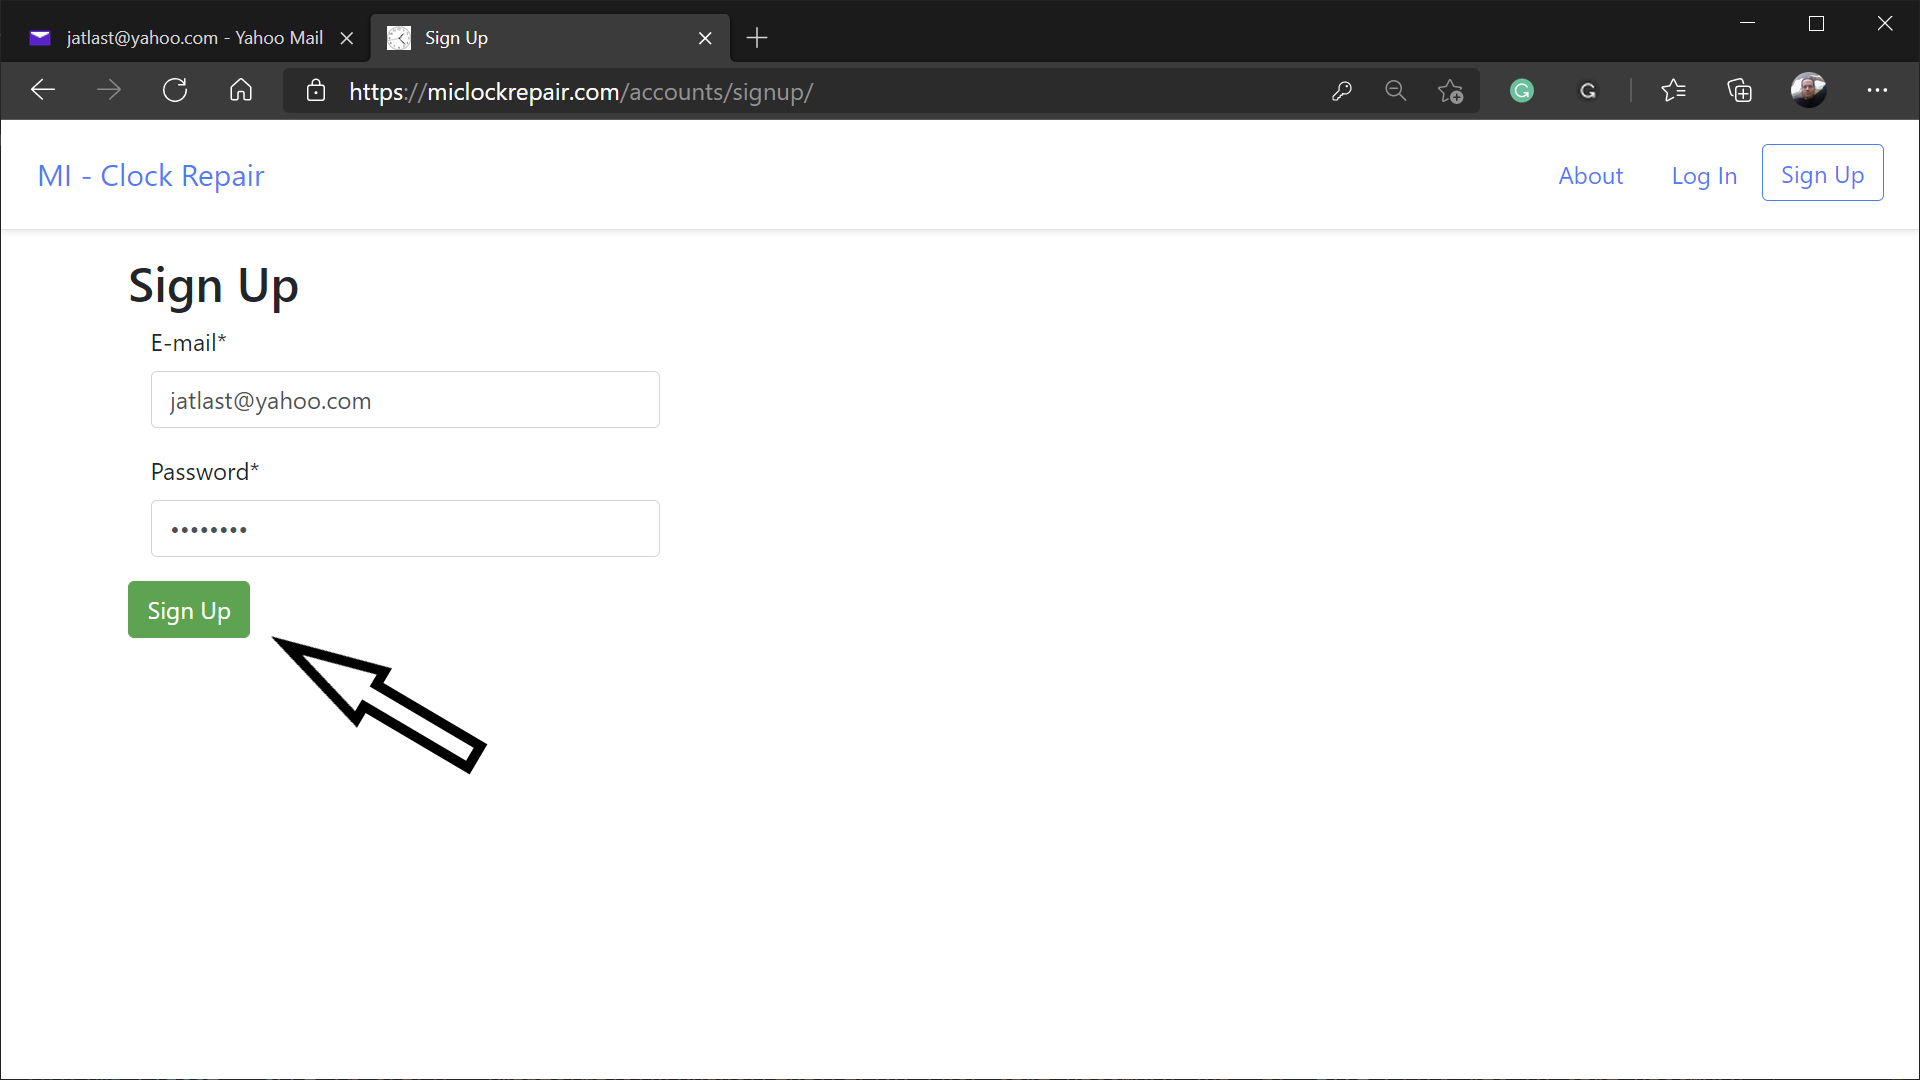
- Enter an email address and password
- Click the Sign Up button
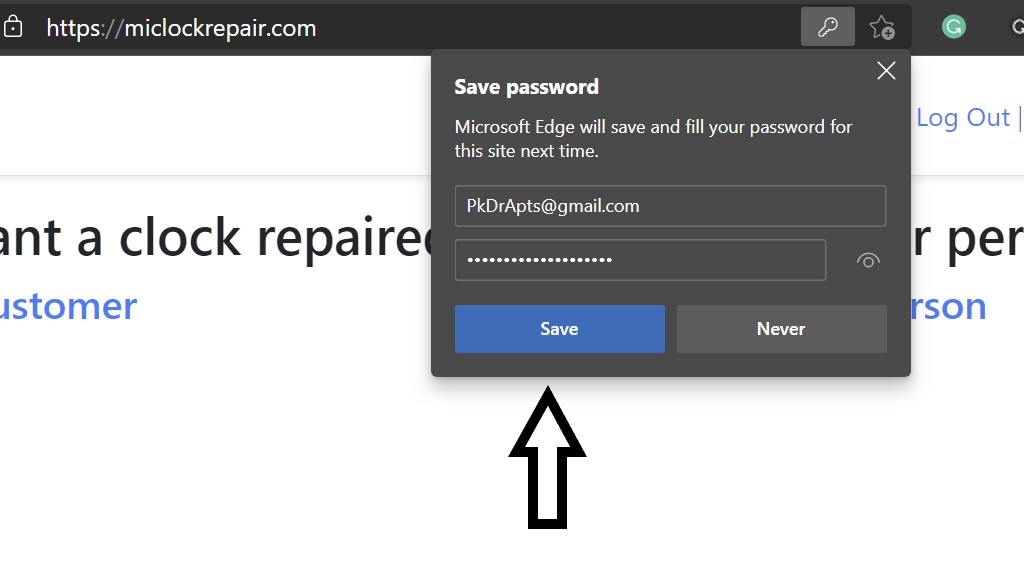
- Click Yes when your browser asks if you want to save your password.
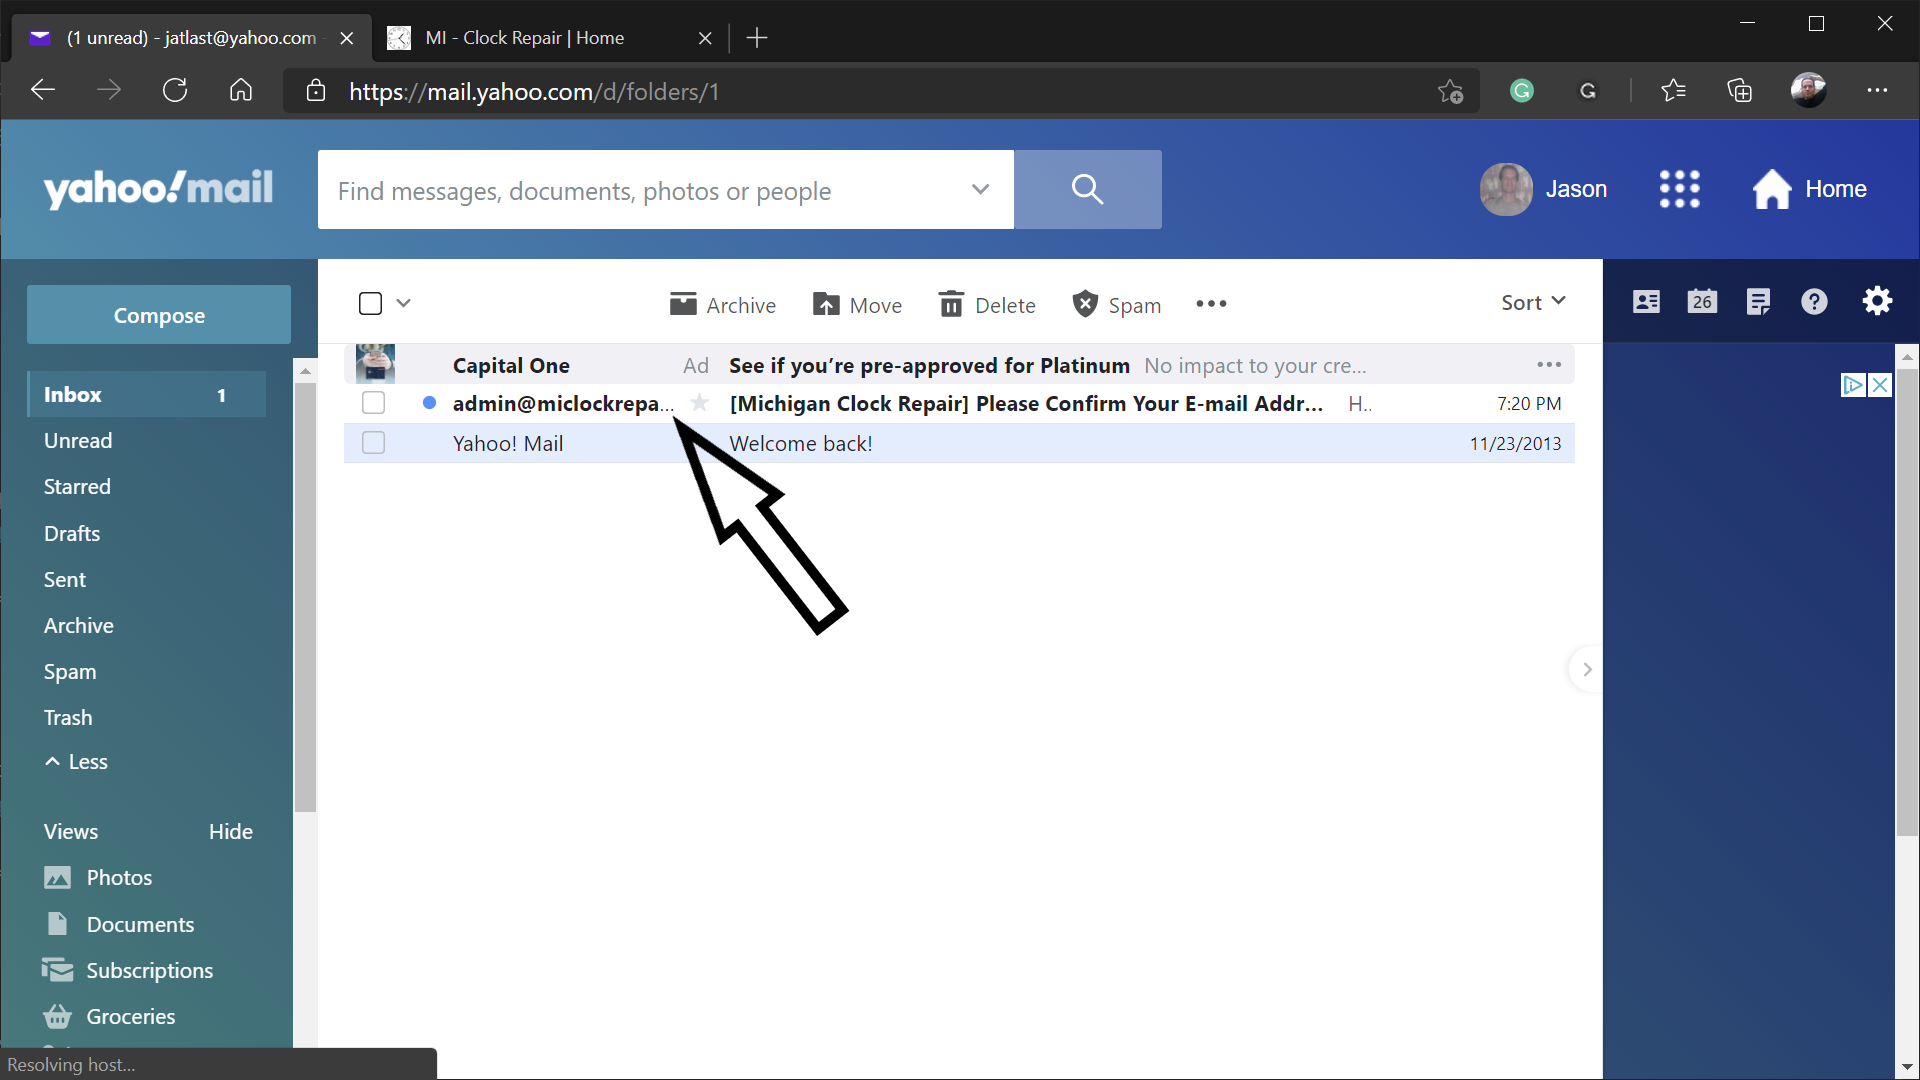
- Open your email application
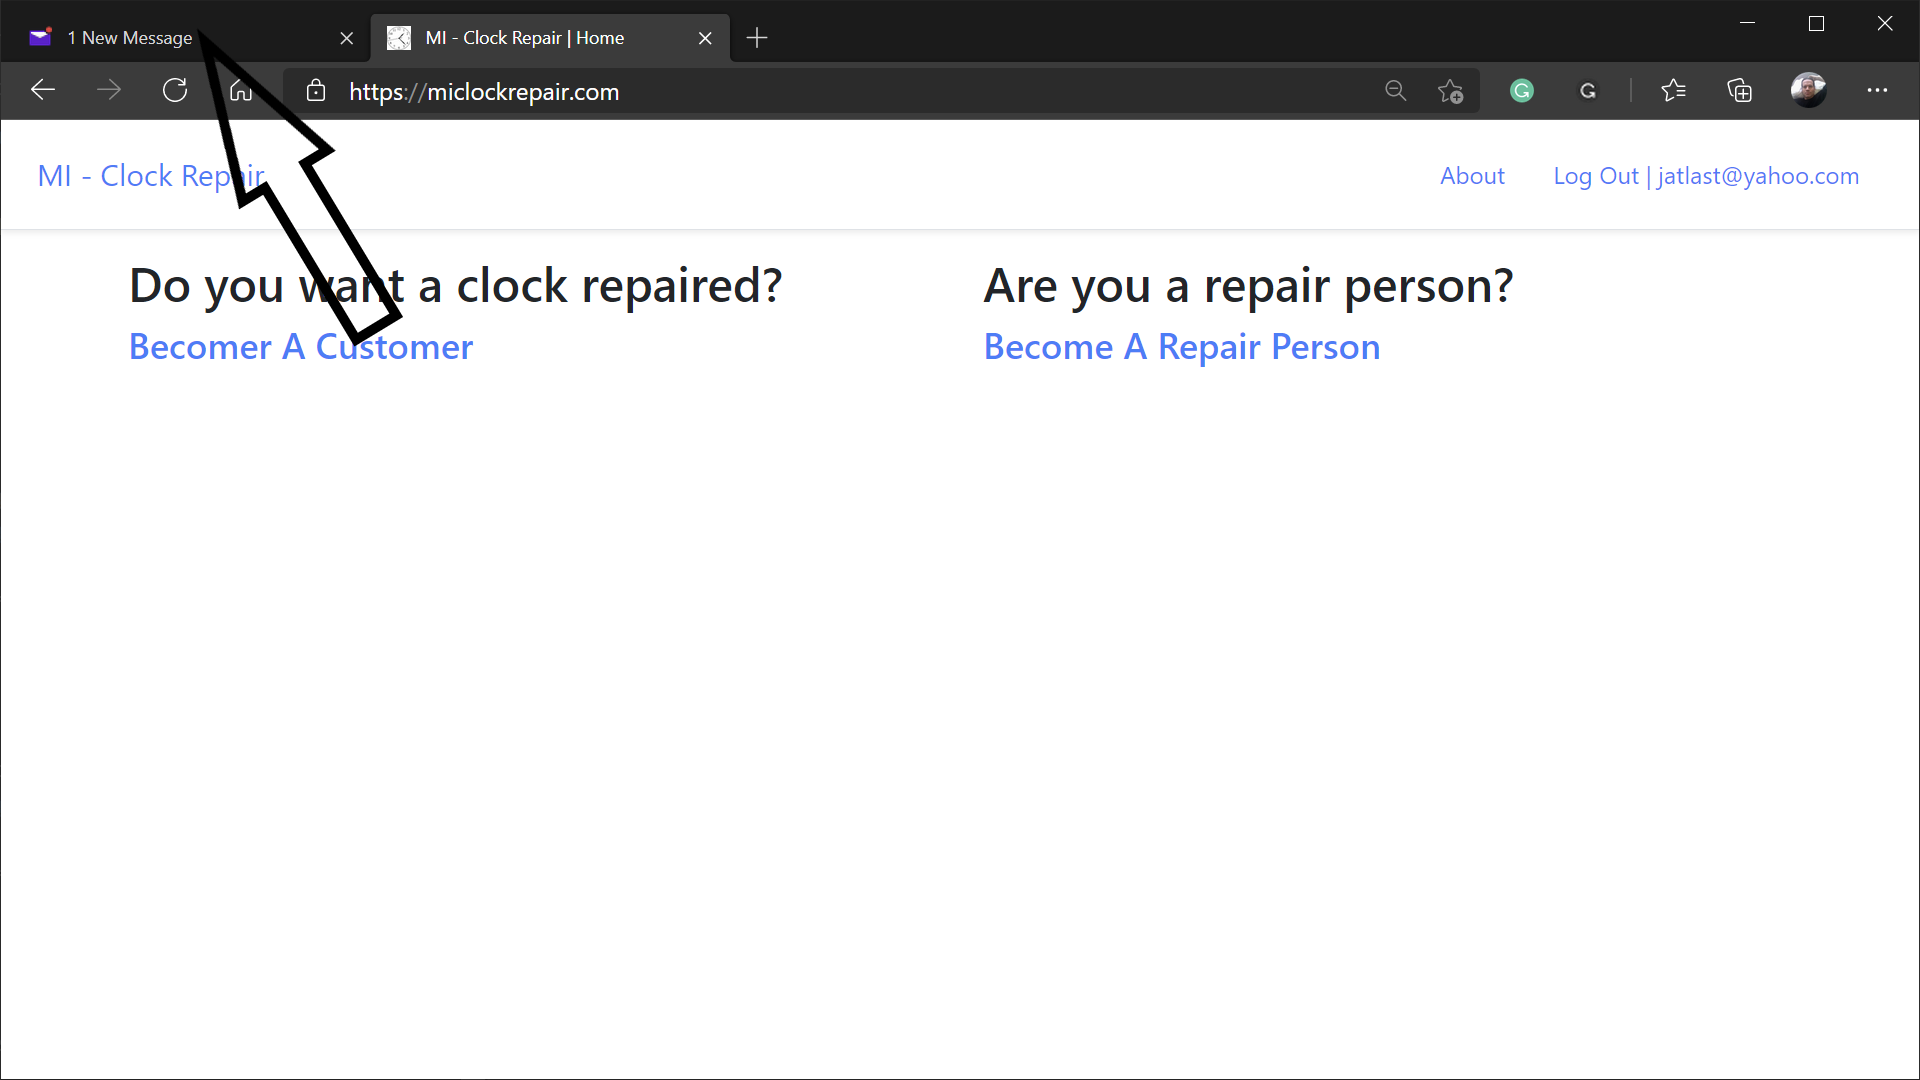
- Open your email and look for the Welcome message
- Open the Welcome message
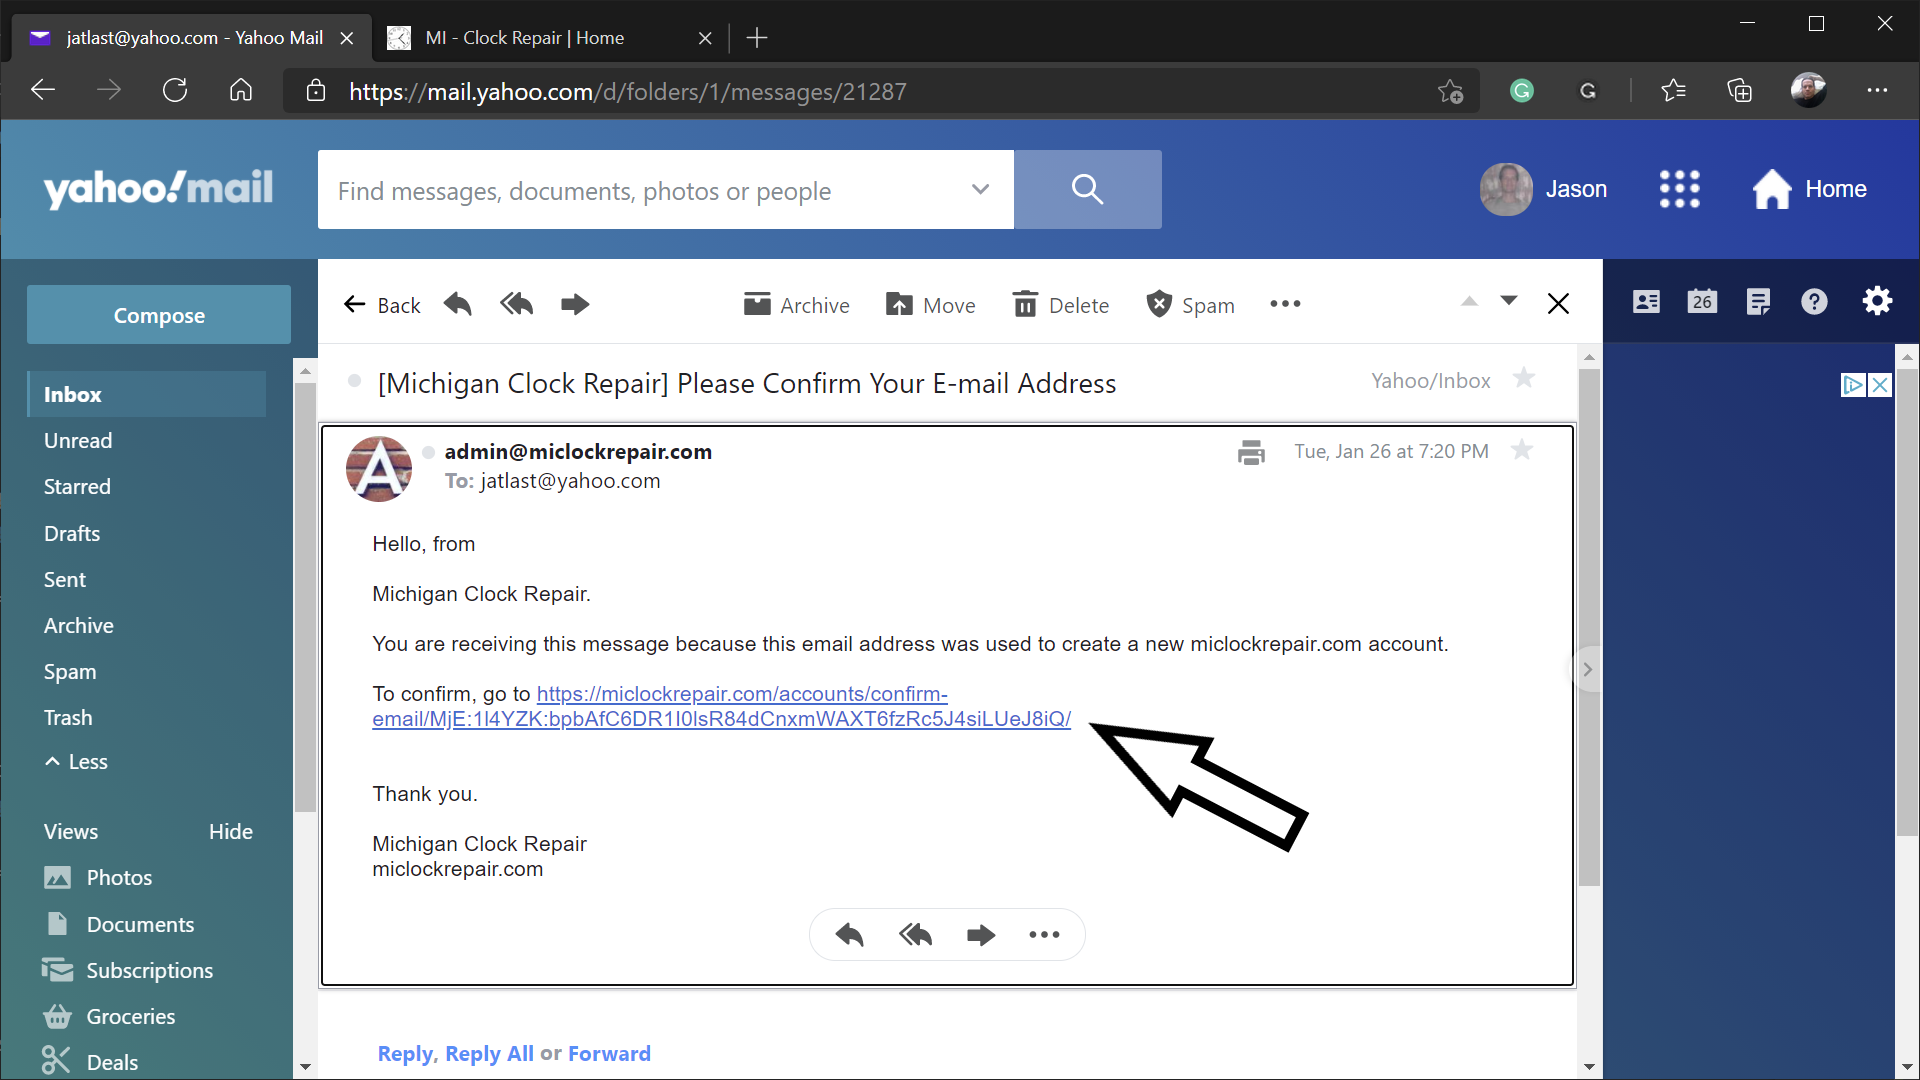
- In the email text, click the link following "To confirm, go to ..."
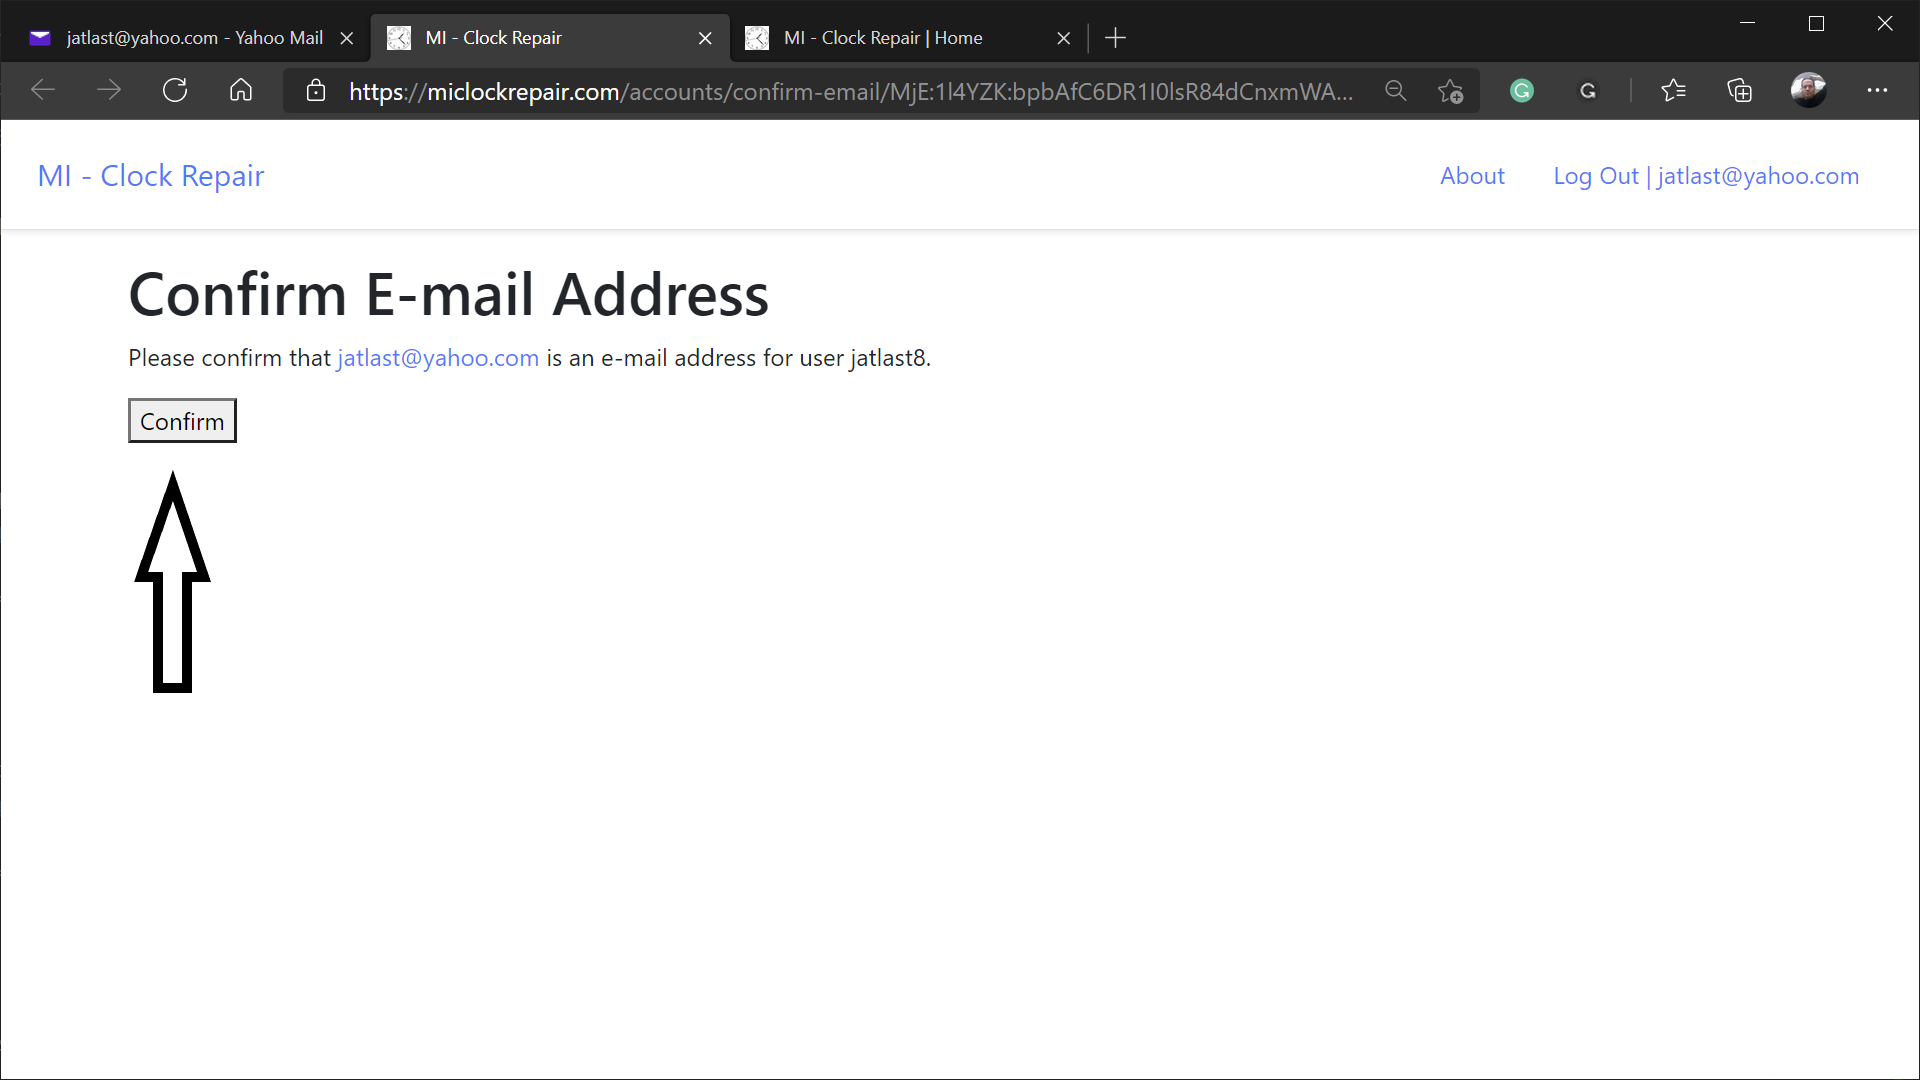
- Click the Confirm button to confirm your email address
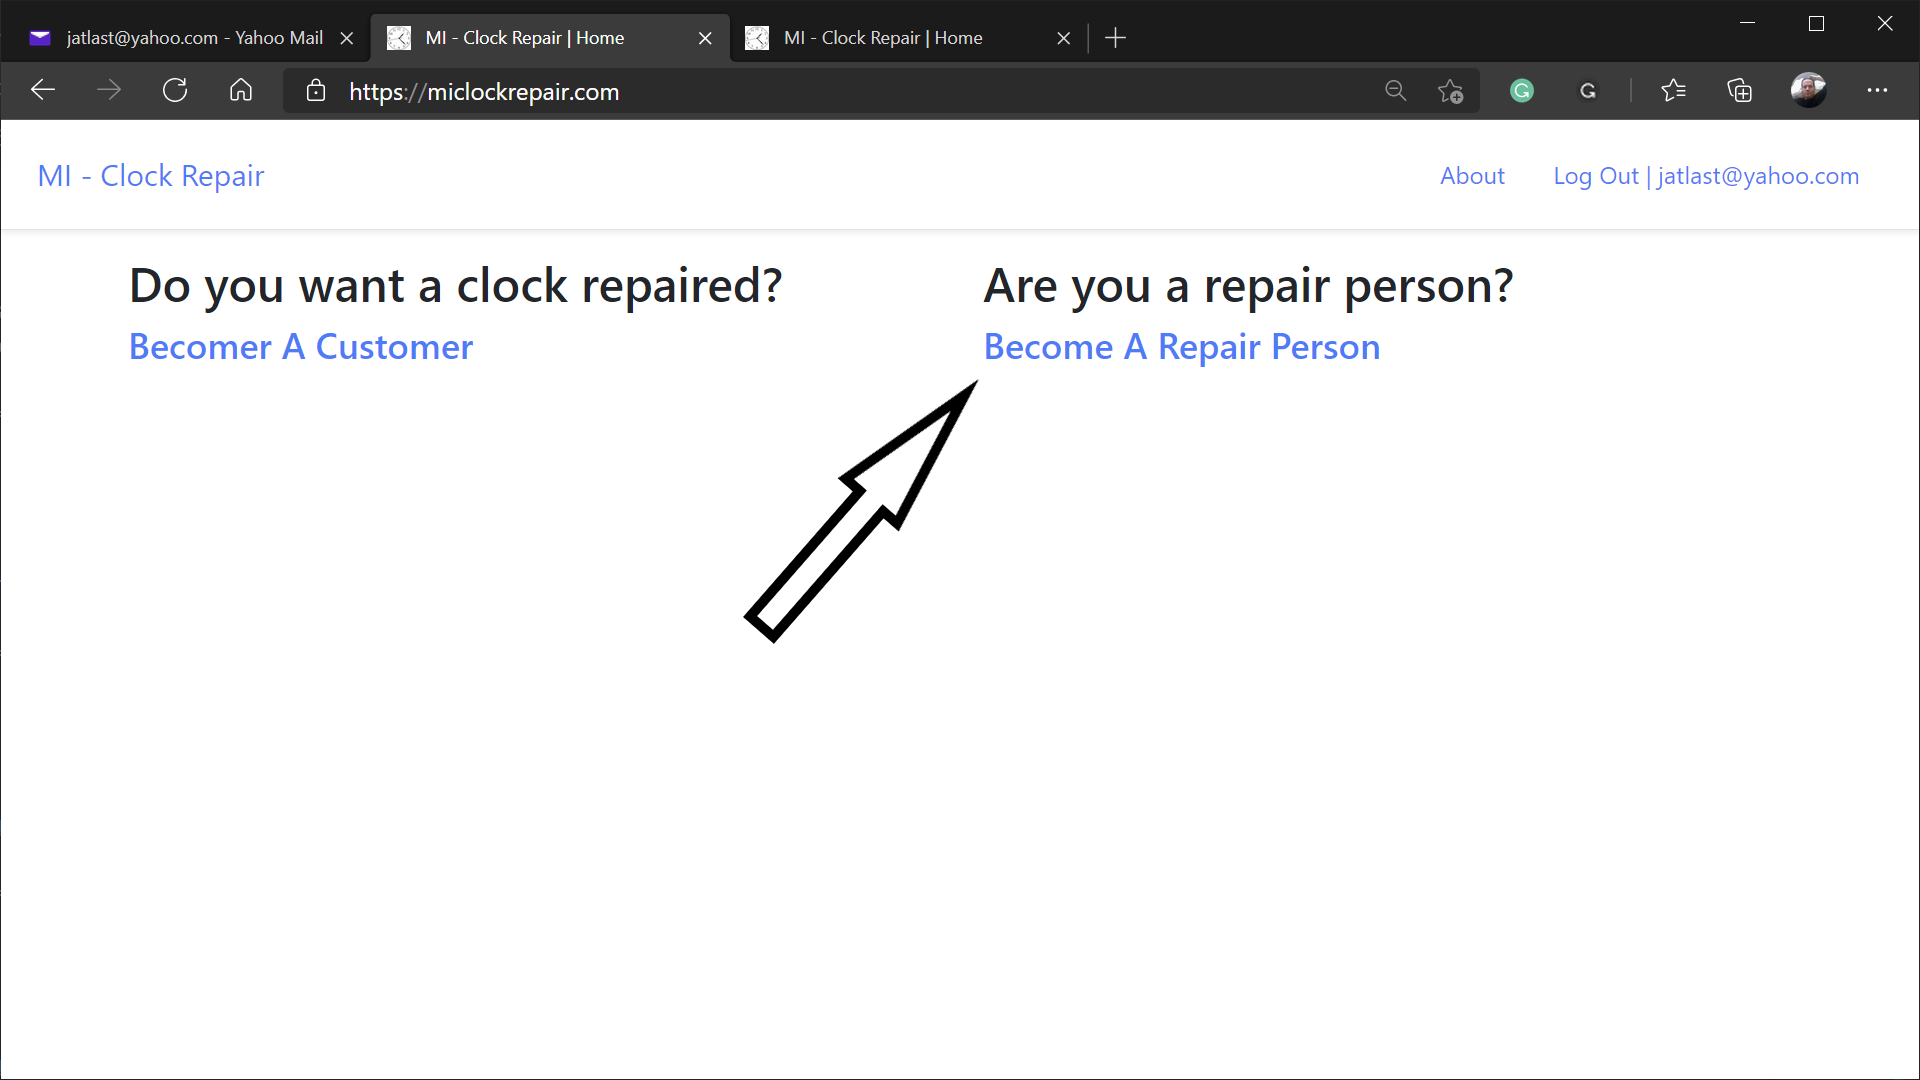
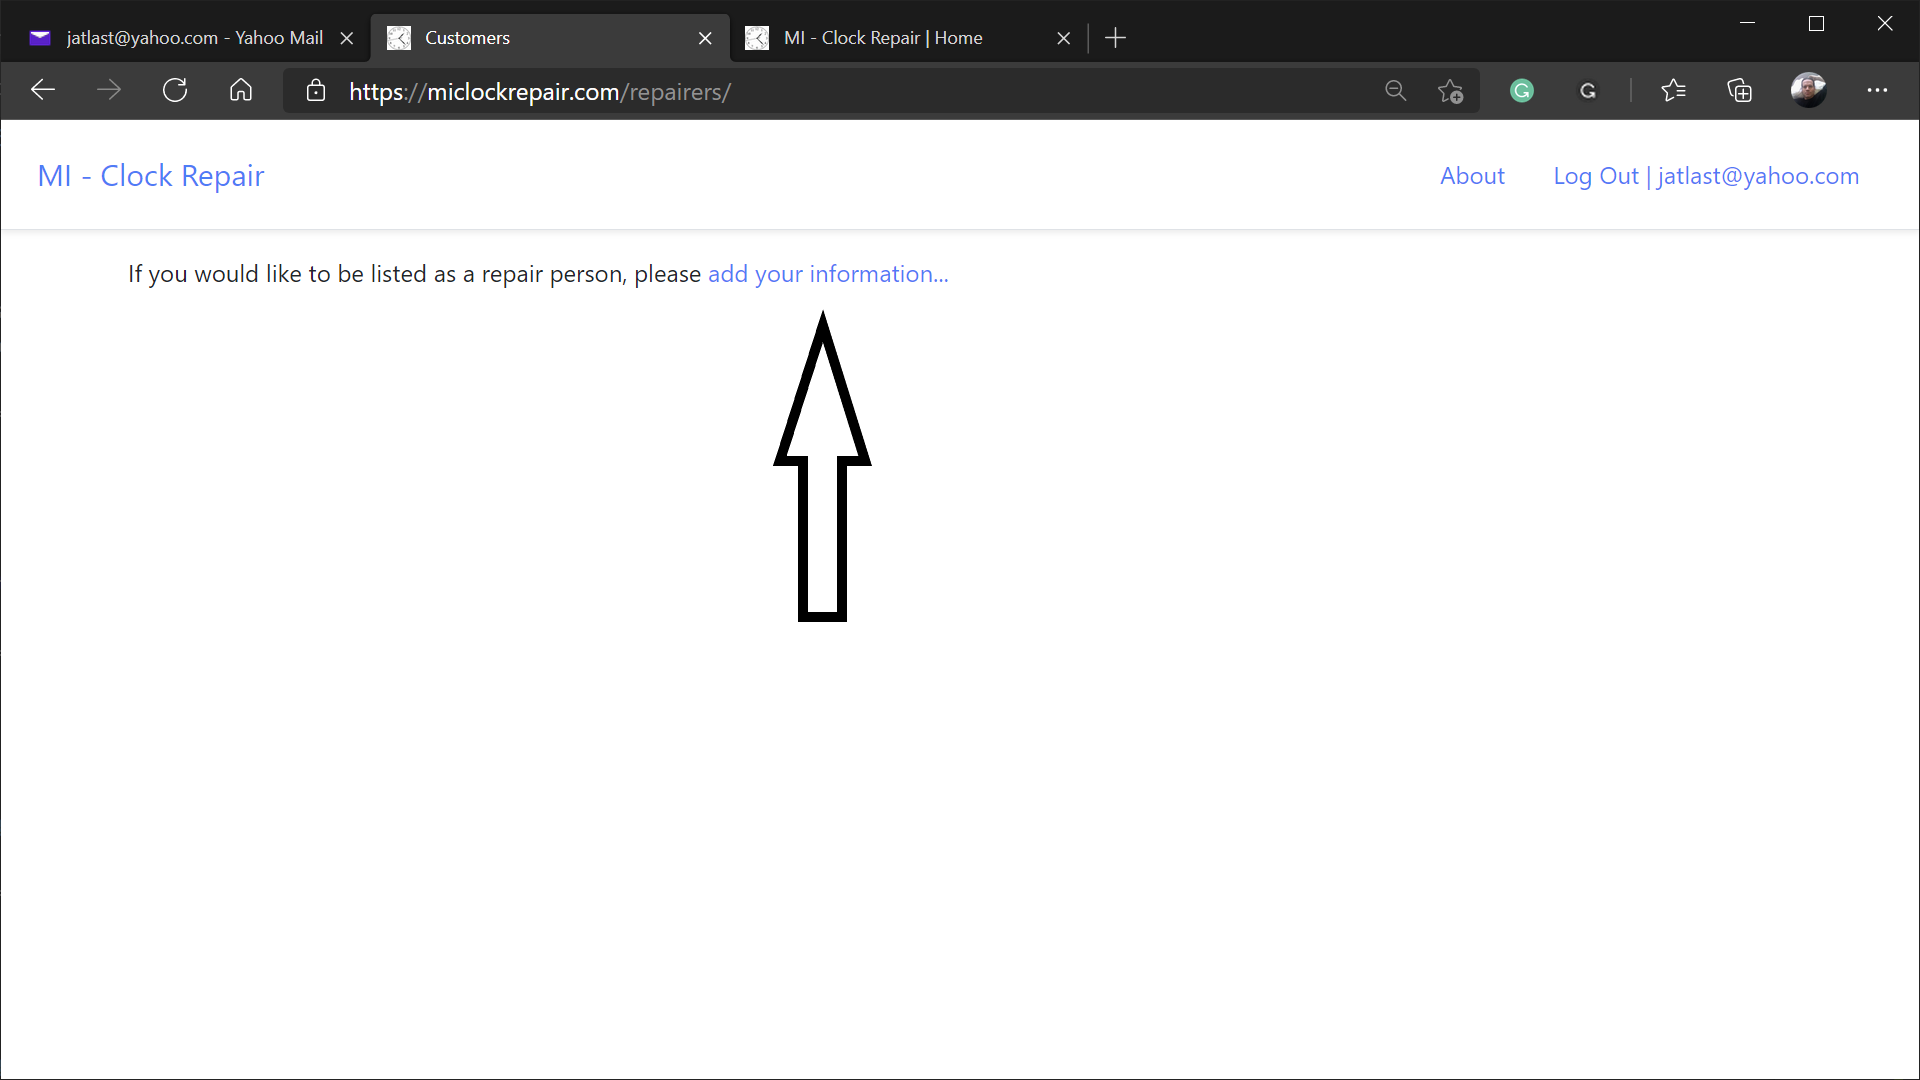
- Click the Become A Repairer link
- Click the add your information link
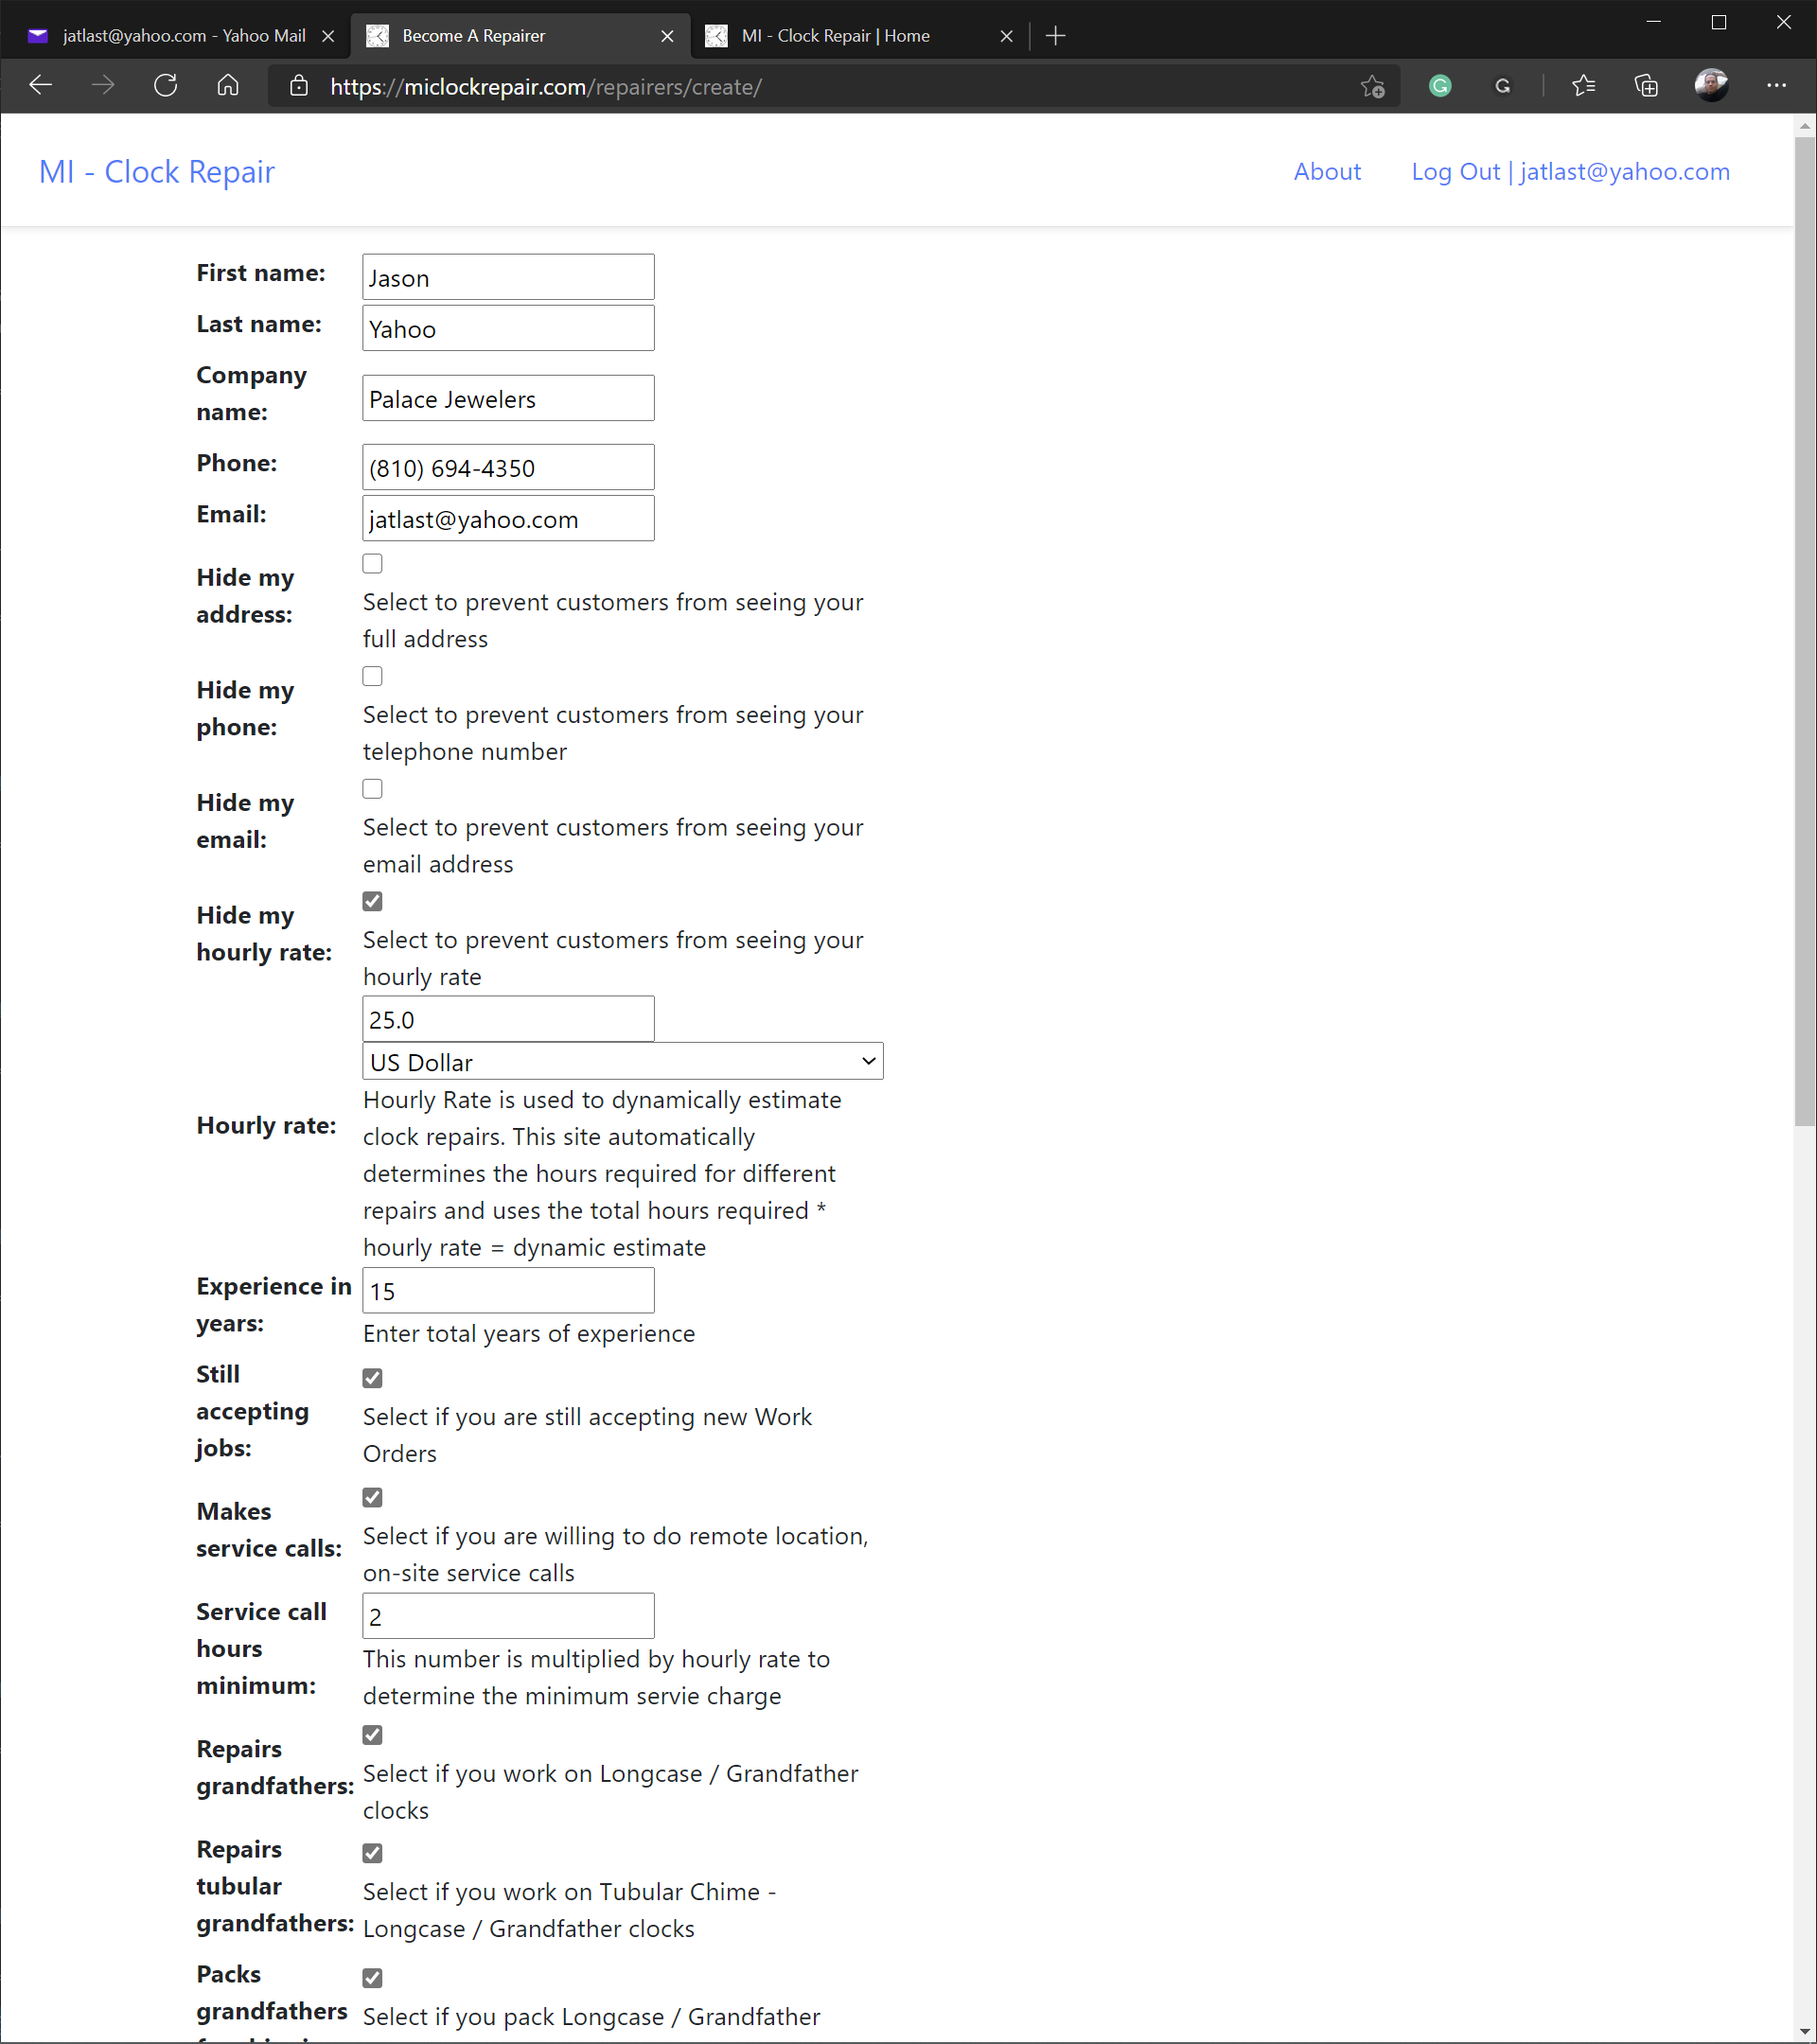
- Fill out the Repairer Information form
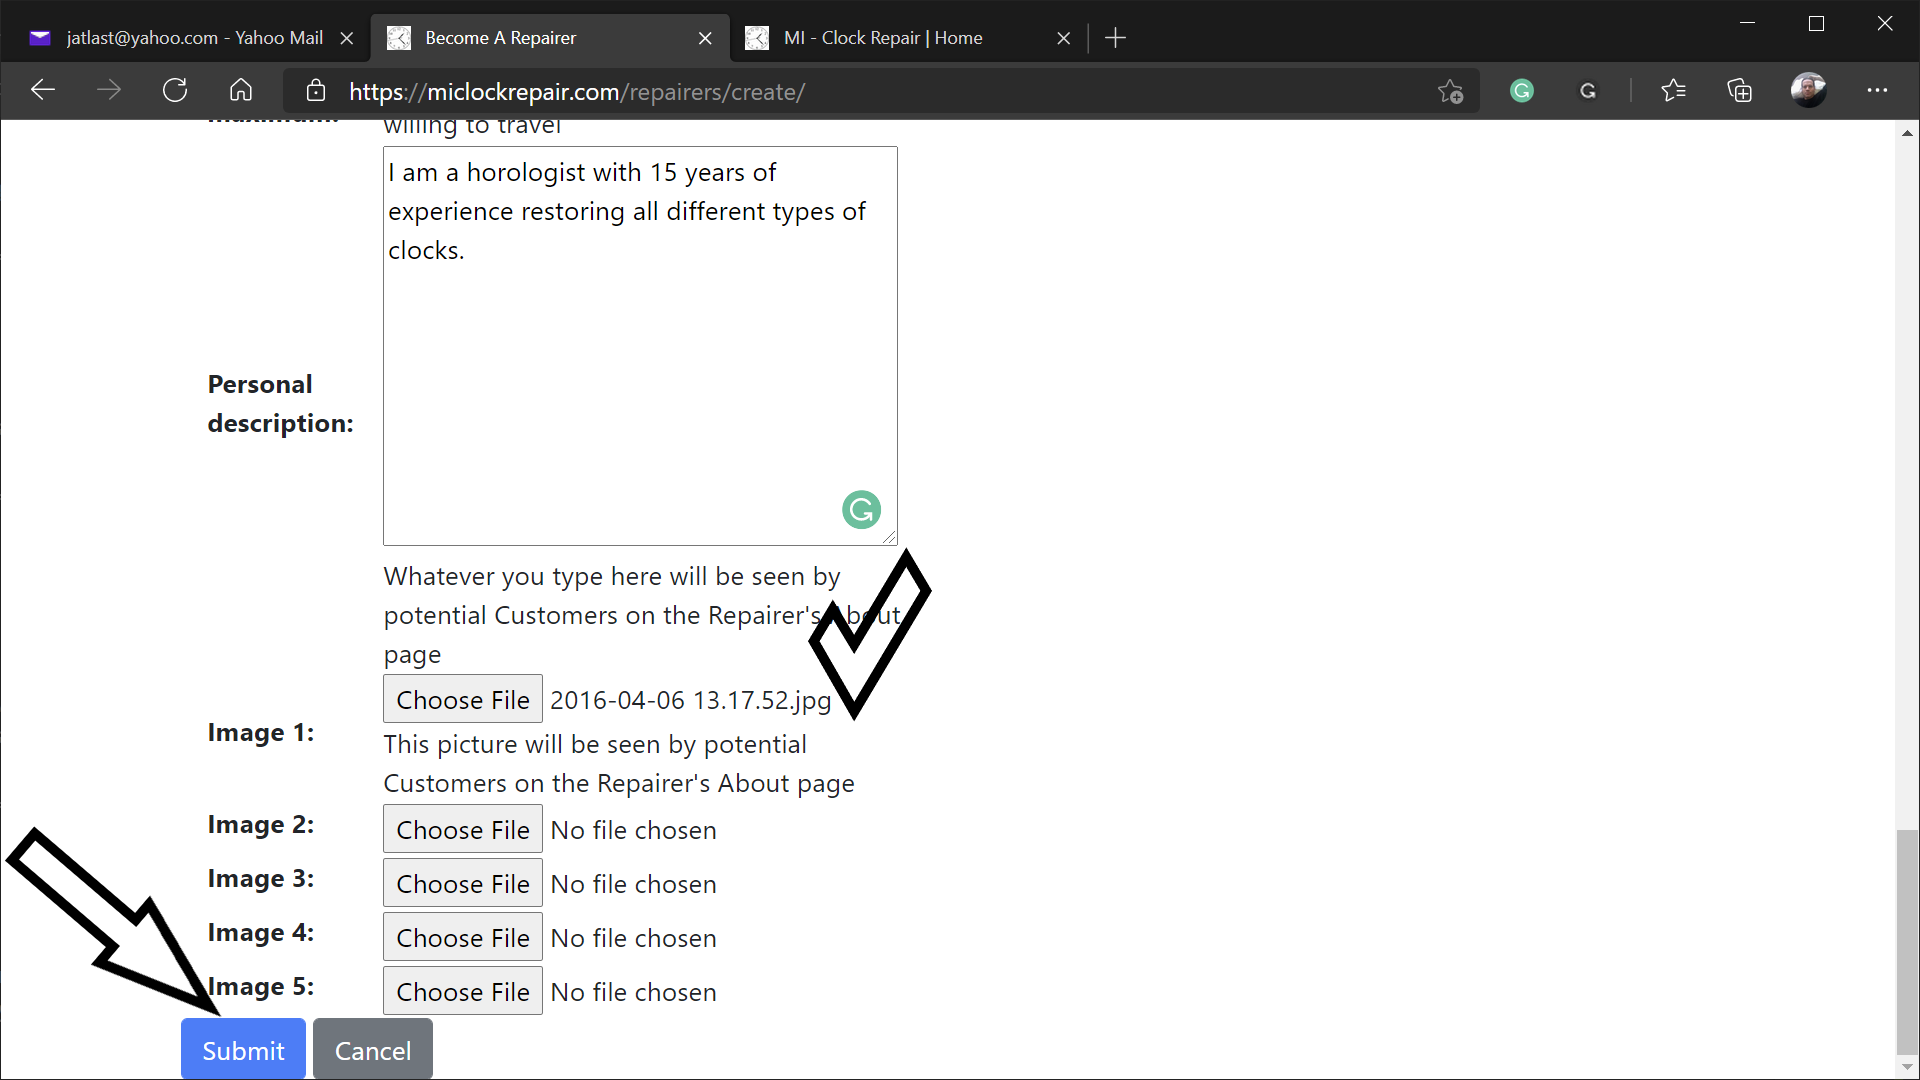
- At the bottom of the form, add at least one picture that potential customers will see when viewing your profile
- To add pictures
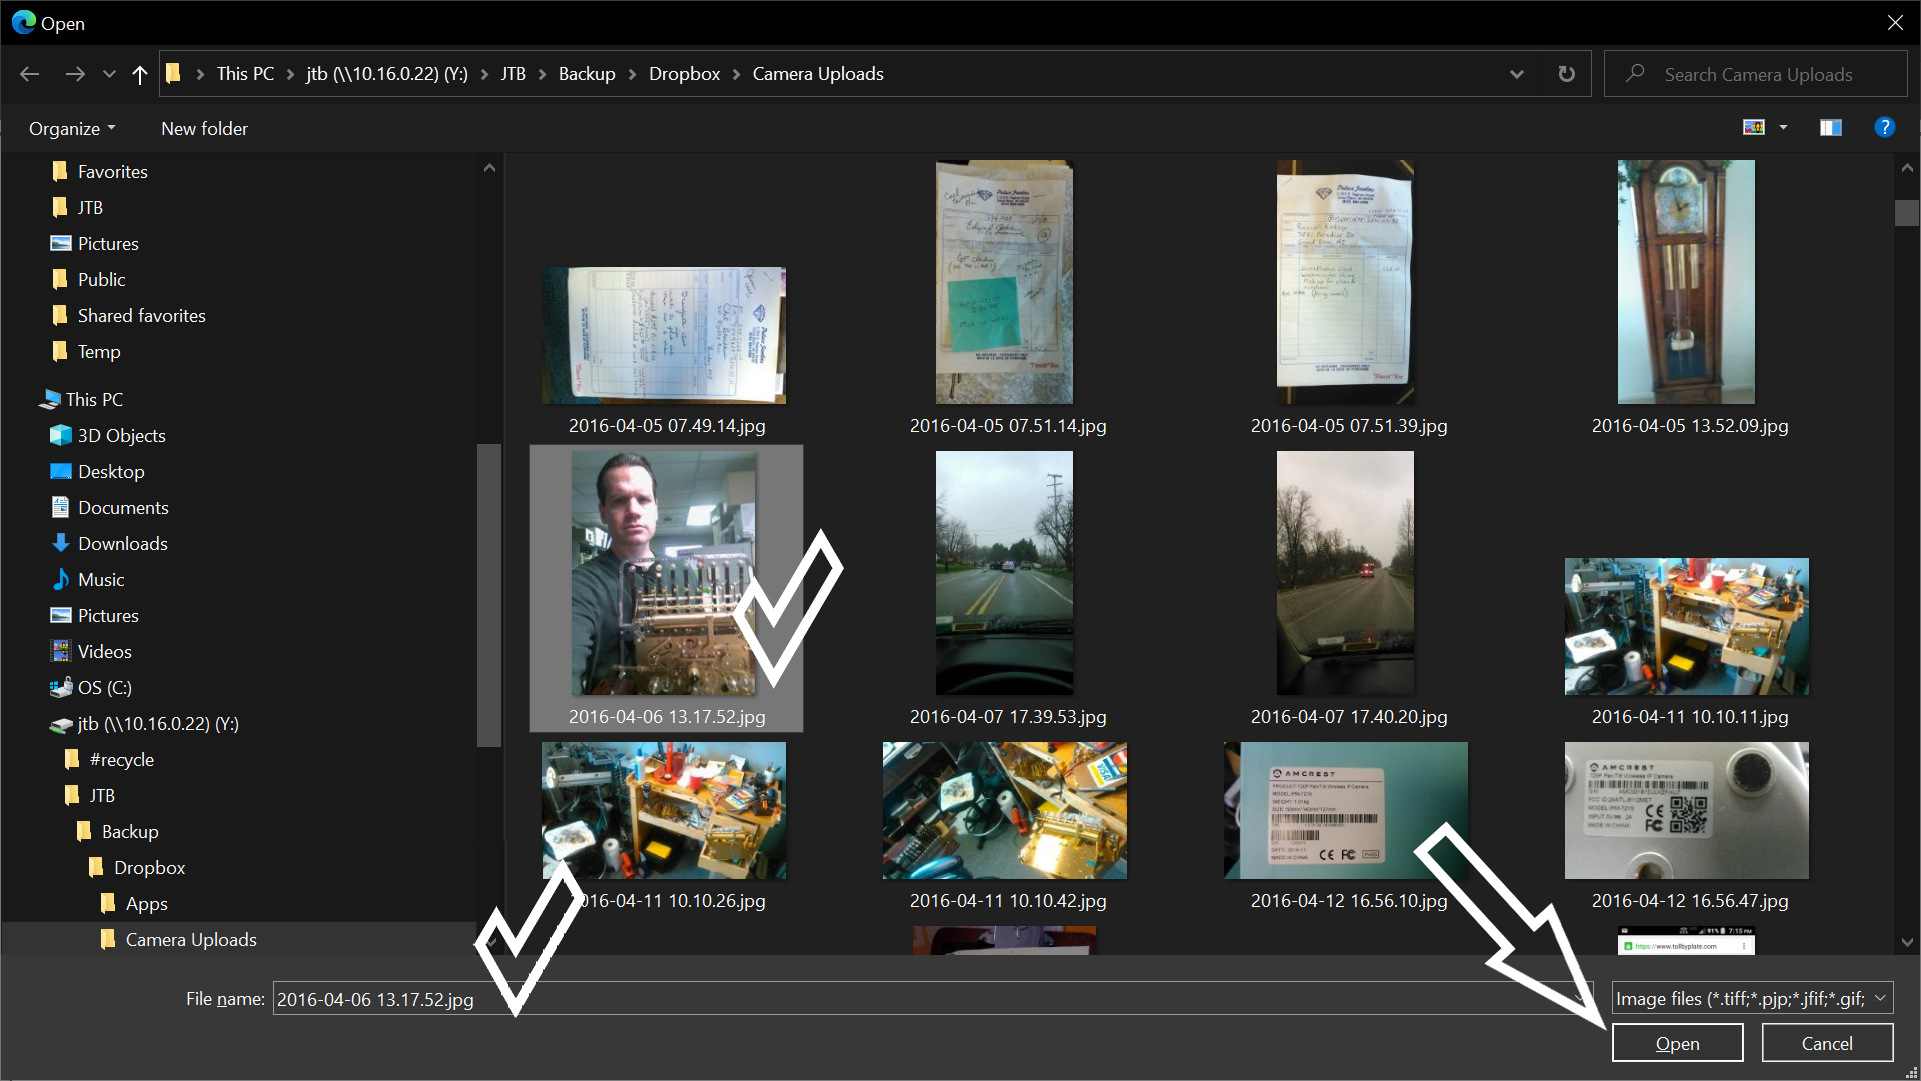
- Click Image 1: Choose File
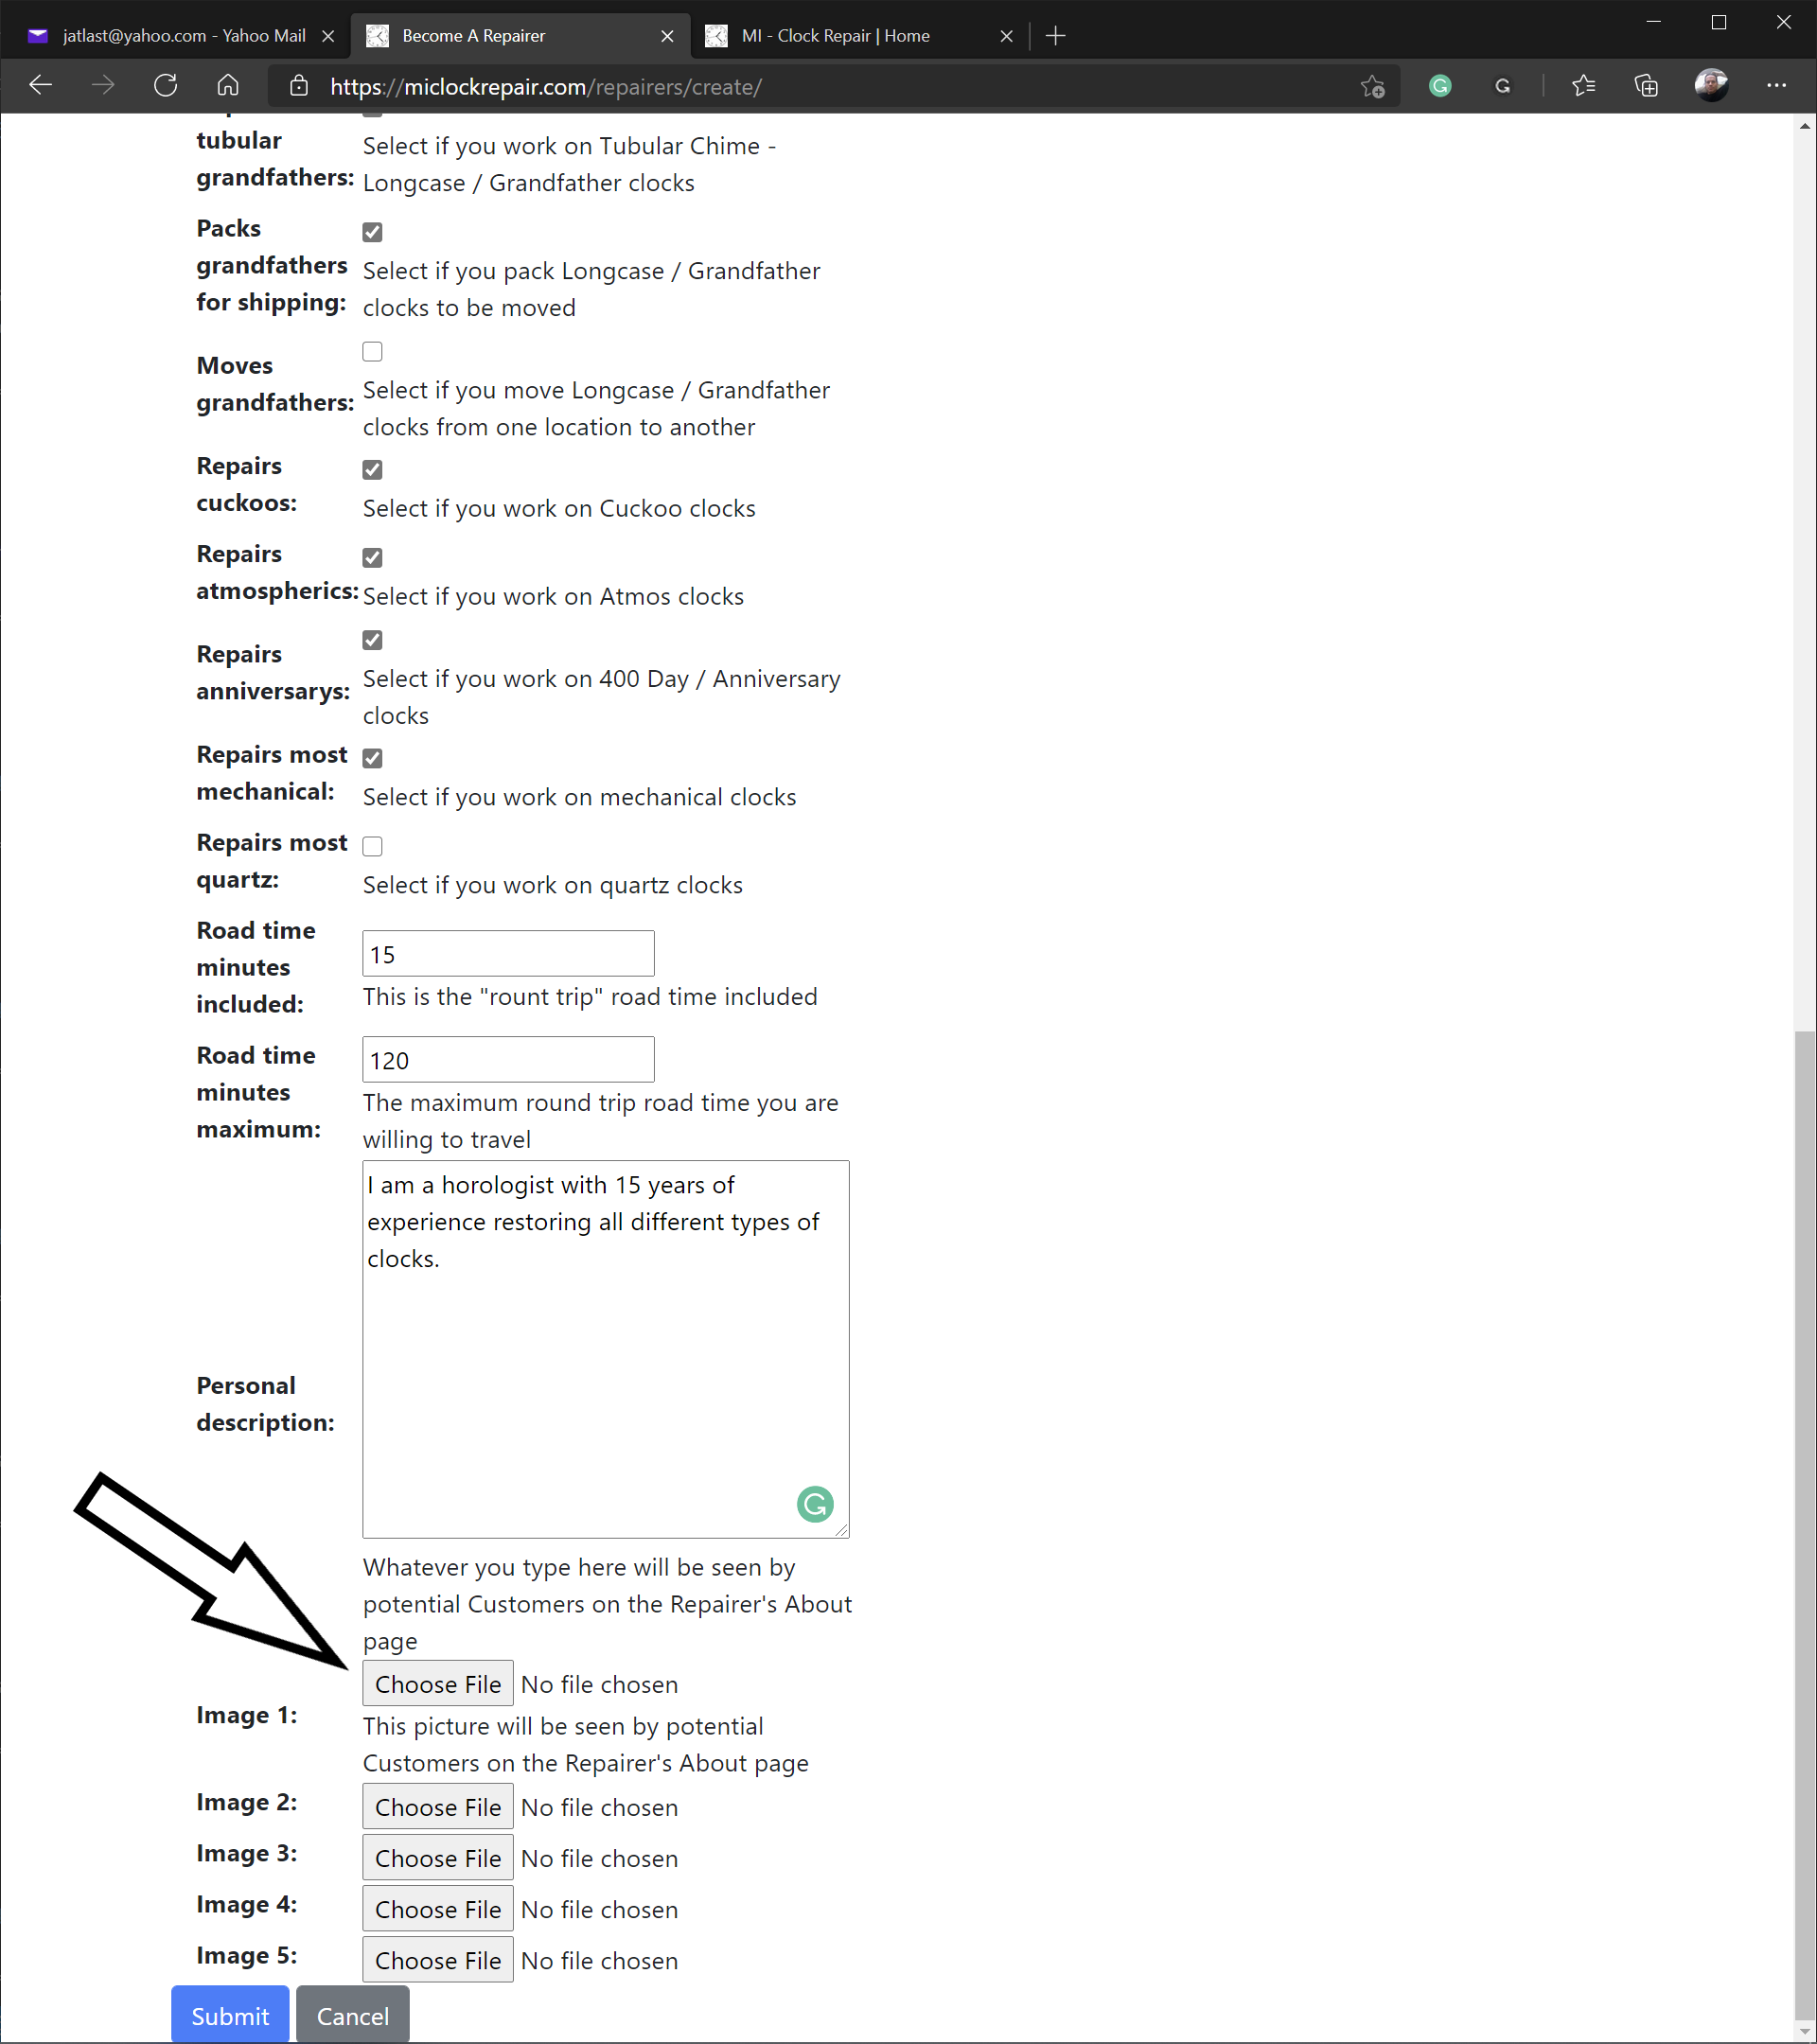
- Clicking Choose File will open a file explorer on your device
- Navigate to your pictures folder
- Then, scroll through your pictures and find a good one yourself at work
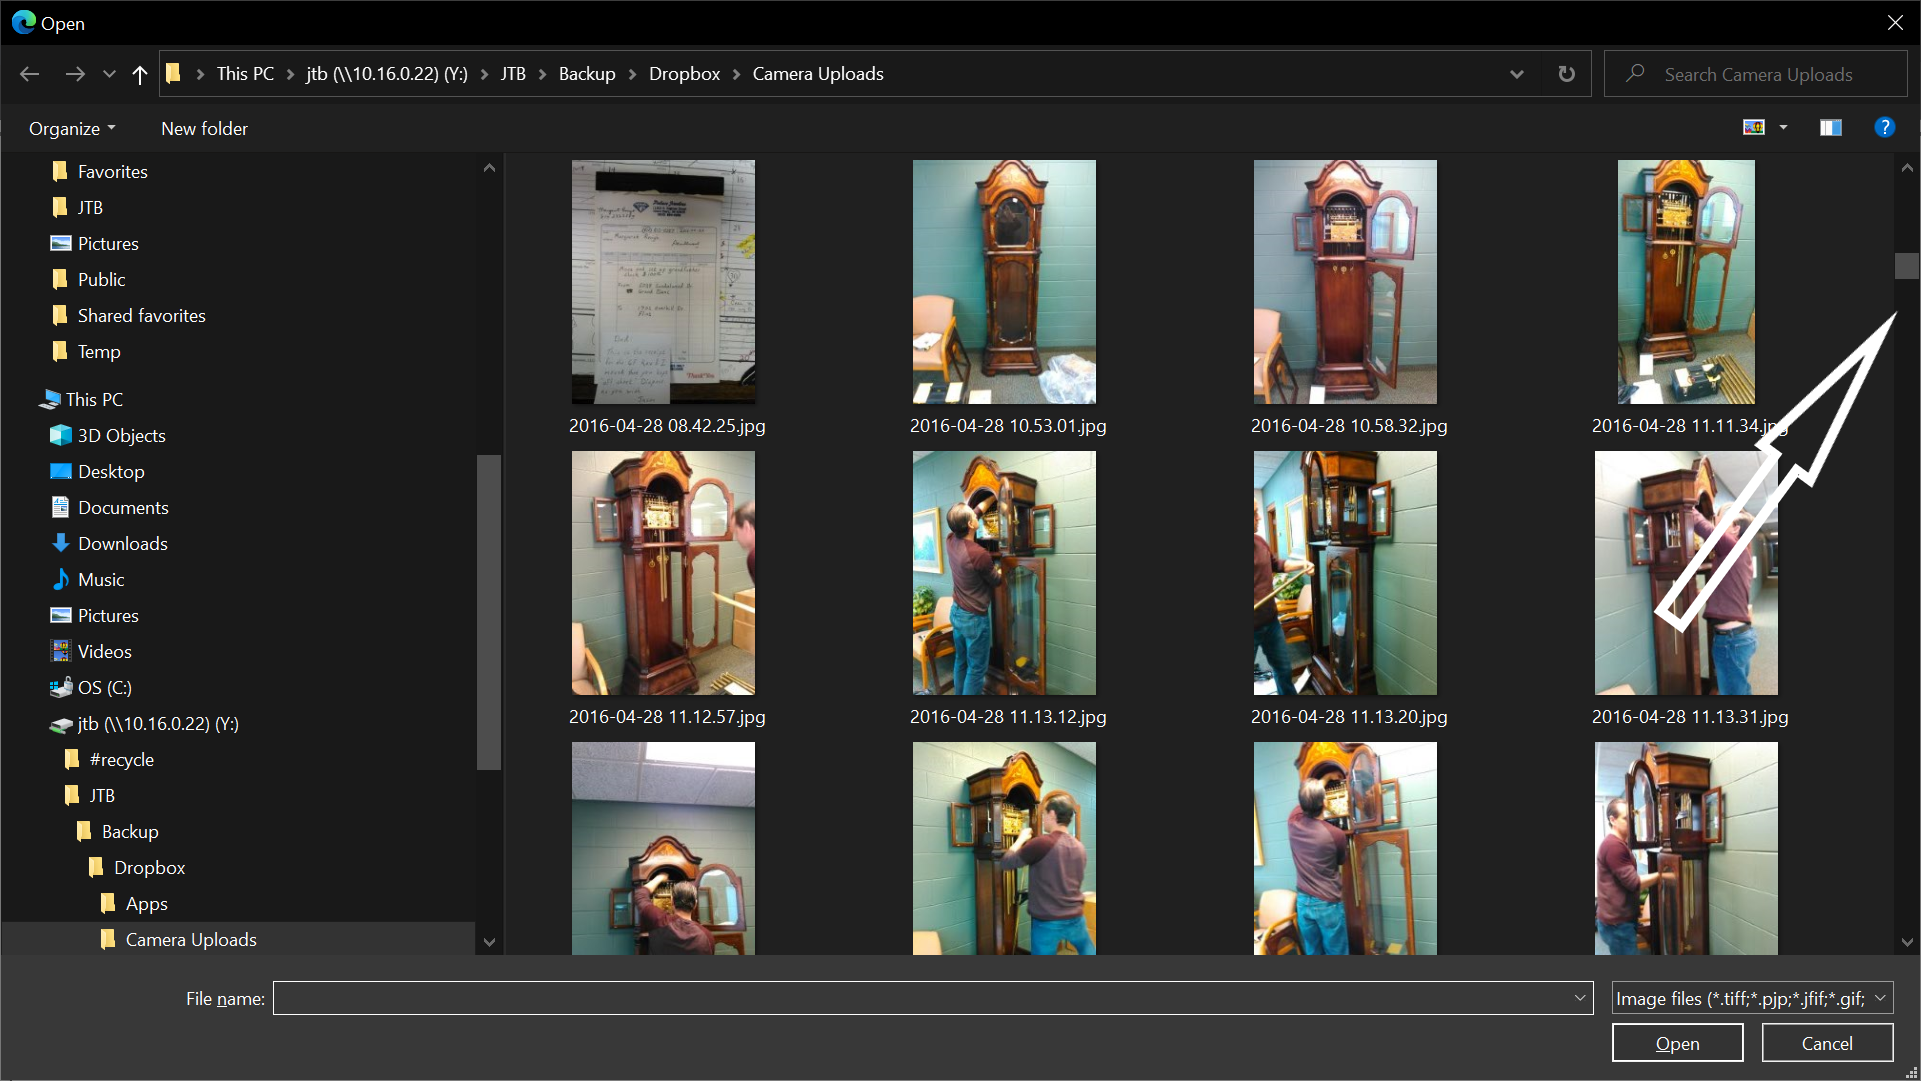
- Locate the picture
- Click on the picture you want to add
- Then, click Open
- After selecting your picture
- You will see the picture's location in the form
- Now, click Submit
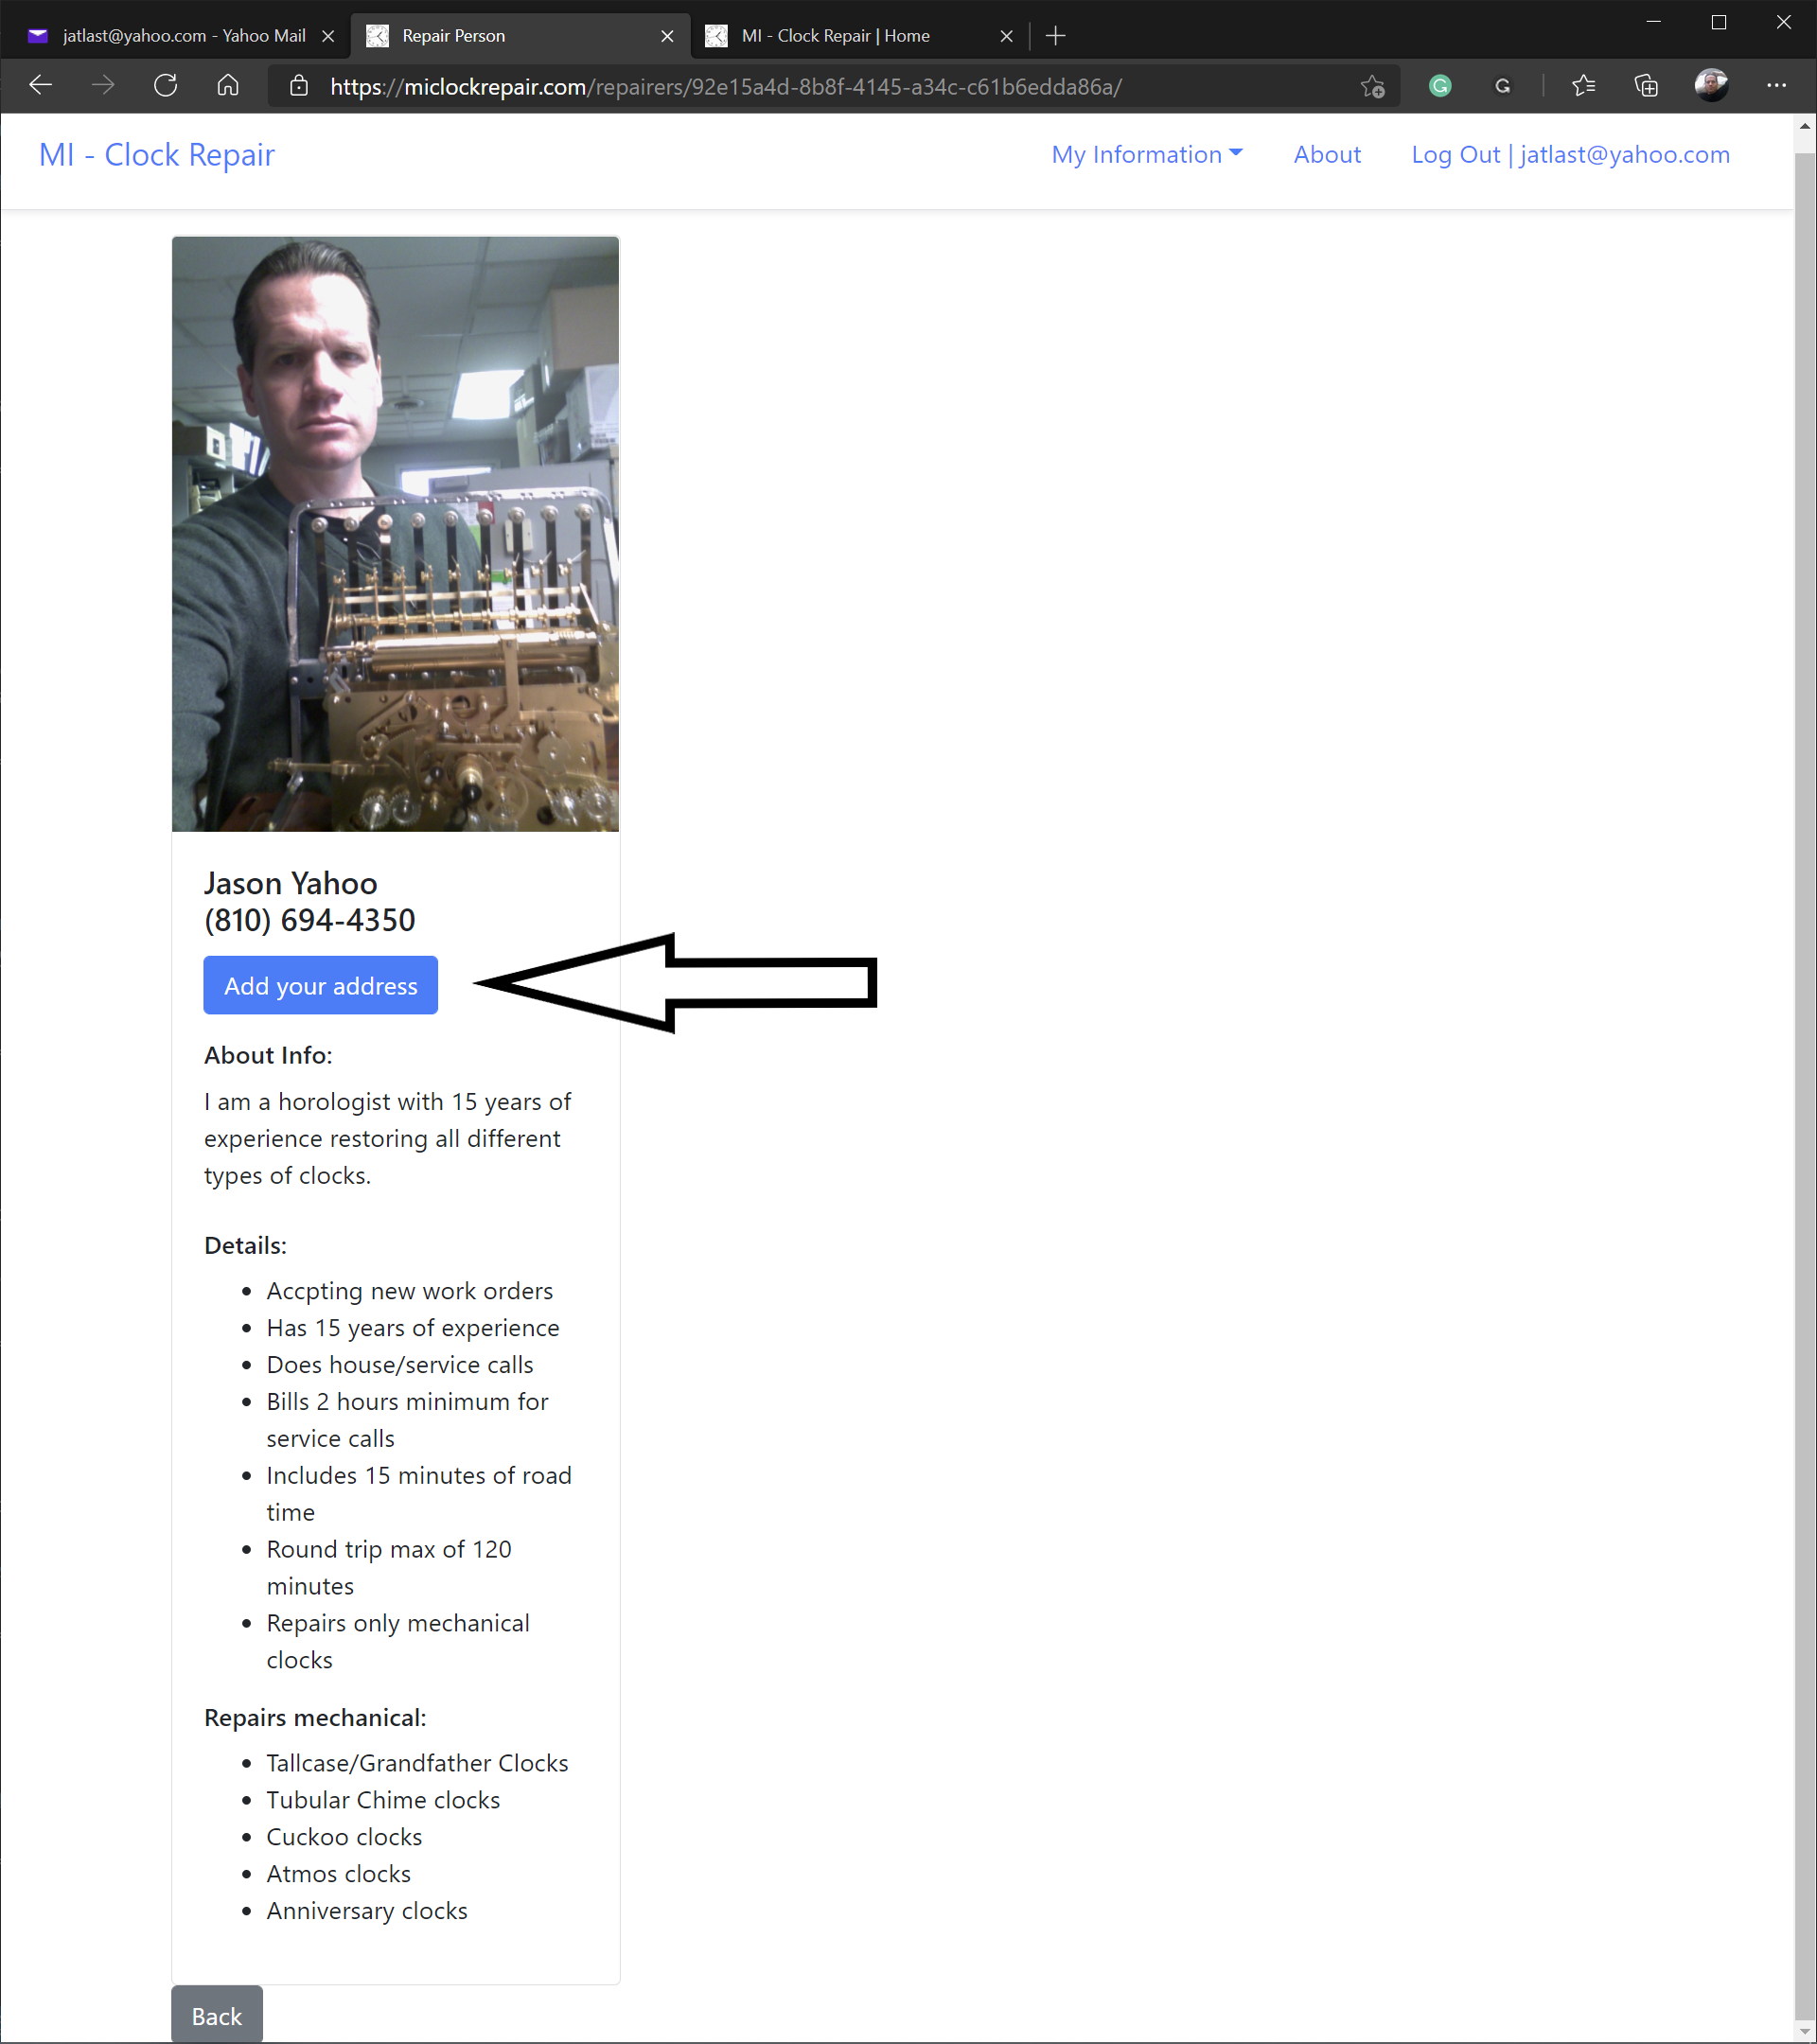
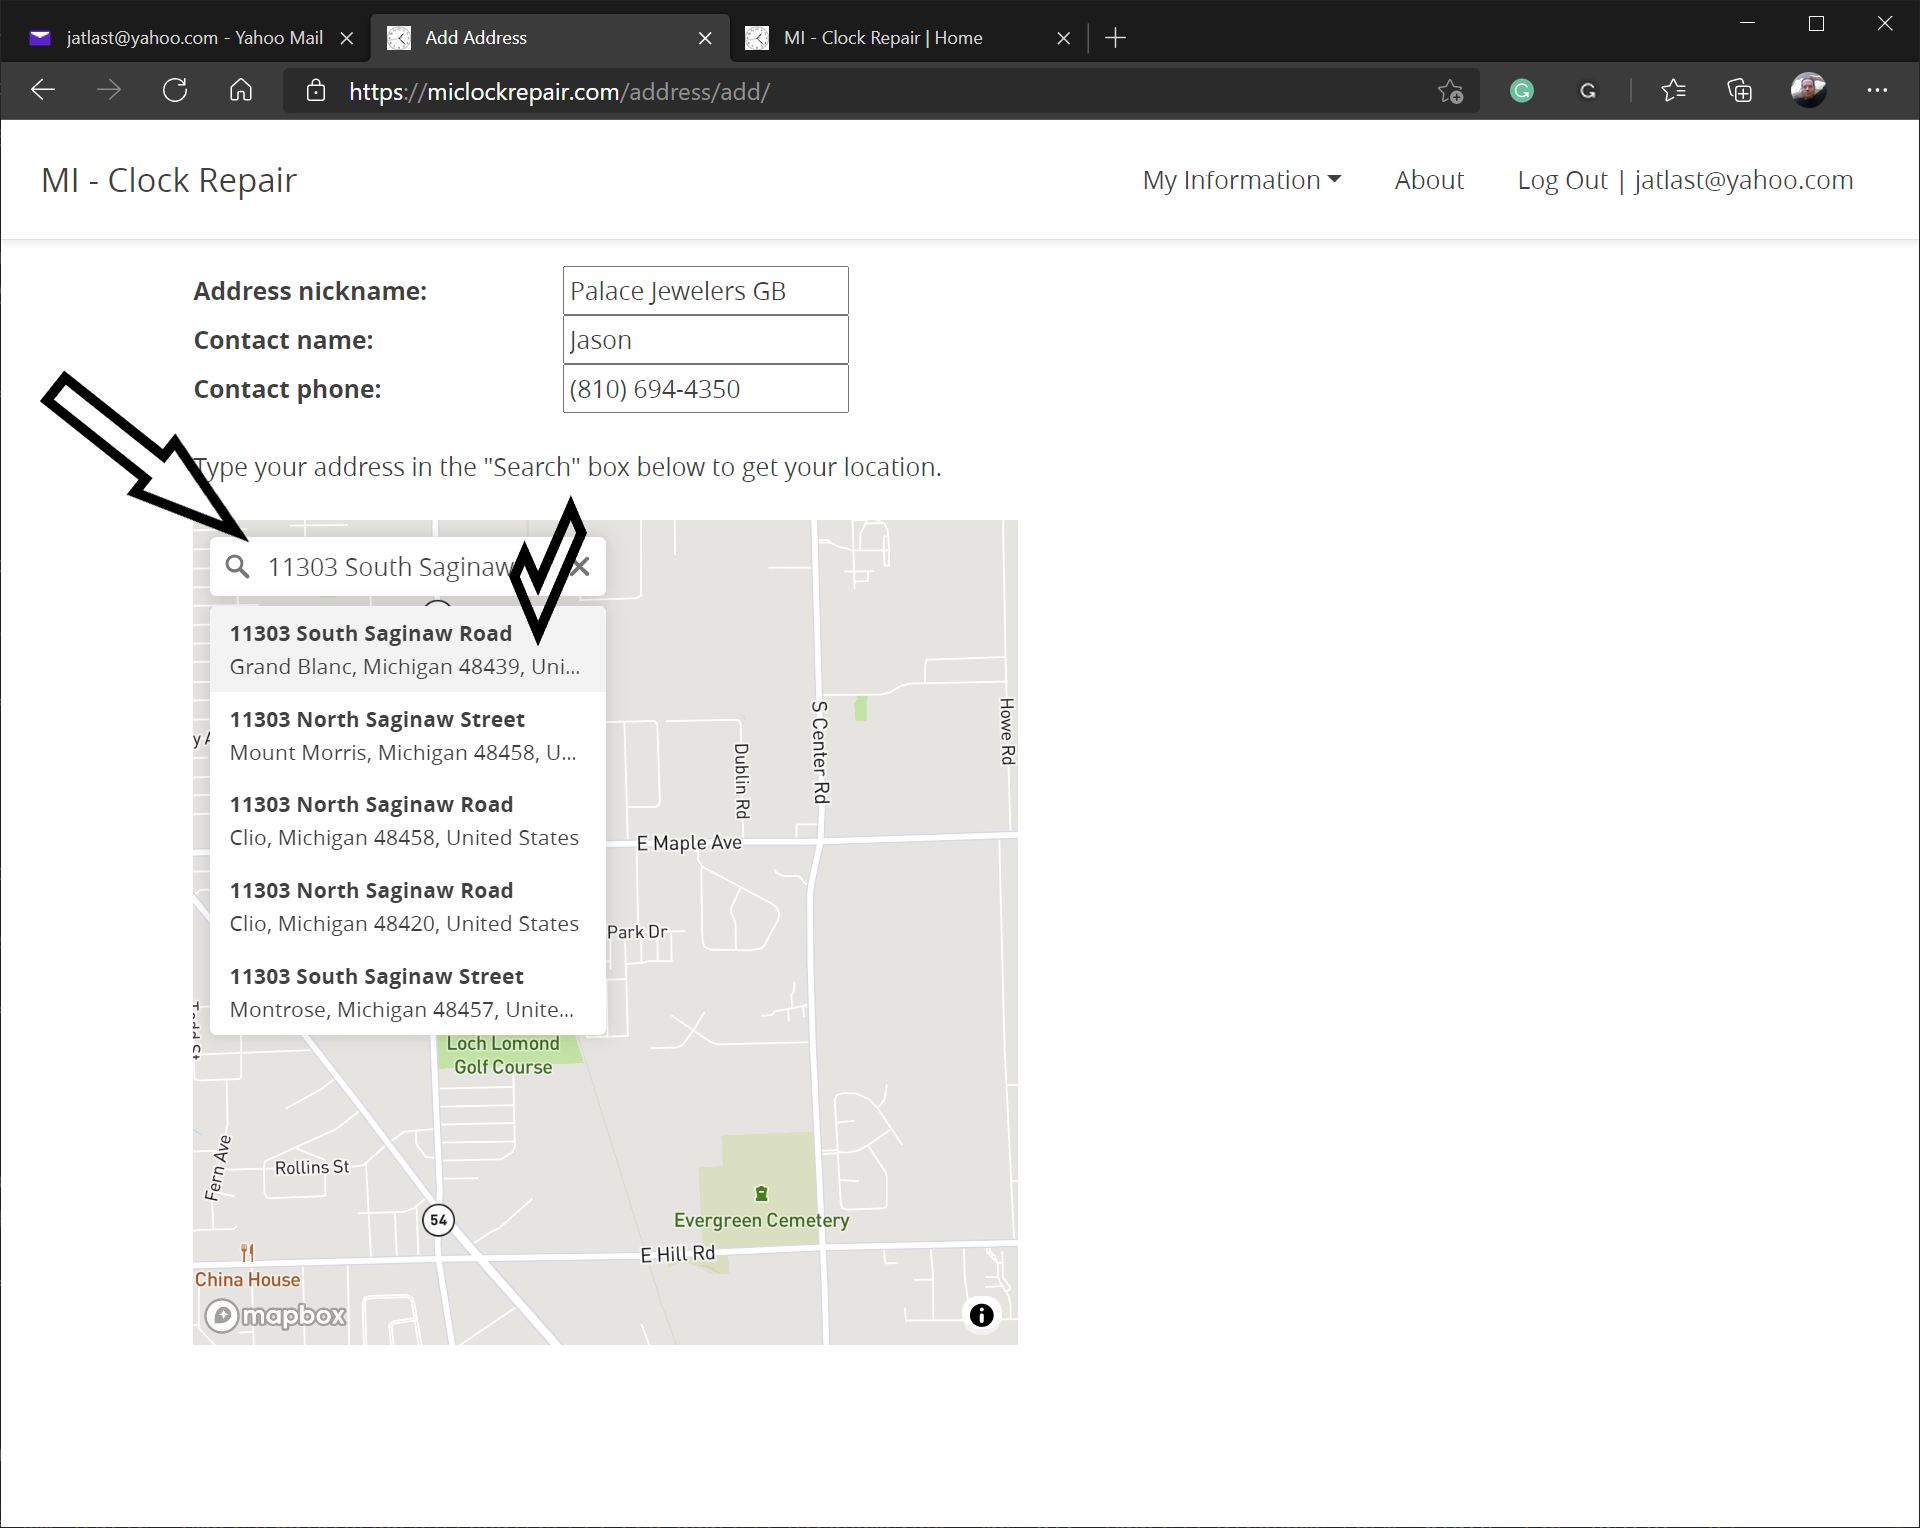
- From the Repairer About page, click the Add Address button
- Enter nickname and contact information for this address
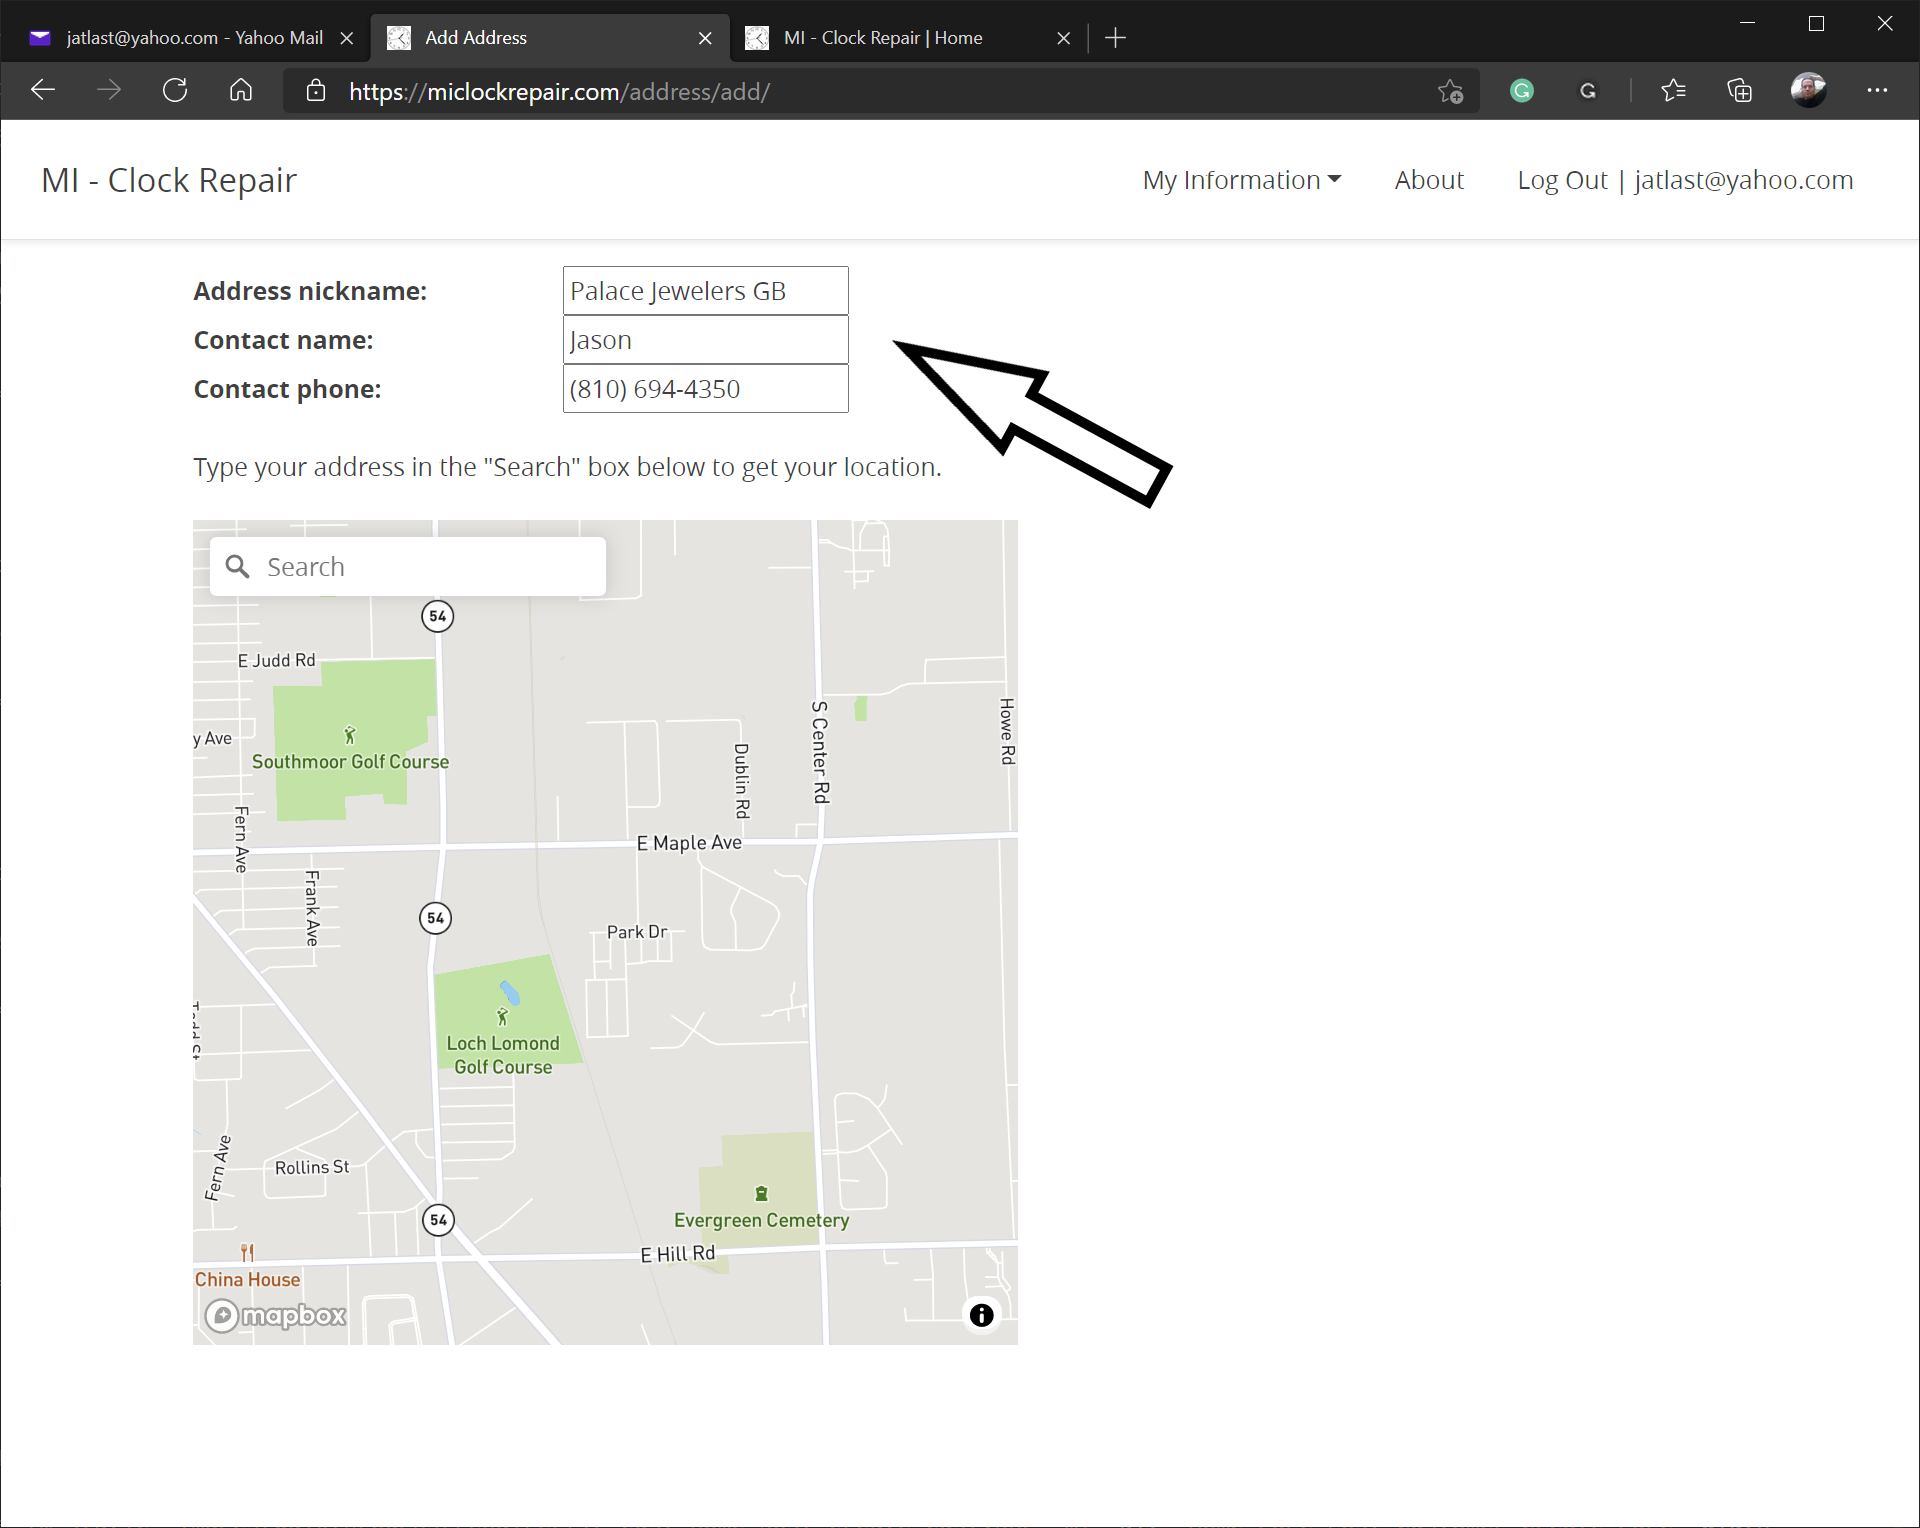
- Type your address in the Search box to get your location
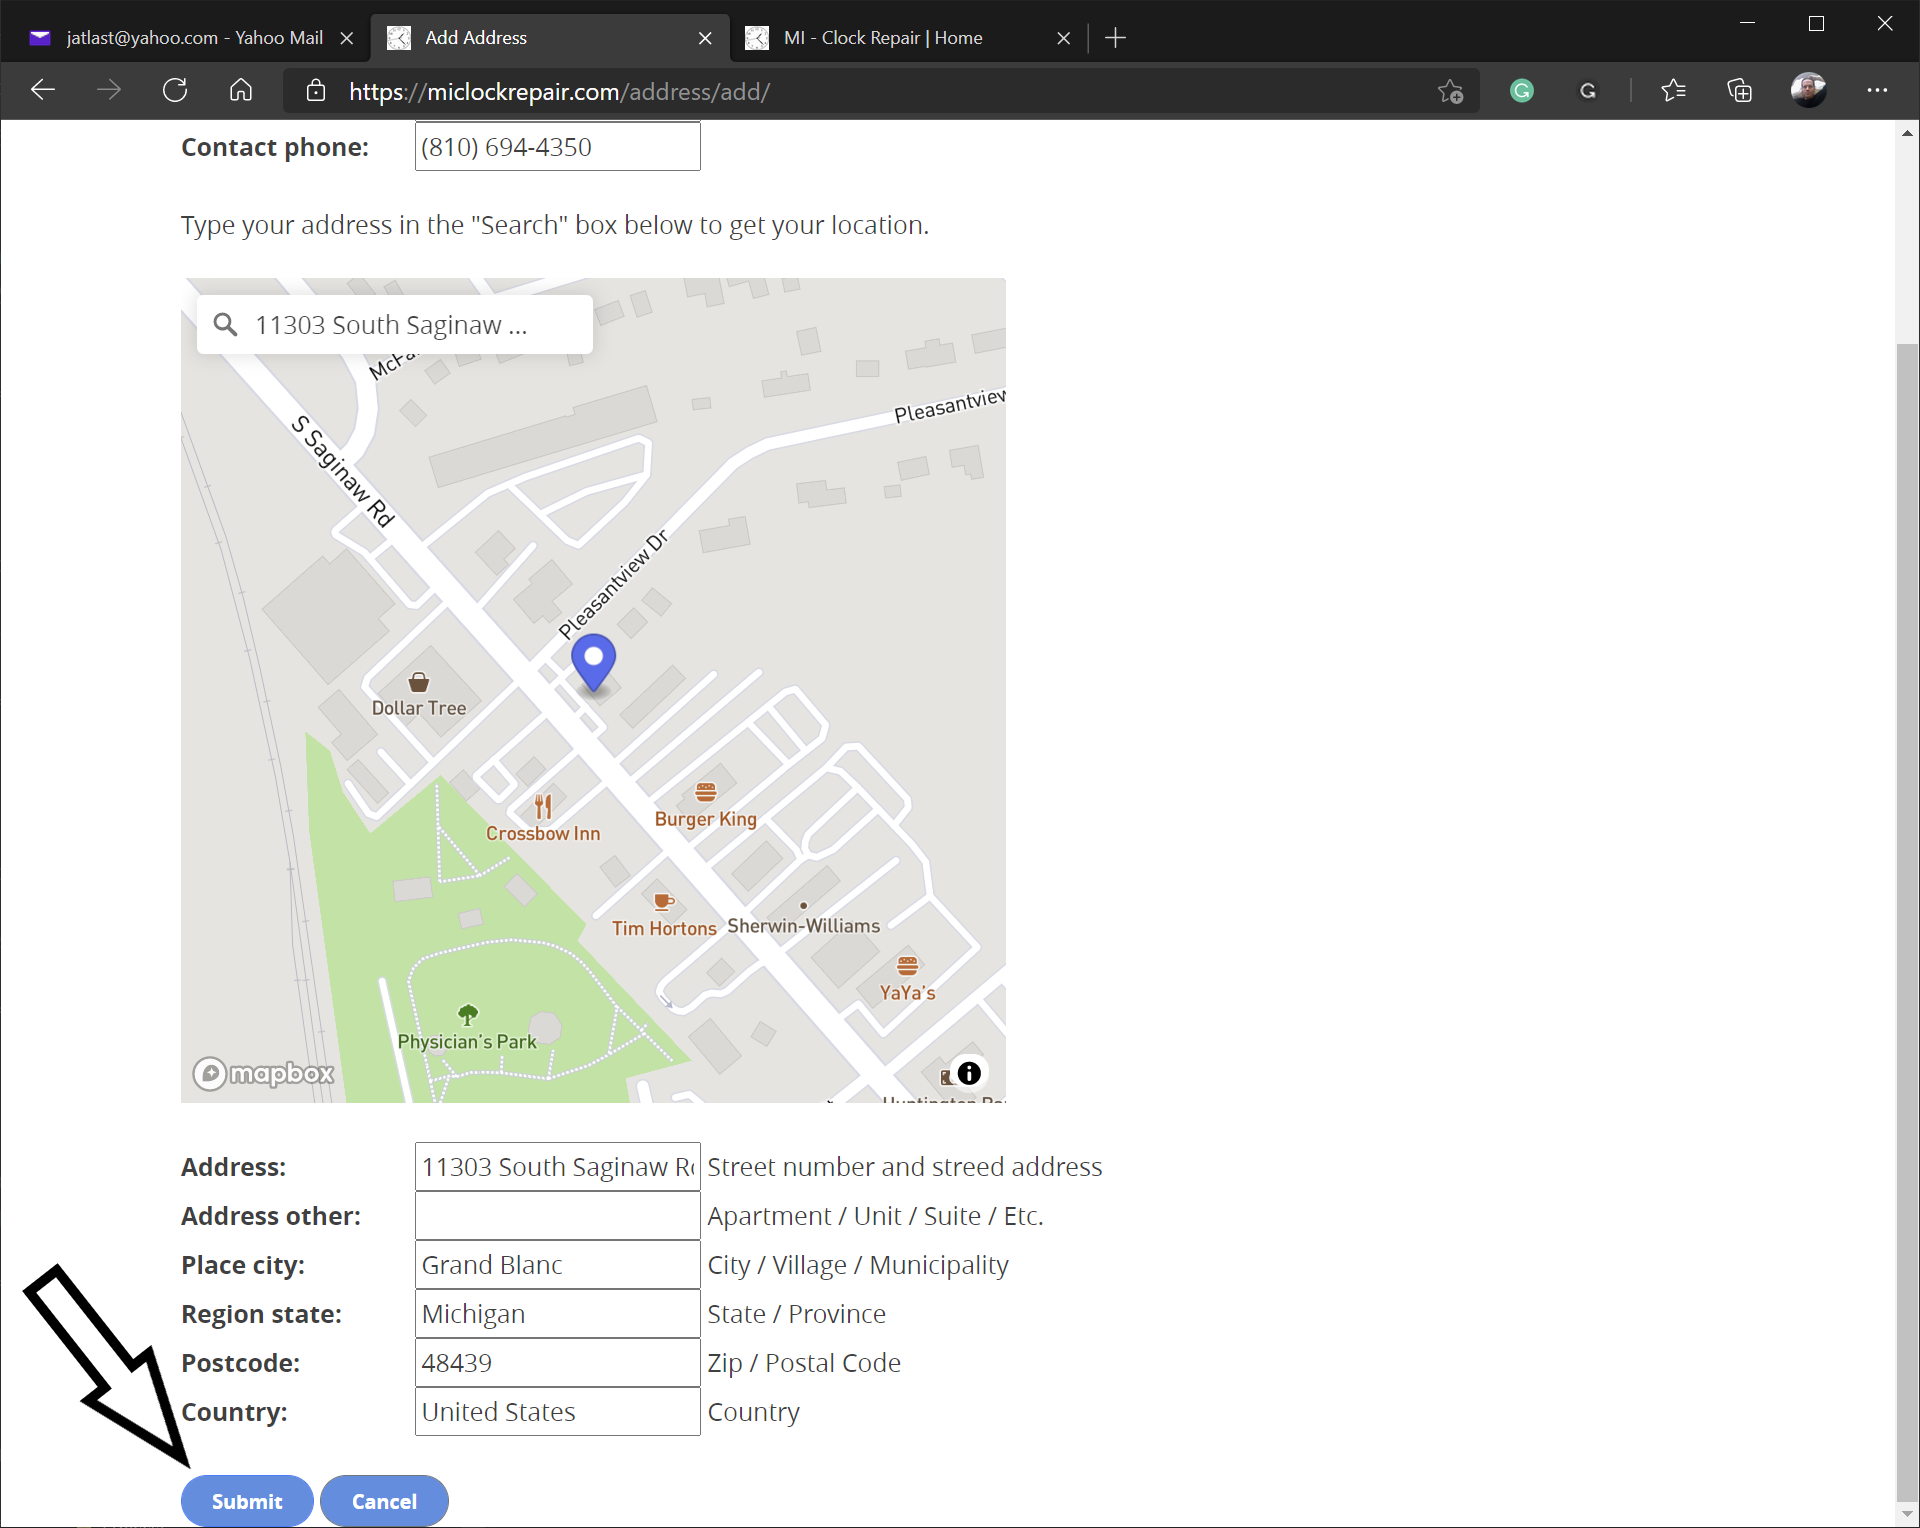
- Then click on your address
- The Address Information form will be automatically filled out for you
- Make any necessary changes
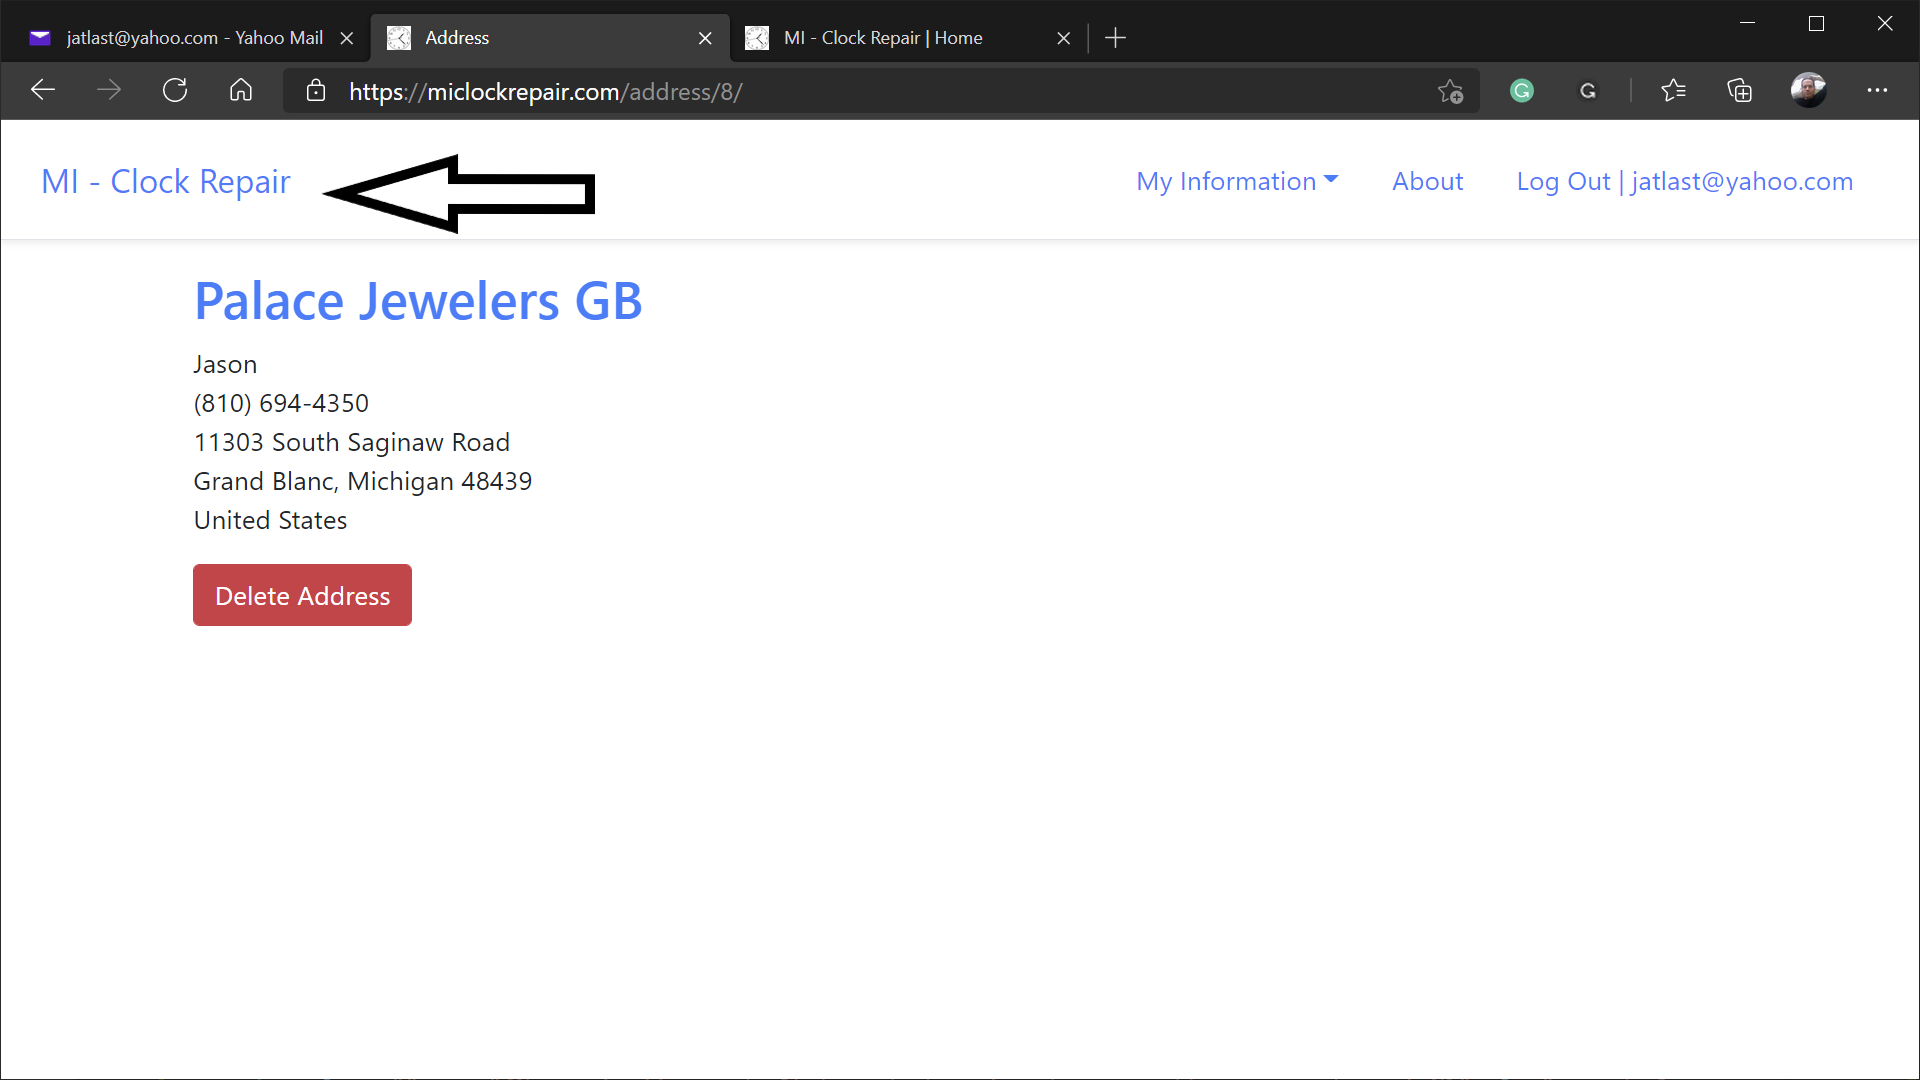
- Press Submit button
- Click the Mi - Clock Repair logo to return to the home page
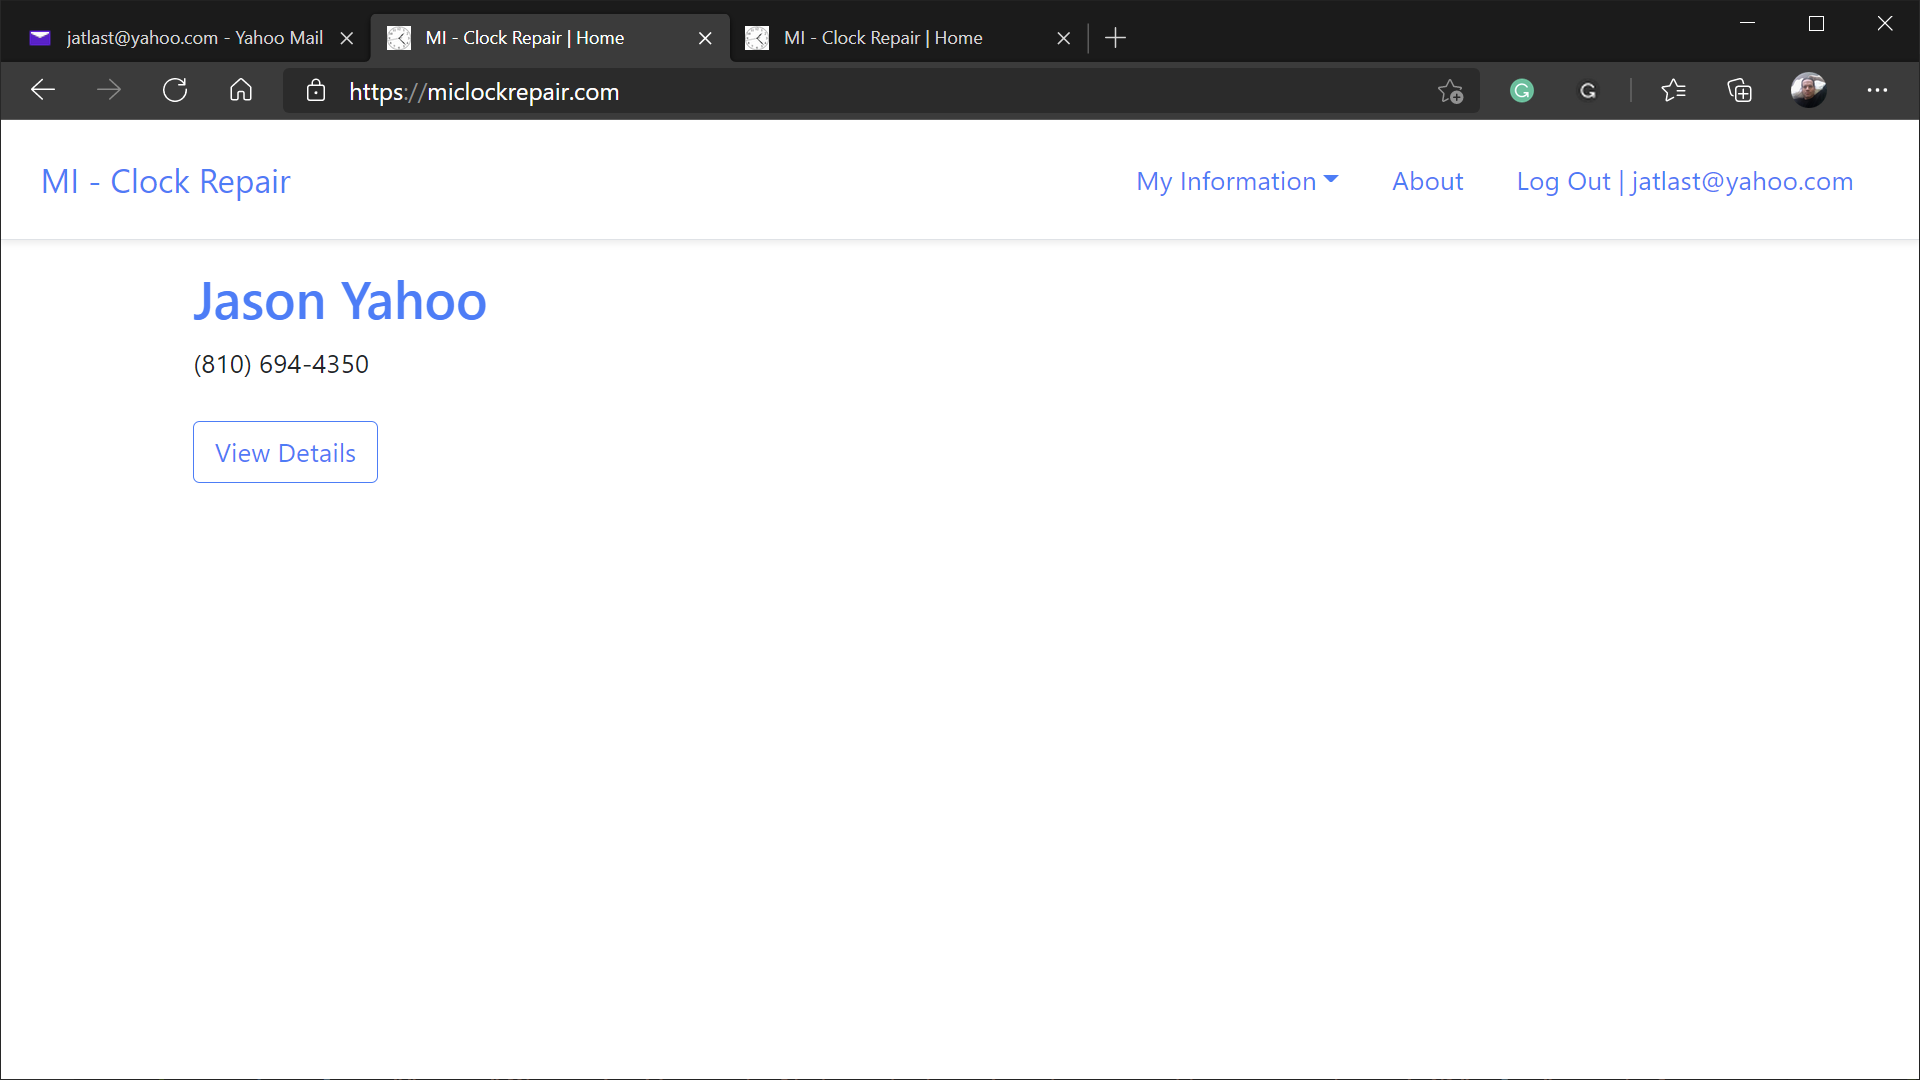
- You can see what customers see by clicking the View Details button
- You can edit your Repairer settings by clicking your name
- The My Information menu
- Use this menu to navigate to all of your associated information
- Workorders - returns a list of your work orders
- Estimates - returns a list of dynamic estimates based on your Repairer settings
- Address - shows your address
- Repairer - shows your repairer information
- Email - shows your email settings

- Select Estimates from the My Information menu
- Use these dynamic estimate results to adjust your hourly rate to reflect your desired pay

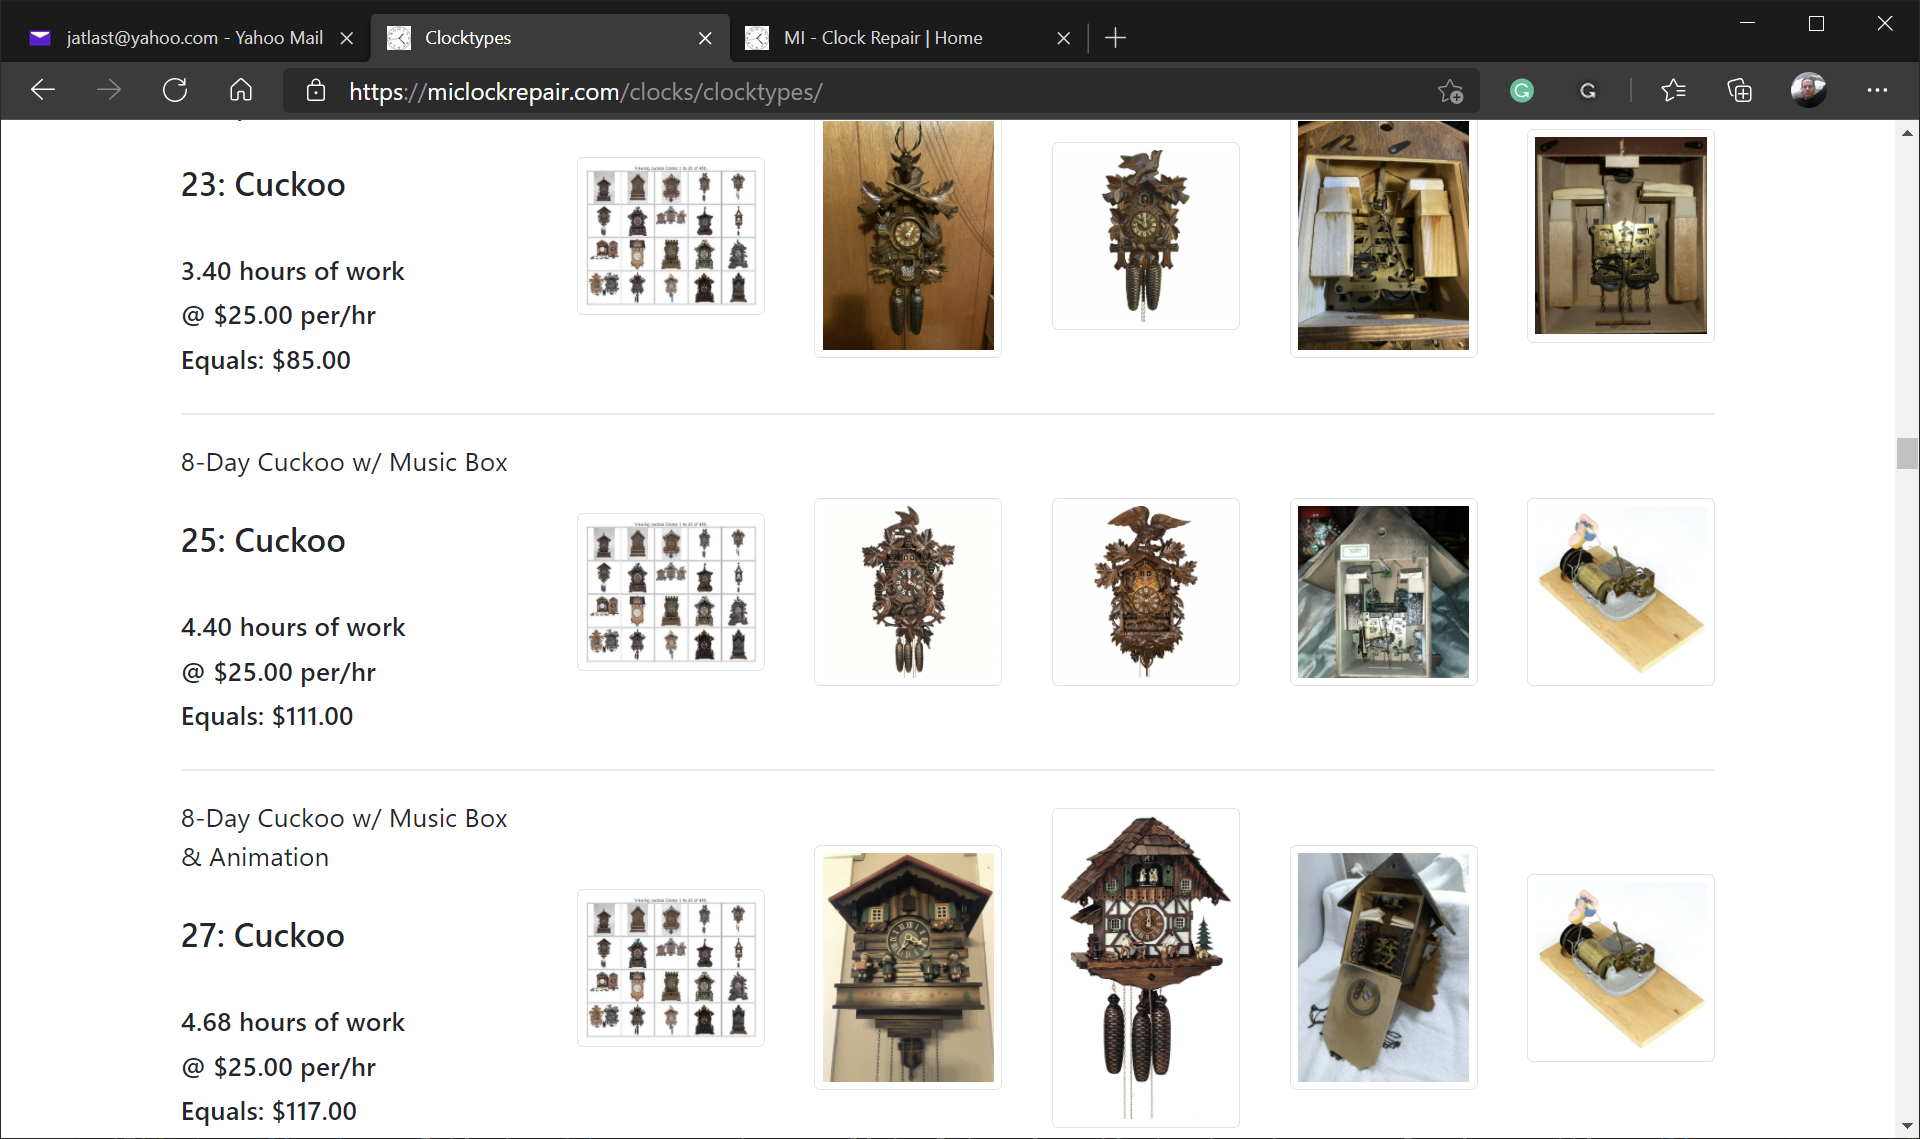
- Note the descriptions above the enumerated clock type names
- In the below example: 23 is time-only, 25 has a music box, and 27 has both a music box and additional animation
- Dynamic estimates are based on the estimated hours of work, which is based on each clock type's features
- The final amount is hours multiplied by the repairer's hourly rate.
- These same calculations are used when offering customers dynamic estimates for their specific clocks
- Success!!
- You now have all the information you need to become a Repairer and begin directing your customers to this site
- New Repairers may want to view the Customer Walkthrough to see how this site appears to customers